Ingredients
Scale
- 1 cup flour (whole wheat or rye)
- 1/2 cup lukewarm water (filtered, non-chlorinated)
Tools
- wooden spoon
- clean big bowl
- glass jar with lid
Instructions
Day 1
- In a clean glass or plastic container, combine 1/2 cup of flour and 1/4 cup of lukewarm water.
- Stir the mixture well until all the flour is hydrated (no dry pockets). Stirring thoroughly ensures even hydration and introduces aeration, which is crucial for yeast activity. After mixing, the consistency should resemble a thick paste.
- Transfer your mixture to your jar.
- Cover the container loosely with a clean kitchen towel or plastic wrap.
- Allow it to sit at room temperature (around 70-75°F or 21-24°C) for 24 hours. Put your starter in a warm (not hot!) spot in your house, if you live somewhere cold.
Day 2
- Check your mixture. You might see some bubbles and get a whiff of a dough smell, indicating activity. This is a good sign. If there are little to no bubbles, that’s okay, too. They can take time to be obvious in size and amount.
- Discard half of the mixture, about 1/2 cup. This is an important step, otherwise you will have too much starter.
- Add another 1/2 cup of flour and 1/4 cup of lukewarm water to the remaining mixture.
- Stir well to maintain an even consistency and introduce aeration.
- Cover, and let it sit for another 24 hours.
Day 3
- By now, your mixture should be showing more bubbles and have a slightly tangy smell.
- At this point (basically when there’s activity), I recommend to transfer the starter into a clean glass jar where you want to house it indefinitely as long as you use it.
- Discard half of the mixture again.
- Add 1/2 cup of flour and 1/4 cup of lukewarm water, stirring thoroughly.
- Cover and let it sit for another 24 hours.
Days 4 and 5
- Repeat the feeding process (discarding half, adding flour, and water) twice daily, roughly every 12 hours.
- Your starter should become more active with more bubbles and a pleasant sour aroma.
Day 6
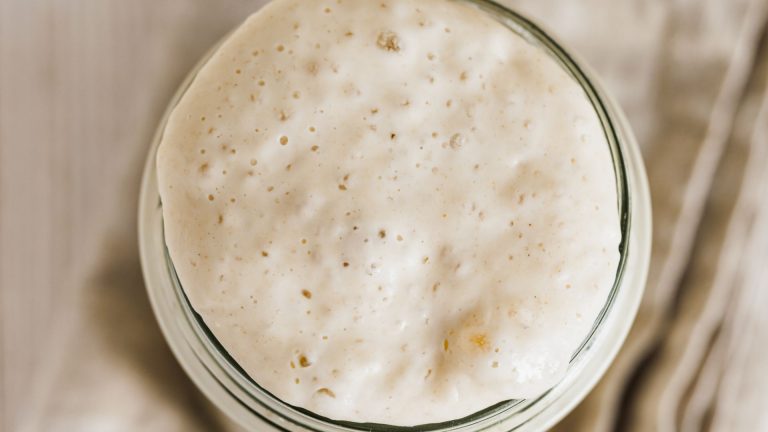
- Your sourdough starter should now have a lot of bubbles (both big and small), have a pleasantly tangy aroma, and have doubled in volume compared to Day 1.
- You can now consider it ready to use in sourdough recipes.