Ingredients
Scale
- 3 1/2 cup Whole wheat flour
- 2 cups All purpose flour
- 4 2/3 cups Filtered water
Instructions
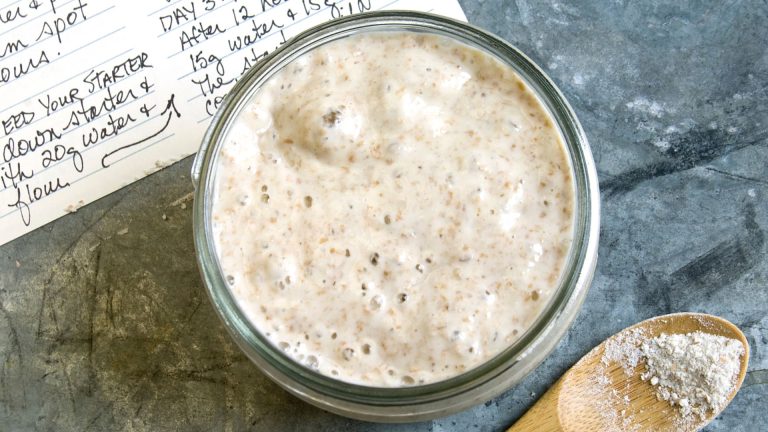
- In a clean jar measure 50 grams each of whole wheat flour and water. Mix well, and place a rubber band around the jar at the height of the starter to provide a visual representation of when the starter has risen. Cover the jar loosely with a plastic lid, or kitchen towel. Then set the jar aside on the kitchen counter, away from direct sunlight, for 24 to 48 hours.
- Check the starter after 24 hours, if there is no rise, but a little gray area at the top of the starter, then wait for another 24 hours. Once you notice bubbles, or an increase in volume, it’s time to feed your sourdough starter again. Combine a 50/50 blend of whole wheat flour and all-purpose flour. Discard half of the starter, then add 50 grams of the flour mix and combine this with 50g of water. Stir well, and cover loosely, remembering to adjust the rubber band to its new position.
- After 12-24 hours, you should see some more activity in your starter, such as bubbles or an increase in volume. Discard most of the starter, with 50g remaining. Then add 50g of flour, and water, mix well and cover loosely. Adjust the rubber band if needed, then set this aside.
- Feed the starter in exactly the same way as the second feeding. Continue to feed your starter every 12 to 24 hours, until it doubles in volume every 8 to 12 hours, emits a pleasant yeasty smell, and passes the float test. This is when your sourdough starter is ready to bake some sourdough loaves!