Fluffy yet dense, crunchy yet simple, Maltese bread (aka Il-Ħobż tal-Malti) is a Mediterranean treat that takes patience but is worth the effort. Baking the iconic bread may seem intimidating for beginners, but with the right ingredients, technique, and some tips and tricks, anyone can master this satisfying loaf.
I’ll provide step-by-step guidance on how to make Maltese bread at home. You’ll learn to achieve the perfect doughy interior encased in a glossy, crispy golden crust. With a few notes, you’ll be biting into warm, homemade Maltese bread in no time!
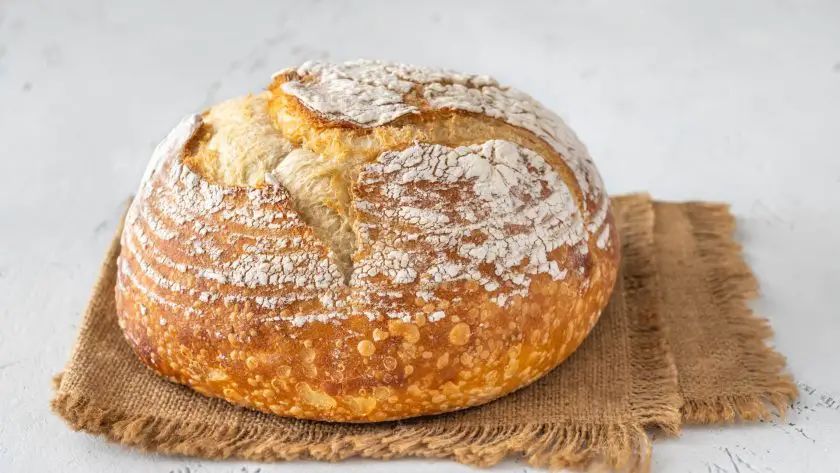
Table of Contents
- Ingredients for Il-Ħobż tal-Malti
- Equipment Needed
- Making the Starter Dough (Tnissila or Tinsila)
- Baking Your Il-Ħobż tal-Malti
- Final Steps for Maltese Sourdough
- The Art of Ħobż tal-Malti
- How To Make Maltese Bread: FAQs
Ingredients for Il-Ħobż tal-Malti
To craft Maltese bread, you’ll need just a handful of simple ingredients.
Let’s take a look at the building blocks of this recipe.
- 3 cups unbleached all-purpose flour
- 1 packet (2 1⁄4 teaspoons) dry yeast
- 1 teaspoon fine sea salt
- 1 1⁄4 cups water
- 2 tablespoons olive oil
- 1 teaspoon sugar
Flour
Use either white or whole wheat flour or a combination. Too much flour will make the dough dry and tough, too little will prevent it from holding its shape.
Yeast
Check the expiration date before using. Bloom the yeast in warm water before mixing to activate it.
Salt
A teaspoon of salt should be enough. Too much salt may make your bread dry.
Water
The hydration level greatly impacts the final texture. Aim for a high ratio, around 65-70%. This amount of water produces a soft, fluffy texture.
Olive Oil
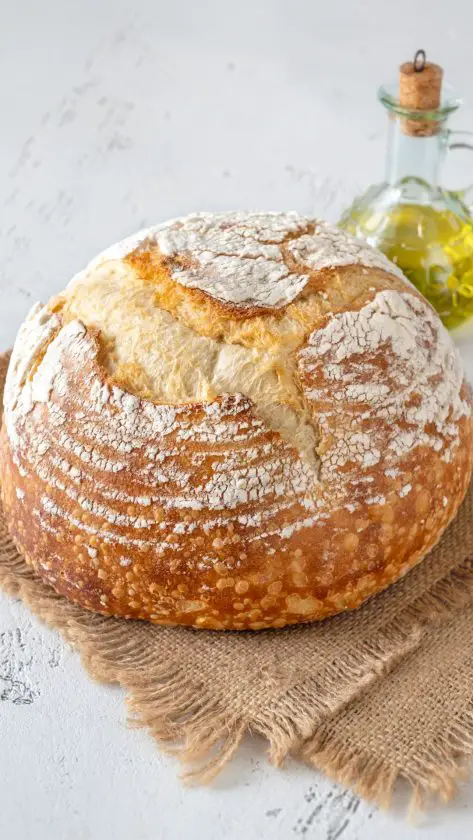
Olive oil (also called Ħobż biż-żejt) imparts a distinct, rich flavor to the bread. It also contributes to the texture of the bread, making it more tender and moist. It can help in creating a soft crumb and a crust that is crispy but not too hard.
Sugar
Sugar is a source of food for yeast. This is crucial for the development of the bread’s texture.
Equipment Needed
Having the right kitchen equipment can make all the difference. As an enthusiastic home baker, I’ve accumulated my fair share of baking tools over the years.
Here are some key equipment you’ll need to craft crunchy, fluffy Maltese bread.
Mixing Bowls
You’ll need at least two mixing bowls – one for mixing the dough ingredients and another for letting the dough rise. I prefer using sturdy, lightweight stainless steel or glass bowls that can withstand frequent use. Plastic bowls may retain odors and harbor bacteria over time.
Baking Sheets
For baking Maltese bread, rimmed baking sheets work best. The raised edges provide support as the dough rises, preventing it from spreading too thin. Be sure to line the pans with parchment paper for easy removal once baked.
- Top-rated NaturalsBakeware collection is made of pure aluminum for superior heat conductivity and produces consistent evenly browned baked goods every time.
- These premium pans have a lifetime durability and will never rust.
- Encapsulated galvanized steel rims prevent warping.
- Bakers Delight Set includes one Quarter Sheet, Jelly Roll and Half Sheet Pan for the ultimate s
Prices pulled from the Amazon Product Advertising API on:
Product prices and availability are accurate as of the date/time indicated and are subject to change. Any price and availability information displayed on [relevant Amazon Site(s), as applicable] at the time of purchase will apply to the purchase of this product.
Mixing Utensils
A long-handled wooden spoon allows you to thoroughly incorporate ingredients together when mixing the dough. Once formed, use a plastic bench scraper to cleanly lift and portion the dough.
Kitchen Scale
Weighing your ingredients promotes consistency and accurate measurements batch after batch. Digital kitchen scales provide precision down to the gram.
- 【PRECISE WEIGHT】 The digital food scale built-in four high-precision load sensors, quickly and accurately response 1g or 0.1oz increments when adding ingredients, its measuring range: 0.1oz to 22 lbs and 3g to 10kg(Min. weigh at 0.1oz or 3g).
- 【MULTIFUNCTION LARGE SCALE】 9x6.3 platform and Large lcd display for easy readout in g, kg, lb: oz, fl.oz and ml. This digital weight scale is for better cooking, baking, tracking intake, weight loss and postage.
- 【PRACTICAL DESIGN】 The food scale is designed with tempered glass for strong bearing, sleek stainless steel top surface for anti-fingerprint and easy clean, with a attached hook for convenient storage.
- 【EASY TARE / ZERO OUT】 Convenient tare button for tare calculation allows you to subtract the weight of plate or container, making it easy to achieve accurate readouts of ingredients.
- 【HASSLE FREE SUPPORT】2 AAA batteries included. We are always stand behind our kitchen scales, please feel free to reach to us if you have any issu
Prices pulled from the Amazon Product Advertising API on:
Product prices and availability are accurate as of the date/time indicated and are subject to change. Any price and availability information displayed on [relevant Amazon Site(s), as applicable] at the time of purchase will apply to the purchase of this product.
Thermometer
Monitoring the internal temperature of bread as it bakes prevents over or under-baking. Instant read thermometers should register 185°F – 210°F when inserted in the thickest part of a loaf.
- Super-fast: Instant reading thermometer with backlight features 3.9 inches food grade stainless steel probe gets temp readout within 3-5 seconds with high precision sensor
- Accurate readout: Cooking thermometer with temp range of -58 ~ 572 degree Fahrenheit (-50 ~ 300 degree Celsius); accurate to ±0.9 degree Fahrenheit; Perfect for indoor outdoor cooking, grilling, BBQ and so on
- Easy to use: Kitchen thermometer with foldable probe design folds away easily and locks into base for portability; Magnetic back and hook allows for convenient storage
- Smart design: Digital meat thermometer will auto shut off if readout stays on for 10 minutes; Powered by AAA battery; batteries included
- Backlight display: Grilling thermometer features backlight LCD display to let you see clearly while cooking in the evening, indoors or outdo
Prices pulled from the Amazon Product Advertising API on:
Product prices and availability are accurate as of the date/time indicated and are subject to change. Any price and availability information displayed on [relevant Amazon Site(s), as applicable] at the time of purchase will apply to the purchase of this product.
Oven
An oven that maintains an even, steady temperature is paramount for properly baking bread. Convection ovens promote air circulation for crustier loaves. If using a standard oven, avoid opening the door excessively during baking.
Making the Starter Dough (Tnissila or Tinsila)
The foundation of great Maltese bread lies in the starter dough, known locally as Tnissila or Tinsila. This pre-fermented dough forms the base upon which the final bread dough is built, lending enhanced flavor, texture, and rise to the finished loaf.
As an enthusiastic home baker, I’ve experimented extensively with different types of sourdough starter over the years. In my experience, getting the fermentation process right is key to baking Maltese bread that’s light, airy, and deliciously tangy. Let’s break down the steps for making a simple, versatile Tinsila.
Kickstarting Fermentation
The key player in Tinsila is yeast. To wake up the dormant yeast and get fermentation going, we create a starter sponge.
- First, dissolve a packet of yeast and a teaspoon of sugar into a half cup of warm water. The sugar feeds the yeast, while the tepid temperature helps accelerate their growth. Let this mixture sit for 5-10 minutes until foamy, confirming the yeast is active and ready to party.
- Next, beat in a cup of flour – I prefer unbleached all-purpose. This forms a thick, batter-like sponge speckled with bubbles. You’ll notice the irresistible sweet, yeasty aroma as fermentation kicks into high gear.
- Cover the sponge and set aside in a warm area to rise for an hour or so before mixing your final dough. This gives the yeast a head start to produce gas and flavor compounds that will carry through to your baked bread.
Extending Fermentation
- Once your starter sponge has doubled in size after an hour, it’s ready to mix into the final Tinsila dough. This extends fermentation even further, allowing the yeast to produce additional bubbles and tangy flavors.
- In a large bowl, mix the bubbly sponge with 2 cups flour, 1 teaspoon salt, and about a cup of tepid water. Turn out onto a clean surface and knead the shaggy dough for 5-7 minutes until smooth and elastic.
- Resist the urge to add excess flour – a soft, sticky dough results in the lightest texture. Place the kneaded Tinsila dough into an oiled bowl, cover with plastic wrap, and set aside to rise at room temperature for 1-2 hours.
Judging the Rise
As unseen microbial magic takes place, your Tinsila dough will slowly expand in size. But how do you know exactly when it’s ready to use?
I suggest doing the “dent test” – gently poke the dough with a floured finger. If the indentation slowly fills back in, fermentation is in full swing. But if it stays indented, fermentation is slowing and the starter is ready to use.
At this point, you’ll notice the dough is filled with bubbles and has a tangy, sweet aroma. Now we can mix the finished Tinsila into a final bread dough for baking. This starter provides the foundation for flavor development and rise, while extra yeast ensures adequate leavening.
After all this waiting, I know it’s tempting to rush the prep. But allow me to assure you – resting and fermenting the dough is time well invested. While you impatiently watch the clock, the yeast performs its magical work, rewarding your patience with the perfect rise and tantalizing taste.
Baking Your Il-Ħobż tal-Malti
Crafting the perfect loaf of Maltese bread requires finesse when it comes to baking. From oven temperature to timing, several key factors impact the final texture and taste. After years of experimentation, I’ve honed an artisanal baking method that balances a tender, airy crumb with a crisp, caramelized crust.
1. Preheating the Oven
Having an oven that maintains an even 425°F temperature is imperative when baking bread. Fluctuations as small as 25 degrees can mean the difference between a triumphant rise and a squat, dense loaf. For optimal heat circulation, place the oven rack in the center position. If you have a baking stone, slide it onto the lower third rack to radiate heat.
2. Scoring the Dough
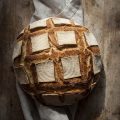
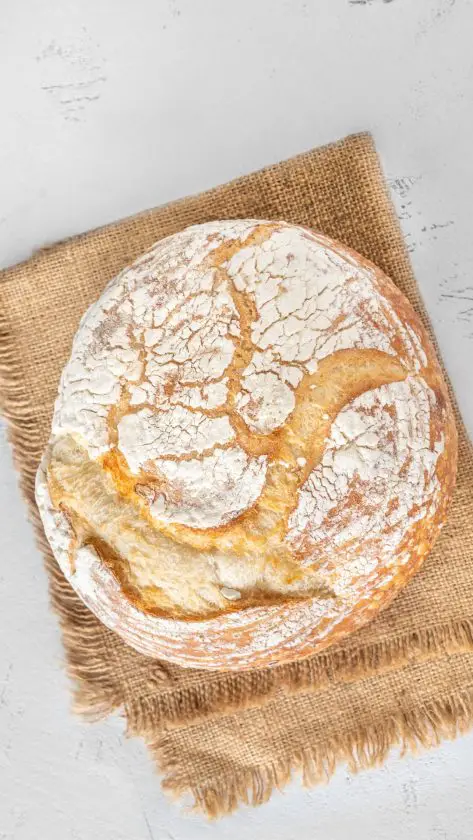
Before sliding the risen dough into the hot oven, score decorative slashes across the top using a sharp lame or blade. Scoring allows the bread to properly expand so the crust doesn’t tear randomly. Angle the cuts about 1⁄2 inch deep on the diagonal or in creative designs for an artisanal presentation.
3. Monitoring the Bake
Initially, you’ll notice the dough rapidly rising due to the “oven spring”. Resist opening the oven door prematurely or this rise may collapse. Observe through the window instead. The dough will appear billowy and puffed, filling the pan before settling into its final size.
After 20 minutes, quickly rotate the pan 180 degrees for even browning. Insert an instant-read thermometer into the center – once it registers 200-210°F, your bread is ready after a total of 30-35 minutes of baking time.
4. Developing the Crust
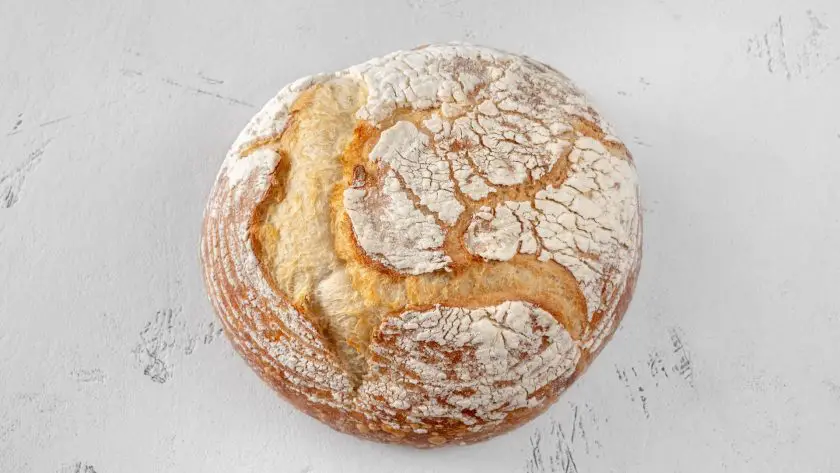
A hallmark of great Maltese bread is a deliciously browned, crackly crust. This exterior crunch comes from moisture rapidly evaporating, allowing natural sugars to caramelize for an appetizing aroma and chestnut color. Expect a few blackened bubbles here and there!
5. Cooling and Slicing
Allowing the bread to thoroughly cool before slicing prevents gummy textures as the crumb condenses. As hard as it is, wait at least one hour after baking before cutting.
Final Steps for Maltese Sourdough
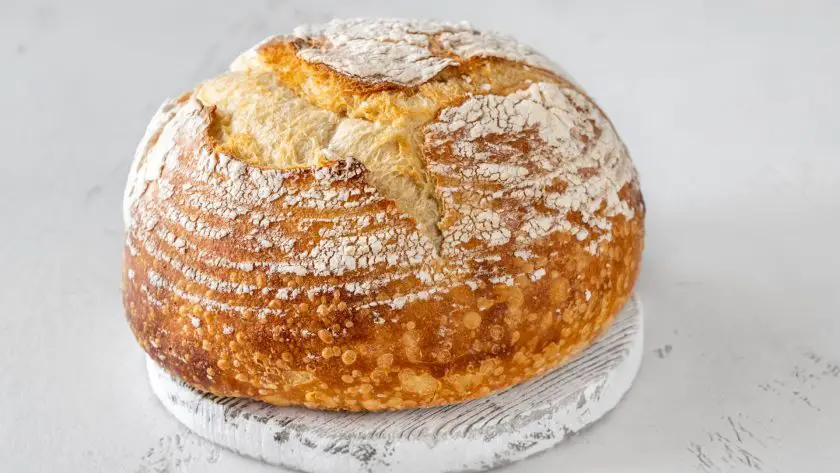
When baked to perfection, Maltese bread showcases a beautiful contrast of textures – all at once crusty, chewy, and tender. This signature texture stems from the following:
- high hydration dough
- extended fermentation time
- artful scoring before baking.
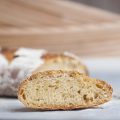
As the loaf hits the blazing heat of the oven, moisture evaporates rapidly from the surface. Sugars and starches caramelize to form the appetizing brown exterior. Yet the interior retains enough moisture for a moist, cloud-like texture.
Rustic Look
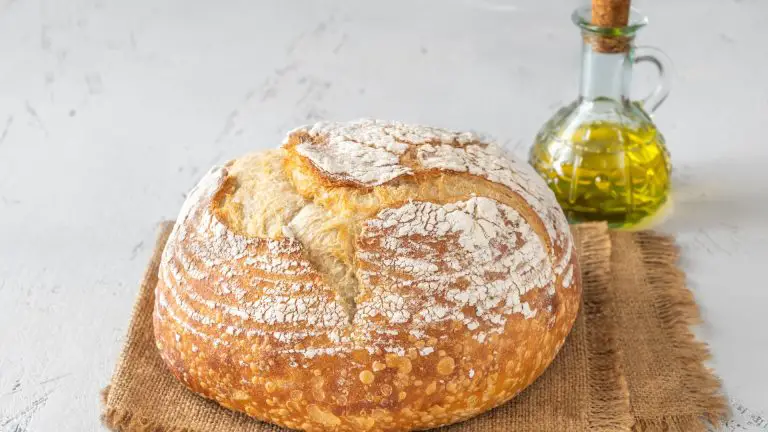
Visually, Maltese bread has an old-world, artisanal aesthetic with its free-form shape and rustic presentation. Avoid fussing over perfect symmetry.
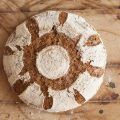
Instead, embrace cracks, irregular bubbles, and flour flecked on the surface. These marks of handcrafted care only enhance the beauty of your homemade loaf.
The Art of Ħobż tal-Malti
Ultimately, Maltese bread is a labor of love. While time-consuming, its fluffy and crunchy deliciousness make the wait worthwhile. Mastering this iconic Mediterranean loaf requires quality ingredients, proper technique, and most of all—patience. But with a few simple tips, anyone can achieve bakery-worthy results.
So don’t be intimidated. Bake fluffy, golden Il-Ħobż tal-Malti at home and savor the journey from mixing to that first satisfying bite.
How To Make Maltese Bread: FAQs
Why is Maltese bread so good?
Maltese bread is made with high-gluten flour and is traditionally baked in a wood-fired oven, which gives it a crisp crust and light, airy texture that is delicious. The sourdough starter also contributes complex flavors.
Is Maltese bread sourdough?
Yes, authentic Maltese bread uses a sourdough starter that has usually been passed down for generations. This gives the bread its characteristic tangy, complex flavor and allows it to rise very well.
What are the different types of Maltese bread?
Common varieties of Maltese bread include ħobża, a round white loaf; ħobż tal-Malti, a thicker, crustier loaf; ftira, a flatbread; and ħobż biz-zejt, a bread baked with olive oil for added flavor and softness.
What is the history of Maltese bread?
Bread-making in Malta dates back centuries when bakers used wood-fired ovens due to lack of electricity. Sourdough techniques allowed the bread to rise well in Malta’s hot climate. Today, Maltese bread remains a cultural staple celebrated for its unique taste and texture.
What is Maltese bread called?
It is also called Il-Ħobż tal-Malti.
Maltese Bread Recipe (Il-Ħobż tal-Malti)
This recipe should yield a loaf with a crisp, caramelized crust and a fluffy, airy interior, embodying the traditional flavors and textures of Maltese bread.
- Total Time: 3 hrs 35 mins
- Yield: 1 loaf 1x
Ingredients
For the Starter Dough (Tnissila or Tinsila)
- 1 packet dry yeast (2 1⁄4 teaspoons)
- 1 teaspoon sugar
- 1/2 cup warm water
- 1 cup unbleached all-purpose flour
For the Bread Dough
- 2 cups unbleached all-purpose flour (additional for dusting)
- 1 teaspoon fine sea salt
- 1 1⁄4 cups water (tepid)
- 2 tablespoons olive oil
Equipment
- Mixing bowls
- Baking sheets
- Mixing utensils
- Kitchen scale
- Thermometer
- Oven
Instructions
Preparing the Starter
- Dissolve yeast and sugar in warm water.
- Let sit for 5-10 minutes until foamy.
- Beat in 1 cup of flour to form a sponge. Cover and set aside in a warm area to rise for about an hour.
Making the Bread Dough
- Mix the risen sponge with 2 cups flour, salt, and about 1 cup of tepid water.
- Knead on a floured surface for 5-7 minutes until smooth and elastic. The dough should be soft and slightly sticky.
- Place in an oiled bowl, cover, and let rise at room temperature for 1-2 hours.
Baking
- Preheat the oven to 425°F (218°C). If using a baking stone, place it on the lower third rack.
- Once the dough has risen, shape it into a loaf. Score the top with decorative slashes.
- Bake for 30-35 minutes, rotating halfway through, until the internal temperature reaches 200-210°F (93-99°C). The crust should be golden brown.
- Cool for at least one hour before slicing.
- Prep Time: 2.5 hrs
- Cook Time: 35 mins
- Category: bread
- Cuisine: Maltese
Nutrition
- Serving Size: 1 slice
- Calories: 160 kcal
- Sodium: 230 mg
- Fat: 2.7 g
- Carbohydrates: 30 g
- Fiber: 1.5 g
- Protein: 4 g


