A beloved Eastern European staple, Borodinsky bread offers a rich, complex flavor unmatched by standard loaves. From its mildly sweet taste to its signature dark brown hue flecked with grains and seeds, this rye-based bread makes an impressive addition to any meal. However, some bakers feel intimidated when they learn how to make Borodinsky bread.
Did you know this bread can be beginner friendly? I’ll help you demystify the time-honored process of crafting authentic Borodinsky bread. Discover how easy and enjoyable baking this cherished bread can be.
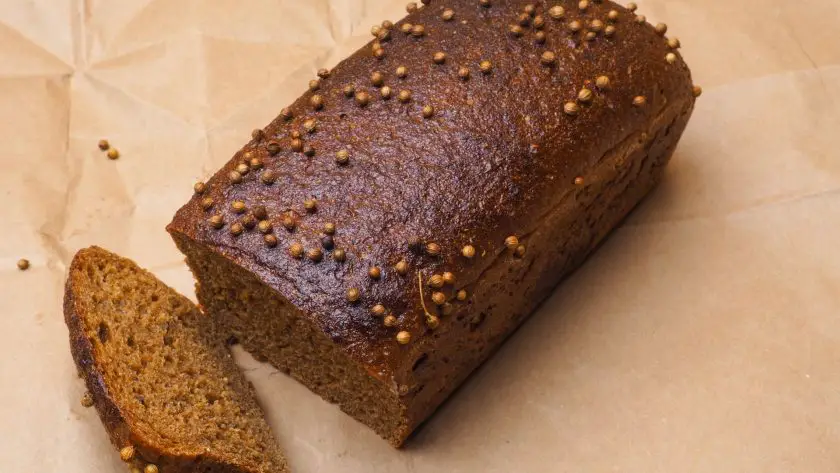
Table of Contents
- Ingredients for Your Bread
- Equipment Needed
- Preparation Steps
- Baking Process
- Post-Baking Tips
- Common Mistakes and Solutions
- Dark, Dense, and Delicious: The Borodinsky Bread
- How To Make Borodinsky Bread: FAQs
Ingredients for Your Bread
To make a delicious Borodinsky bread, you will need the following key ingredients:
Flour
- 2 cups (250g) dark rye flour
- 3 cups (375g) bread flour
Sweeteners
- 1⁄3 cup (115g) molasses
- 1⁄4 cup (50g) sugar
Flavors
- 1 tablespoon ground coriander
- 1 teaspoon caraway seeds
Other essentials
- 2 1⁄4 cups warm water
- 1 tablespoon instant yeast
- 2 teaspoons salt
Equipment Needed
Baking delicious Borodinsky bread doesn’t require a fully stocked professional kitchen. With just a few affordable, readily available tools, you’ll be well on your way to homemade sourdough success.
Must-Have Basics
The core equipment for Borodinsky bread comes down to just three essentials:
- Oven: A standard home oven with reliable temperature control allows the dough to be baked properly. Gas or electric ovens both work fine.
- Baking tin: A loaf pan measuring approximately 9 x 5 inches provides the ideal shape and size for a Borodinsky loaf. Avoid glass pans which can cause overbrowning. Stainless steel or aluminum with a dark nonstick coating is best.
- Mixing bowl: Choose a spacious, heat-resistant bowl for mixing up the dough, allowing it to double in size as it proofs.
While not mandatory, a stand mixer makes kneading the stiff rye-based dough easier. Otherwise, be prepared to put some muscle into energetic hand kneading!
Helpful Additions
Some optional extras streamline the process:
- Parchment paper – eases the transfer of the fully proofed dough into the baking tin.
- Cooling racks – provide airflow underneath the baked loaf for even cooling.
- Kitchen scale – takes the guesswork out of ingredient measurements.
- Instant-read thermometer – checks doneness instead of poking the bread.
- Lame or razor – cleanly slices decorative patterns into the dough top before baking.
With just a handful of kitchen tools likely already on hand, plus the essential ingredients, delectable homemade Borodinsky is within reach for any home baker. Don’t be intimidated by specialized equipment – embrace the basics and let your creativity shine!
- Innovative Design: Patent-pending, extractable & magnetic bread scoring tool for safe & easy dough scoring. Blade, securely held & slide by magnetic force, No more blades slipping out of the lame
- Convenient Storage Solution: Store this scoring lame on any metal surface, such as your refrigerator or oven. Say goodbye to cluttered kitchen drawers & misplaced bread baking supplies
- Comfort Meets Precision. Ergonomic handle ensures a comfortable grip, while sharp razors deliver clean and precise cuts. Master the art of sourdough bread & baguette scoring with this bread scorer tool
- Create Intricate Designs - Included a booklet & videos with various patterns to inspire your creativity. A novice or an experienced baker, youll find the perfect pattern to enhance your baked goods.
- Ask Us Anything- Our Sourdough baking Experts are ready to answer your questions and provide guidance throughout your sourdough journey. Reach out anytime for personalized supp
Prices pulled from the Amazon Product Advertising API on:
Product prices and availability are accurate as of the date/time indicated and are subject to change. Any price and availability information displayed on [relevant Amazon Site(s), as applicable] at the time of purchase will apply to the purchase of this product.
Preparation Steps
How to make Borodinsky bread from scratch? It is easier than you think when you follow a few simple preparation steps. With some basic mixing, kneading, and rising time, you’ll create the perfect sweet and hearty dough.
1. Combining the Ingredients
The process starts by combining all the dry and wet ingredients in a large mixing bowl. Use a sturdy wooden spoon to incorporate the flour, sweeteners, spices, yeast, and salt. Once blended, stir in the warm water gradually until a shaggy dough forms.
Resist the temptation to add more flour at this stage – the high moisture content is necessary for properly developing the gluten. The dough will firm up during kneading.
2. Kneading By Hand or Machine
Next, knead the dough energetically on a floured surface for about 10 minutes until smooth and elastic. This step works the gluten to create that desirable chewy, almost meaty texture Borodinsky is prized for.
If kneading by hand isn’t your thing, let your stand mixer do the work using a dough hook attachment. Just keep a watchful eye to prevent overmixing.
3. First Rise
Once kneaded, place the dough in a lightly greased bowl, cover with plastic wrap or a damp towel, and set aside somewhere draft-free to rise for 1-2 hours. You’ll know it’s ready when the dough has nearly doubled in size.
4. Shaping the Loaf
Turn out the risen dough onto a floured work surface. Using your hands, shape and smooth it into a log roughly the dimensions of your loaf pan. Place into the pan seam-side down.
Cover and set aside for another 30-60 minutes for the second rise until the dough crests just over the rim of the pan, nearly doubling once again.
Baking Process
With your Borodinsky dough properly mixed, risen, and shaped, it’s finally time to transform it into a delicious loaf of rustic Russian bread. Baking Borodinsky requires careful attention to temperature, timing, and common pitfall avoidance for best results.
Perfecting Oven Temperature
Baking the bread at the ideal temperature enables thorough cooking without burning. Preheat your oven to 375°F to start. Be sure to position the rack in the center of the oven where heat distribution will be most even.
Many ovens have hot or cool spots which can lead to uneven baking. Consider investing in an inexpensive oven thermometer to double-check the accuracy of your oven dial.
Recommended Baking Duration
The optimum baking time for a standard Borodinsky loaf is 30-40 minutes. Setting a kitchen timer prevents overbaking which risks drying out the crumb.
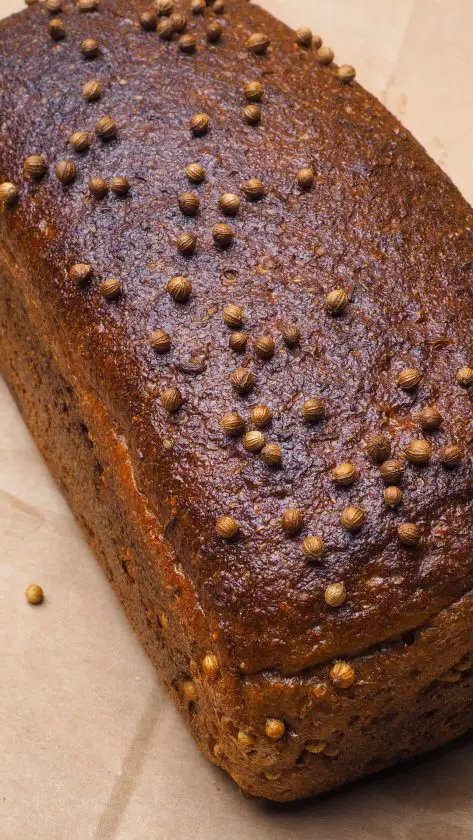
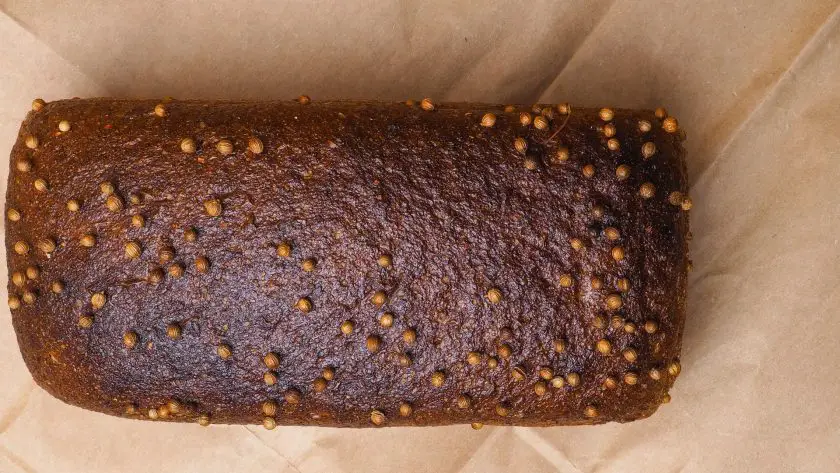
Within the first 15 minutes, the crust will firm up and the bread will rise dramatically in the oven’s heat. During the second half, the interior fully cooks through and the characteristic dark brown color develops.
Insert an instant-read thermometer into the center to check for doneness above 200°F when the crust is deep brown. The internal temperature is more reliable than judging by color alone.
Avoiding Common Baking Pitfalls
With a few precautions, you can sidestep some typical baking mishaps amateur bakers often encounter:
- Tent aluminum foil loosely over the loaf if the crust seems to brown too rapidly.
- Rotate the pan midway if one side browns quicker than the other.
- Let the bread cool completely before slicing to allow moisture to redistribute. Cutting too soon creates a gummy crumb texture.
Post-Baking Tips
Properly handling and storing your freshly baked Borodinsky bread ensures optimum taste and texture for days after baking. With a few simple best practices, you can keep your loaf incredibly fresh well past the initial cooling phase.
Letting the Loaf Cool
Before attempting to slice into a piping hot Borodinsky loaf, allow it to cool completely for at least 1-2 hours. This gives the loaf time to finish the baking process internally and set it up properly. Resist the temptation to dig in too soon!
Transfer the baked loaf in its tin to a wire cooling rack. This allows for air circulation all around to prevent a soggy bottom crust. The elevated rack also prevents steam from condensing underneath the loaf pan and making the crust gummy.
During the cooling phase, the loaf will pull away slightly from the sides of the pan and develop an even deeper, richer brown exterior. Enjoy watching your masterpiece transform before your eyes.
Slicing and Storing
Once fully cooled, gently remove the Borodinsky from its baking tin. Use a serrated bread knife to cut neat slices, wiping any crumbs off between each cut.
Properly stored in a sealed plastic bag at room temperature, Borodinsky will stay fresh for 2-3 days. For maximum preservation of texture and moisture, store cut slices separately or even freeze them.
If planning to enjoy it within a day, simply keep the unsliced loaf loosely covered on the countertop. An open-weave bread basket makes the crust crispy compared to a sealed bag or plastic wrap.
For an extended shelf life of up to a week, use a paper or reusable bag specially designed for bread storage, cinching the opening tightly closed. This allows air exchange while preventing exterior crust softening.
With proper post-baking handling, your homemade Borodinsky will retain optimum freshness and flavor to savor for days. Follow these best practices, and take your time to appreciate the final product of your baking efforts.
Common Mistakes and Solutions
Even seasoned sourdough bakers encounter the occasional setback when baking Borodinsky bread. However, with a bit of troubleshooting, these pitfalls can be easily addressed. Here are some of the most common issues that can crop up, along with fixes to get your next loaf back on track.
Dense or Heavy Bread
If your lovingly crafted Borodinsky loaf lacks an airy, open crumb, don’t despair. This density usually stems from insufficient kneading or proofing time.
Solution
- Be sure to vigorously knead the dough for a full 10 minutes to build up the gluten structure.
- Don’t rush the rising times – allow a full 60 minutes for the first rise and 30-45 minutes for the second to let the yeast work its magic.
- If it is still too compact after baking, proof the dough even longer next attempt.
Burnt Crust
Nothing ruins the anticipation of that first slice more than an overbaked Borodinsky with a blackened crust.
Solution
- If the top or sides seem to brown too rapidly before the inside fully bakes, tent foil loosely over the loaf to reflect some heat.
- Always preheat for an accurate 375°F to prevent oven temperature spikes from scorching the exterior.
- Rotate the pan midway through for even baking as well.
Dense Loaf Bottom
Flip over a freshly baked boule and discover an unset, gummy mass on the underside. This soggy bottom occurs when steam gets trapped beneath the loaf, preventing the crust from crisping up.
Solution
- Elevate the shaped dough on parchment paper to allow airflow to circulate completely around the loaf in the oven.
- Cool the baked bread on a wire rack to accomplish the same objective.
Weak Gluten Development
Sometimes Borodinsky dough remains sticky with limited elasticity despite energetic kneading efforts.
Solution
- Supplement with extra vital wheat gluten to optimize stretch and structure.
- Allow for longer autolysis, that key rest period after mixing flour and water before kneading, to hydrate the grains fully.
- Don’t be shy about scraping down the bowl regularly while kneading by hand.
Dark, Dense, and Delicious: The Borodinsky Bread
Baking a perfect, authentic Borodinsky loaf is easier than you think. Success is within reach. Soon your friends and family will beg for a slice of your delicious homemade Borodinsky! This Russian rye delight makes for the ultimate satisfying weekend baking project.
Speaking of Russian recipes, head on over to my post on the Best Russian Sourdough Rye Bread!
How To Make Borodinsky Bread: FAQs
What is Borodinsky bread made of?
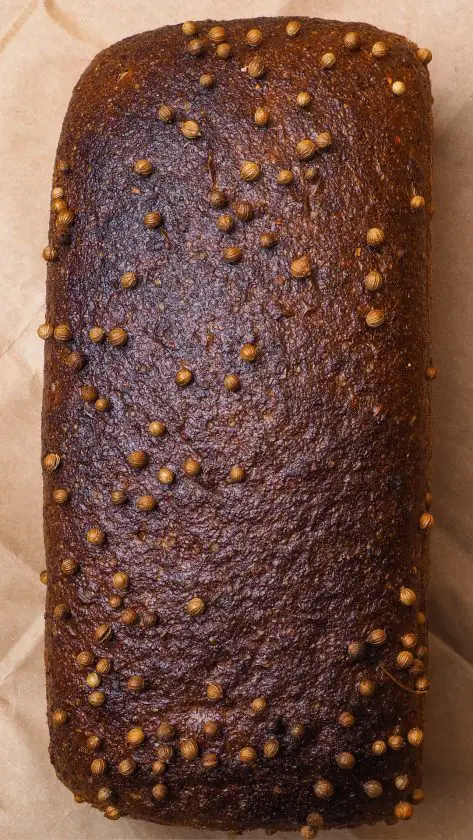
Borodinsky bread is a Russian dark rye bread made with a combination of rye flour, wheat flour, molasses, coriander seeds, and caraway seeds. It gets its signature dark color from the caramelized molasses.
Is Russian black bread healthy?
Yes, authentic Russian black bread is quite healthy, as it’s made from nutrient-rich rye grain, provides dietary fiber, and contains very few unhealthy ingredients compared to many other breads. However, it is high in carbohydrates.
What is the most popular bread in Russia?
Borodinsky bread is likely the most popular type of bread consumed in Russia. This dark, sweet rye bread has a cult following in Russia and the former Soviet Union. Its popularity comes from its dense texture, sweet taste from molasses, and Russian nationalistic origins.
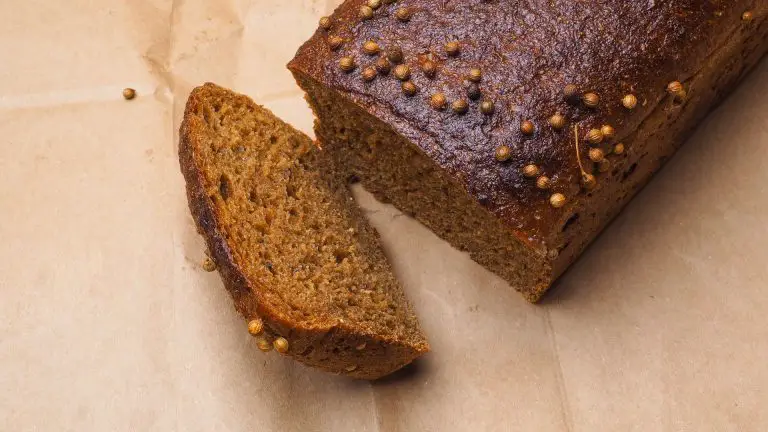
Borodinsky Bread Recipe
This homemade Borodinsky bread is a rustic and hearty Russian delight!
- Total Time: 4 hrs 10 mins
- Yield: 1 loaf 1x
Ingredients
- 2 cups (250g) dark rye flour
- 3 cups (375g) bread flour
- ⅓ cup (115g) molasses
- ¼ cup (50g) sugar
- 1 tablespoon ground coriander
- 1 teaspoon caraway seeds
- 2 ¼ cups warm water
- 1 tablespoon instant yeast
- 2 teaspoons salt
Instructions
Preparation
- In a large mixing bowl, combine flour, sweeteners, spices, yeast, and salt.
- Gradually stir in warm water until a shaggy dough forms.
- Do not add extra flour; the moisture is essential for gluten development.
- Knead on a floured surface for about 10 minutes until smooth and elastic, or use a stand mixer with a dough hook. The dough should develop a chewy, almost meaty texture.
- Place the kneaded dough in a lightly greased bowl.
- Cover with plastic wrap or a damp towel.
- Let it rise for 1-2 hours in a draft-free place until it nearly doubles in size.
- Turn out the risen dough onto a floured surface.
- Shape it into a log to fit your loaf pan.
- Place in the pan seam-side down, cover, and let it rise for another 30-60 minutes until it doubles in size.
Baking Process
- Preheat your oven to 375°F (190°C).
- Ensure the rack is in the center for even heat distribution.
- Bake for 30-40 minutes.
- In the first 15 minutes, the crust will firm up, and the bread will rise.
- In the second half, the interior cooks through, and the color develops.
- Check doneness with an instant-read thermometer (internal temperature above 200°F).
- Remove from the oven and let cool on a wire rack.
Notes
- Setting a kitchen timer prevents overbaking which risks drying out the crumb.
- Tent aluminum foil loosely over the loaf if the crust seems to brown too rapidly.
- Rotate the pan midway if one side browns quicker than the other.
- Let the bread cool completely before slicing to allow moisture to redistribute. Cutting too soon creates a gummy crumb texture.
- Prep Time: 3.5 hrs
- Cook Time: 40 mins
- Category: bread
- Cuisine: Russian
Nutrition
- Serving Size: 1 slice
- Calories: 225 kcal
- Carbohydrates: 50 g
- Fiber: 4 g
- Protein: 6 g


