All that kneading and babysitting dough makes artisan results feel out of reach. But stress and kneading are actually unnecessary! I’ll share a simple no knead technique for superior sourdough bread with incredible depth of flavor. By leveraging extended fermentation rather than muscle power, the industrious yeast and bacteria do the work for you. Just mix, rest, gently fold, rest again, shape, and bake. Say goodbye stress and let time become your secret baking weapon!
Table of Contents
- Why No Knead Works for Sourdough
- Does Sourdough Need Kneading?
- No Knead Sourdough vs Regular Sourdough
- What to Know Before Making No Knead Sourdough Bread
- Selecting Ingredients for Your Sourdough
- How to Make No Knead Sourdough Bread
- Troubleshooting Your No Knead Sourdough Loaf
- Creative Variations You Can Do to No Knead Sourdough
- Pairing and Enjoying Your Sourdough
- Unlocking the Magic of No Knead Sourdough
- FAQs
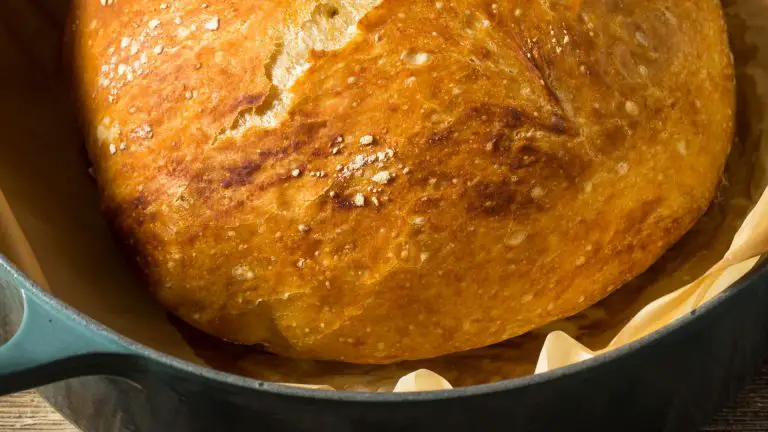
No Knead Sourdough Bread Recipe
I’ll walk through a simple no knead sourdough recipe in detail.
- Total Time: 25 minutes
- Yield: 1 loaf (10 slices) 1x
Ingredients
- 1/2 cup (100 grams) Active Sourdough Starter
- 3 cups (360 grams) Flour
- 1 1/2 cups (360 ml) Water (Lukewarm)
- 1 1/2 teaspoons Salt
Equipment
- Large mixing bowl
- Parchment paper
- Dutch oven or heavy lidded baking pot
- Kitchen towel or plastic wrap
Instructions
- In a large bowl, combine the sourdough starter, flour, and salt.
- Gradually add the water and mix with your hand or a wooden spoon until a shaggy dough forms. The dough will be sticky.
- Ensure all flour is incorporated, but avoid over-mixing.
- Cover the bowl with a kitchen towel or plastic wrap.
- Let the dough rise at room temperature for 12 to 18 hours.
- After the first rise, the dough should be doubled in size and have bubbles on the surface.
- Lightly flour a work surface. Gently transfer the dough onto the surface.
- Fold the dough over itself a couple of times and shape it into a rough ball.
- Cover with a kitchen towel and let it rest for 15 minutes.
- After the short rest, shape the dough more tightly into a ball.
- Place the dough seam-side down on a piece of parchment paper.
- Cover with a kitchen towel and let it rise for about 2 hours, until it has noticeably puffed up.
- About 30 minutes before the end of the second rise, place your Dutch oven (with the lid on) in your oven.
- Preheat the oven to 450°F (230°C).
- Carefully remove the hot Dutch oven from your oven. Lift the dough using the parchment paper and place it into the Dutch oven.
- Cover with the lid and bake for 25 minutes.
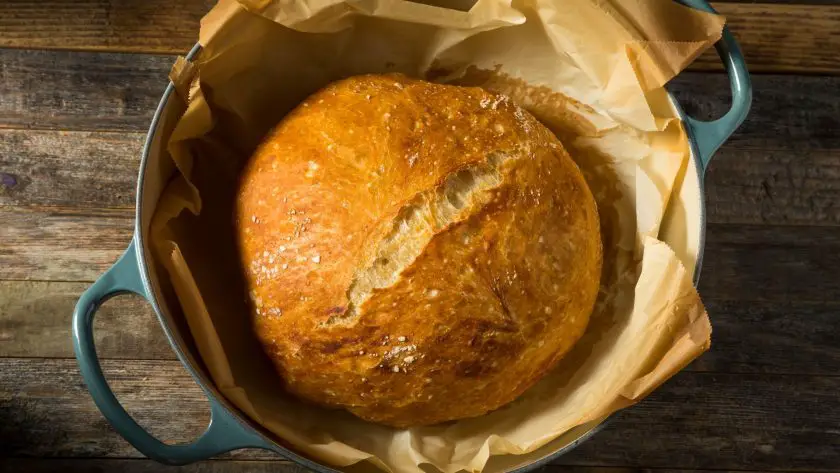
- After 25 minutes, remove the lid and bake for another 20-30 minutes, until the bread is golden brown and sounds hollow when tapped.
- Remove the bread from the Dutch oven and let it cool on a wire rack for at least an hour before slicing.
- Cook Time: 25 mins
- Category: bread
Nutrition
- Serving Size: 1 slice
- Calories: 152 kcal
- Fat: 0.46 g
- Carbohydrates: 32 g
- Protein: 4.3 g
Why No Knead Works for Sourdough
As both a long-time home baker and sourdough lover, I’m often asked about bread making techniques. Specifically, folks want to know why foregoing the kneading step still makes for sourdough loaves with an airy crumb.
Slower Fermentation Builds Flavor
Many experts agree the key benefit lies in the extended fermentation time. This slower proofing period allows the yeast and bacteria to produce more organic acids and carbon dioxide. Veteran bakers sometimes call this the “flavor factory” stage.
The longer the ferment, the more the sourdough culture can create that tangy, complex taste. Going low and slow unlocks an incredible depth of flavor. No knead artisan loaves harness the power of time to let the microbial magic happen.
Fosters Strong Gluten Networks
Kneading serves to rapidly build up elastic gluten strands. But given enough time, the gluten still aligns and cross-links without intensive mixing.
The prolonged ferment softens gluten proteins, allowing the strands to stretch out smoothly. Gently folding the dough once or twice is sufficient to form the strong networks needed for an airy crumb. Time accomplishes what muscle power typically does.
Minimizes Issues from Overmixing
Additionally, skipping extended kneading sessions prevents overworking the bread dough. Too much handling can damage those delicate gluten chains, resulting in denser loaves. The no knead approach minimizes this risk.
Gentle folding aligns the gluten while retaining the gas bubbles. This gives the bread lift for an appealing rise and light texture.
Does Sourdough Need Kneading?
The good news is that while traditional, kneading is not mandatory for sourdough.
Kneading aligns gluten proteins into elastic webs that trap gas bubbles. This gives bread its chewy texture and helps it rise. Without kneading, the gluten chains remain coiled haphazardly. The dough doesn’t form air pockets well, resulting in denser loaves. So kneading creates structure.
However, given enough fermentation time, the gluten strands unravel and link up on their own. The sourdough’s natural acids soften the proteins so the strands stretch out smoothly.
As the bread dough rests, the gluten networks develop without any elbow grease required. The industrious yeast and bacteria do the work for you.
Gentle “folds” periodically lift and redistribute the dough to form gluten webs while retaining air bubbles. Without intense kneading, the folds prevent dense spots while supporting rise. This minimizes the effort for naturally leavened loaves with big flavor and air pockets.
So traditional, kneading is not required for tasty sourdough when using long fermentation times. Enough patience and an occasional fold nudges the process along for pro-quality loaves.
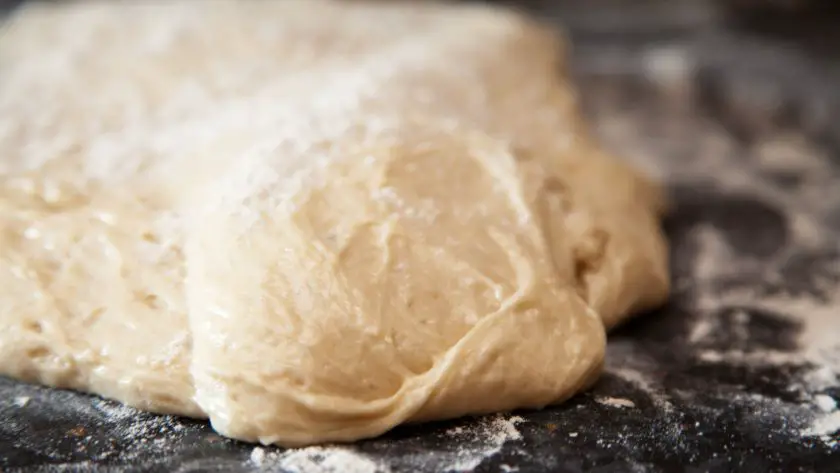
No Knead Sourdough vs Regular Sourdough
Both provide an awesome crust and open crumb, no knead loaves involve less labor. In return, they boast incredible taste from elongated fermentation. It’s simplified sourdough with high rewards.
Texture and Crumb
Traditional kneaded loaves often have a slightly more chewy crumb. The extensive gluten development from intensive mixing creates very elastic strands that form bigger air pockets. This springy texture pleases sourdough purists.
That said, gentle folding allows no knead loaves to trap sufficient gas for a nice honeycomb texture as well. While a bit more delicate than kneaded sourdough, the crumb still boasts an open structure perfect for catching melted butter.
Fermentation Differences
The most significant difference lies in the fermentation time. Conventional recipes normally involve a brief bulk rise of just 4-6 hours. No knead techniques let the dough slowly ferment for 12-18 hours.
This extended timeframe allows more microbial activity to yield better flavor. It also gives the gluten time to stretch out without manual kneading. The tradeoff is a lengthier process overall, but with more complexity.
Ease of Process
Additionally, skipping kneading makes the process easier physically. No need to vigorously punch down and rework the dough every 30-60 minutes. Just mix the ingredients, let time work its magic, then gently shape and bake.
What to Know Before Making No Knead Sourdough Bread
By understanding starters, timing, and ingredients, you’ll avoid common pitfalls on your first try. Just remember that like any artisan baking, the most important ingredient is love!
Right Flour
It’s recommended to use bread flour, which has more gluten-forming protein than all-purpose. The higher protein content allows better oven spring and an open crumb. Whole grain flours also work well for added nutrition.
I’d advise against faster rising cake or pastry flours, however. Without sufficient gluten development during the long proof, these delicate flours result in flatter loaves. Stick with high protein bread flour for best lift.
Understand Your Starter
Before mixing any dough, be sure your sourdough starter culture is mature and active enough for leavening. Signs of readiness are bubbles on the surface and a pleasantly sour aroma.
If neglected, starters can separate into hooch liquid and thicker solids. Refresh your culture with fresh flour and water to revive it before attempting no knead loaves. Healthy starter = healthy rise.
Lengthy Ferment
Additionally, know that this technique depends on an extended 18-24 hour bulk fermentation. Compared to conventional kneaded bread at just 4-6 hours, no knead sourdough takes serious patience.
Plan your mix date and bake day accordingly, and find a sufficiently warm spot for the dough to slowly ferment. But the incredible flavor rewards are well worth the wait!
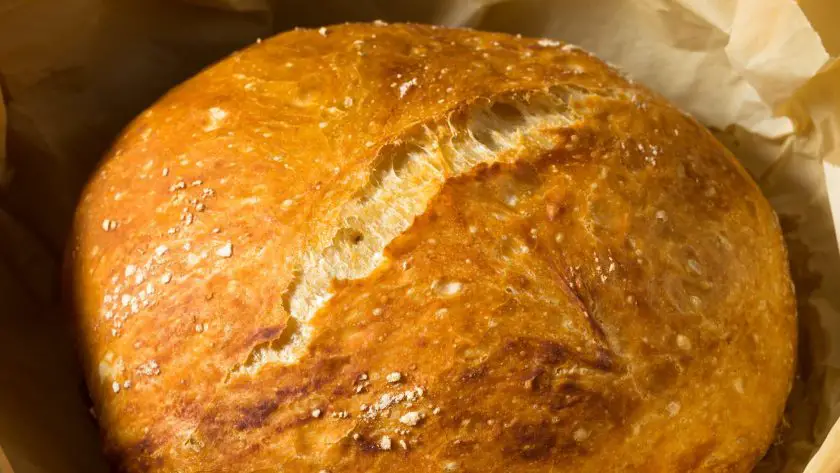
Selecting Ingredients for Your Sourdough
When it comes to no knead sourdough, ingredient quality directly impacts the final product!
Choose Mineral-Rich Water
The water you use affects fermentation and gluten development. Tap water with lots of minerals keeps yeast lively for better rise. If using filtered or distilled water, add a pinch of salt to provide electrolytes.
Avoid chlorinated water, however, as the chemicals slow fermentation. Let heavily treated water sit out uncovered overnight to allow the chlorine to dissipate. Then use it to mix your dough.
Seek Out Quality Flour
For the best flavor and lift, splurge on fresh organic bread flour from small regional mills. The higher protein content aids gluten elasticity, while the whole grains offer complexity. Registered organic flours also undergo less processing for a healthier bran and germ.
If organic isn’t available, look for unbleached all-purpose flours absent of additives. Non-GMO, recently milled flours make dough shine.
Capture Natural Yeast
Finally, capture your own wild yeast! Making a sourdough starter from scratch connects you to generations of bakers.
Simply mix flour and water, then set out to collect ambient yeasts. Feed this culture more flour and water for a week until active. Using your own locally sourced starter gives a delightful depth to no knead loaves.
How to Make No Knead Sourdough Bread
Once you’ve got your ingredients and starter prepped, it’s time for the fun part – baking! I’ll walk through a simple no knead sourdough recipe in detail.
No Knead Sourdough Starter Recipe
Ingredients
- Whole grain flour (rye or whole wheat) – Initially, 1 cup (120 grams)
- Water – Initially, 1/2 cup (120 ml) (use filtered or dechlorinated water)
Day 1: Starting Your Sourdough Starter
- Mix Flour and Water: In a clean jar, mix 1/2 cup (60 grams) of flour with 1/4 cup (60 ml) of water. Stir vigorously to incorporate air. The consistency should be like thick batter.
- Cover and Rest: Cover the jar loosely with a cloth or a lid (don’t seal tightly) and leave it at room temperature (about 70°F or 21°C) for 24 hours.
Day 2: First Feeding
- Observe: By the second day, you might see a few bubbles, indicating fermentation.
- Feed: Add another 1/2 cup (60 grams) of flour and 1/4 cup (60 ml) of water to the jar. Stir well.
- Rest: Cover and leave it at room temperature for another 24 hours.
Days 3-5: Daily Feedings
- Remove Half: Each day, remove about half of the starter (discard it or use it for other recipes) and add 1/2 cup (60 grams) of flour and 1/4 cup (60 ml) of water.
- Stir and Rest: Mix well and let it sit for 24 hours.
By the end of day 5, your starter should be bubbly and have a pleasant, slightly tangy aroma. It should also be about double in size.
Day 6 and Beyond: Maintaining Your Starter
- Once your starter is active, you can switch to feeding it once every 24 hours if you keep it at room temperature, or once a week if you store it in the refrigerator.
- For each feeding, continue with the same ratio: discard half and add equal parts flour and water (by weight).
Tips for Starter Success
- Consistency: Aim for a thick, paste-like consistency. Adjust with a bit more flour or water if needed.
- Temperature: Warmer temperatures accelerate fermentation. If your kitchen is cool, it might take longer.
- Type of Flour: Whole grain flours work best for beginning a starter as they contain more natural yeast.
- Observation: Look for signs of activity, like bubbles and a pleasant aroma.
- Patience: It can take up to a week or longer for a new starter to become fully active.
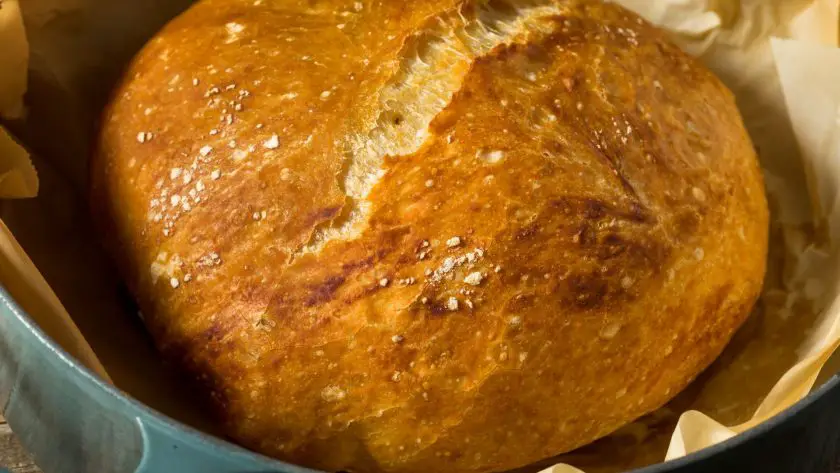
No Knead Sourdough Bread Recipe
Ingredients
- Active Sourdough Starter: 1/2 cup (100 grams)
- Flour: 3 cups (360 grams) – All-purpose or bread flour works well.
- Water: 1 1/2 cups (360 ml) – Lukewarm
- Salt: 1 1/2 teaspoons
Equipment
- Large mixing bowl
- Parchment paper
- Dutch oven or heavy lidded baking pot
- Kitchen towel or plastic wrap
Instructions
- Mixing the Dough:
- In a large bowl, combine the sourdough starter, flour, and salt.
- Gradually add the water and mix with your hand or a wooden spoon until a shaggy dough forms. The dough will be sticky.
- Ensure all flour is incorporated, but avoid over-mixing.
- First Rise (Bulk Fermentation):
- Cover the bowl with a kitchen towel or plastic wrap.
- Let the dough rise at room temperature for 12 to 18 hours. The long rise time allows fermentation and flavor development.
- Shaping the Dough:
- After the first rise, the dough should be doubled in size and have bubbles on the surface.
- Lightly flour a work surface.
- Gently transfer the dough onto the surface. Fold the dough over itself a couple of times and shape it into a rough ball.
- Cover with a kitchen towel and let the dough rest for 15 minutes.
- Second Rise:
- After the short rest, shape the dough more tightly into a ball.
- Place the dough seam-side down on a piece of parchment paper.
- Cover with a kitchen towel and let it rise for about 2 hours, until it has noticeably puffed up.
- Preheat Your Oven:
- About 30 minutes before the end of the second rise, place your Dutch oven (with the lid on) in your oven.
- Preheat the oven to 450°F (230°C).
- Baking the Bread:
- Carefully remove the hot Dutch oven from your oven.
- Lift the dough using the parchment paper and place it into the Dutch oven.
- Cover with the lid and bake for 25 minutes.
- After 25 minutes, remove the lid and bake for another 20-30 minutes, until the bread is golden brown and sounds hollow when tapped.
- Cooling:
- Remove the bread from the Dutch oven and let it cool on a wire rack for at least an hour before slicing.
Tips You Need for No Knead Bread
- Starter: Ensure your sourdough starter is active and bubbly for the best results.
- Hydration: Depending on your flour and environmental conditions, you may need to adjust the water amount slightly.
- Rise Time: Rise times can vary based on room temperature. Warmer temperatures speed up fermentation.
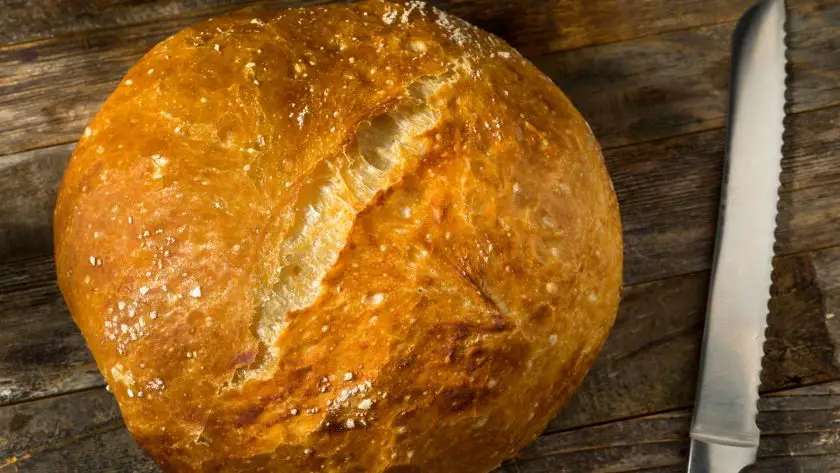
- Scoring: Just before baking, you can make a shallow cut (score) on top of your dough with a sharp knife or razor blade for a more artisan look and to help the bread expand while baking.
Troubleshooting Your No Knead Sourdough Loaf
As a long-time home cook, I’ve had my share of baking flubs too! With a bit of tweaking, your next naturally leavened batch will have that textbook holey crumb and complex sourdough taste!
Dense, Heavy Crumb
If your bread lacks an airy crumb, the most likely culprit is insufficient gluten development. Using weaker flours like cake or pastry types can cause this. Switching to higher protein bread flour allows better rise.
You may also need to ferment longer to allow the strands to link up without kneading. An extra 8 hours should do the trick. Just keep the dough around 75°F during bulk rise for best results.
Uneven Rise
Loaves that rise irregularly on one side or get misshapen during the second proof indicate the dough lacked sufficient turning during bulk fermentation.
Gently folding and turning the dough intermittently ensures even distribution of gases and yeasts. This prevents dense spots and maintains the round shape.
Lackluster Flavor
Of course, flavor is also crucial! If your loaf tastes flat or not sour enough, chances are your starter culture wasn’t mature or active enough.
Always check for bubbles and a pleasantly tangy smell before mixing dough. Let inactive starters ferment longer with extra feedings to reestablish desired yeasts and bacteria.
Creative Variations You Can Do to No Knead Sourdough
Once you’ve mastered the basic no knead sourdough recipe, it’s fun to start experimenting with flavors, add-ins, and shapes. Unleash your inner creativity and invent your own signature sourdough!
Whole Grain and Seeded Breads
For nuttier flavor and texture, substitute up to half the white flour with whole grain varieties like rye, wheat, or spelt. The extra bran and germ provide fiber and vitamins too.
Additionally, stir in a tablespoon or two of seeds per loaf – sunflower, pumpkin, flax, or sesame all pair nicely with sourdough. The crunchy specks create visual and textural interest within the holey crumb.
Herb and Spice Infusions
Dried herbs like rosemary, thyme, and oregano make excellent savory additions. Simply blooming them in the water before mixing releases their essential oils.
For something sweeter, a teaspoon of cinnamon, cardamom, ginger, or nutmeg lends a warming aroma and flavor. You can also knead in a grated citrus zest for a bright pop.
Alternative Shapes
While the round boule remains traditional, don’t limit yourself! For fun variations, shape your dough into batards, baguettes, or rolls before the second rise. Braiding a few pieces creates a beautiful presentation too.
Proof them snugly in floured bannetons or towel lined bowls to hold their form. Slashing decorative cuts on top makes any shape picturesque.
For more on sourdough scoring designs, check out my blog!
Pairing and Enjoying Your Sourdough
Biting into a slice of chewy, tangy sourdough is reward enough after all your baking efforts. But your hard-earned loaf will also partner beautifully with so many foods in sweet and savory preparations. Read on for my favorite ways to serve naturally leavened bread!
As the Main Star
Sometimes the simplest treatment lets the complex flavor of your homemade sourdough loaf shine. A schmear of cultured homemade butter or glossy drizzle of extra virgin olive oil makes an ideal complement.
For easy appetizers, top slices with cured meats, aged cheeses, smoked salmon, or seasonal fruits like figs or grapes. The possibilities are endless!
In Recipes
Beyond enjoying it au naturel, sourdough also uplifts everything from soups to desserts. Cubed bread pieces lend hearty texture to minestrone or tomato soup.
For a sweet twist, use thick slices as a base for sourdough French toast, bread pudding, or summery shortcakes topped with macerated berries.
With Entrees
Sourdough also pairs perfectly with full entree presentations. Hollowed boules filled with stew deliver comfort on a chilly day. Imagine curling up with your sourdough bread bowl with creamy cauliflower soup!
Thick slices make excellent sourdough sandwich bread too. I love toasting open-faced turkey melts gilded with melted cheese, tomato, and peppery arugula.
However you choose to enjoy it, one thing’s for sure – that glorious crust will have you catching every last crumb! Savor each delicious bite of your from-scratch, no stress baking masterpiece.
Unlocking the Magic of No Knead Sourdough
The extended fermentation period is the hero that makes this technique work. While traditional kneaded sourdough features a bit more chew, no knead loaves offer incredible depth of flavor and delightful texture too. They require much less active effort as well – no punching down dough every hour!
The only thing better than the sense of accomplishment when that beautifully browned boule emerges from the oven is biting into a slice slathered with butter or your favorite jam. Every delightful bite bursting with tang makes all that waiting worthwhile!
With a few loaves under your belt, you can start to adapt your basic recipe as well. It’s fun to unleash your creativity when sourdough baking. Soon your kitchen will be filled with the irresistible aroma of happy fermentation. Get ready to enjoy slice after slice of heavenly homemade bread!
FAQs
Is no-knead sourdough better?
While traditional kneaded sourdough features a pleasantly chewy texture, no-knead loaves win when it comes to deep flavor development. The extended fermenting time allows more complex flavors to build while still producing a nice open crumb and holey structure. So for superior taste with less active effort, no-knead sourdough takes the cake!
Does sourdough need kneading?
Kneading is not an absolute requirement for tasty sourdough loaves. Given enough fermentation time, the gluten strands in the dough unravel and link up on their own without intensive mixing.

