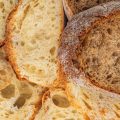
Why doesn’t my sourdough get airy like the pictures? Your quest for open crumb is not as fruitless as you might think. Before you banish your starter to the back of the fridge, try these tips for home bakers. From choices in flour and fermentation duration to troubleshooting under and overproofing, discover what makes dough rise AND fall. Take your sourdough to new heights – no professional bread oven required.
Table of Contents
- What Makes Sourdough Rise?
- Ingredients for Optimal Sourdough Bread Rising
- Starter Culture for Leavening
- Fermentation Process that Gets the Best Sourdough Rise
- Effective Kneading Techniques
- Optimizing Temperature and Environment
- Accelerating the Rise
- Troubleshooting Common Issues
- Strategies for an Optimal Sourdough Rise
- FAQs
What Makes Sourdough Rise?
Sourdough gets its unique properties from two key components: yeast and gluten. Understanding how these ingredients interact is crucial for learning how to get better rise out of your sourdough loaves.
Yeast
Yeast is responsible for the rise in all leavened breads. With sourdough, there are both wild and commercial strains of yeast at work.
Getting an active yeast fermentation is critical for lift. The longer you ferment your starter and dough before baking, the more gas gets produced. Using a warm proofing temperature between 78-82°F will speed up yeast activity. You can tell your yeast is vigorously fermenting if your starter doubles in size or your dough rises noticeably.
Pay attention to the distinctive sour smell that results from extended yeast fermentation. Allowing the yeast to produce more lactic and acetic acids is what gives sourdough its tangy flavor.
Gluten
Gluten provides the protein structure that allows gases to inflate the dough rather than escape it. When mixing and kneading sourdough, you are developing stretchy gluten strands that interlink to form a network capable of trapping air.
A properly developed gluten network is vital for good oven spring. Make sure to mix your dough sufficiently, either by hand or machine. Perform a windowpane test: a small piece of dough stretched thin enough to see light through indicates adequate gluten development.
Because prolonged fermentation breaks down gluten, take care not to over-proof your sourdough. Watch for visible deflation or excessive surface bubbles, signaling weakened gluten. Shape loaves as soon as the dough passes the float test to preserve structure.
Ingredients for Optimal Sourdough Bread Rising
Achieving a good rise with your sourdough requires using the right ingredients. Pay attention to the flour, water, and starter culture you use for optimal lift and oven spring.
Choosing the Best Flour
The protein content of your flour has a major impact on gluten development and gas retention. Bread flour with 12-13% protein is ideal. The extra gluten strength allows it to trap air better than lower protein all-purpose flour.
You can further build structure by incorporating 20-30% whole grain flours like rye, wheat, or spelt. The yeast will feed on enzymes and sugars found in the bran and germ. Just avoid going over 30% or else the dough can become too heavy.
Mix and match various flour types to discover your perfect blend for rise. Play around with hydration levels as whole grains absorb more water. Every oven and environment is different too.
The Importance of Water Quality
Water constitutes roughly 60% of sourdough’s total ingredients by weight. While any potable water will get the job done, filtered or bottled water is best. The minerals and chemicals found in hard tap water can inhibit yeast growth.
Using warmer water around 90°F initiates faster fermentation. Just don’t go above 110°F or else you risk killing the yeast. Pay attention to dough temperature and adjust water as needed.
Choosing a Starter Culture
Whether you use a commercial yeast starter or wild sourdough culture, choose an actively fermenting one. Signs include vigorous bubbling, doubled size, and that slightly sour “yeasty” smell.
If your starter isn’t floating in water after being fed, the yeast likely needs reinvigorating. Try discarding all but a tablespoon and refreshing with equal parts flour and 90°F filtered water.
Repeatedly propagating at peak activity will create the most lively culture for leavening your dough. Using non-chlorinated water can also boost yeast health over time.
Starter Culture for Leavening
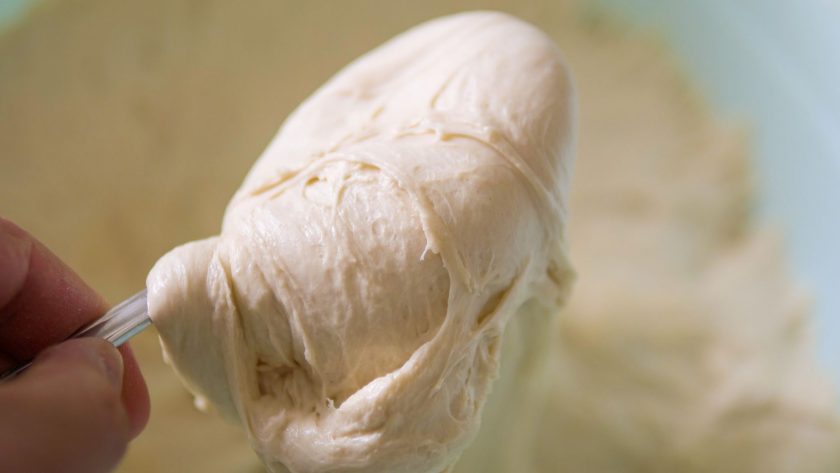
A healthy, active sourdough starter is essential for good rise. This living culture of yeast and bacteria serves as the leavening agent. Properly maintaining your starter ensures vigorous fermentation and gas production.
Signs of a Healthy Starter
A well-cared for starter should double in size 4-8 hours after feeding, give off a pleasant sour aroma, and pass the float test in water. These indicate an active yeast population.
The starter should have a balance of yeast and bacteria. If overly acidic, the culture turns hooch-y and separates. Refresh with higher hydration feeds to bring back balance.
Feeding and Maintaining the Starter
To keep yeast lively, discard half and refresh with equal parts flour and water every 5-7 days. Or feed twice that interval if baking frequently.
Use warm 90°F filtered water to dissolve sugars and wake up yeast. Feed at peak rise when starter exhibits most activity.
Switching between rye and wheat flours every other feeding adds complexity to starter flavor. But find one base flour to focus on if aiming for consistency.
Using Starter for Dough
When making dough, only use starter that has freshly doubled from its last feed. More mature starter exhausts food sources faster.
Substitute 15-25% of the dough’s total flour weight with active starter to leaven effectively. Too much risks over-acidifying; too little may ferment slowly.
Pay close attention to visual rise cues along the way. A vigorous starter translates to active fermentation in your final dough as well. Healthy yeast growth is what enables oven spring.
Fermentation Process that Gets the Best Sourdough Rise
Proper fermentation is vital for getting rise out of your sourdough. Yeast activity builds early on during bulk fermentation, while late proofing sets the structure. Mastering each stage comes with experience.
Bulk Fermentation
This initial stage starts after mixing and kneading. Place the dough in a covered container and let sit at room temperature. This is when the most gas-producing yeast activity occurs.
Allow the dough to bulk ferment for 4-6 hours. Look for it to increase in size by 50-100%. Use the aliquot jar method to monitor rise. Take a small sample and track its growth hour-by-hour.
Employ a warm proofing box or oven with light on to maintain 78-82°F, the optimal temperature for yeast. Just don’t exceed 85°F or else risk over-proofing.
The Proofing Stage
After sufficient bulk fermentation, the dough gets portioned and pre-shaped. Next is the final proof where the loaves relax into their form.
For sourdough, proof for 1-2 hours only. Given the prior bulk ferment, you want to avoid exhausting the remaining yeast. Judge proofing complete when indentations remain versus bouncing back.
With proper fermentation, oven spring will provide any last rise. For maximum lift, use a Dutch oven to trap steam. The initial blast of moisture gelatinizes starches on the loaf exterior. This sets the crust so gases can inflate inside rather than escape.
Getting to know your starter and dialing in fermentation times is key. Take detailed notes each time you bake sourdough bread until discovering your perfect proofing formula for rise.
Effective Kneading Techniques
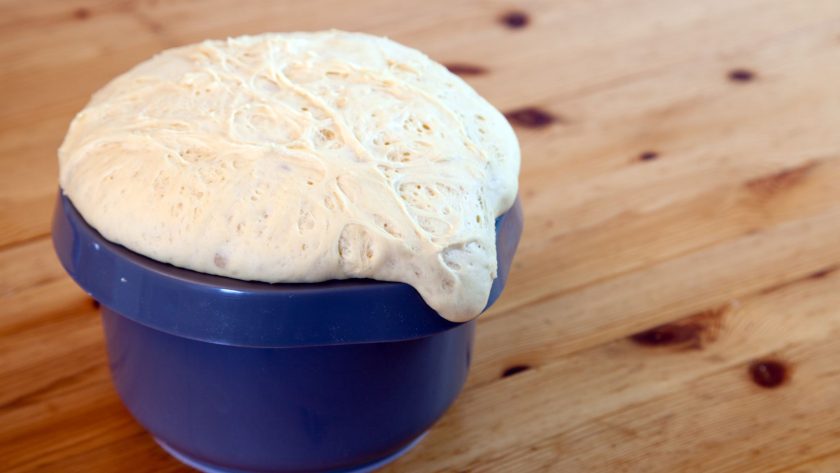
Properly developing gluten structure during kneading is vital for trapping gases. Under-kneaded dough won’t rise well. Over-kneaded dough risks oxidizing and tightening the gluten. Mastering technique comes with practice.
Effective Kneading Methods
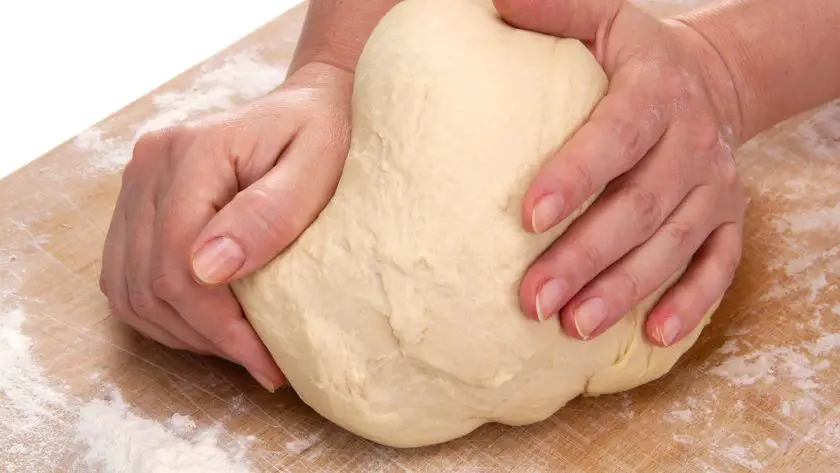
The most common approach is the push-fold method. Push the dough away and then fold it back over itself. Repeat rhythmically for 5-10 minutes initially.
If kneading by hand, use your body weight and gravity rather than just arms and wrists. Or invest in a stand mixer and utilize the dough hook attachment on medium speed.
For wet, high-hydration doughs, stretch-and-fold periods work better. Lift a section of dough and stretch it up then fold back into the mass. Rotate bowl and repeat.
Judging Adequate Development
Check dough consistency and feel along the way. Well-developed dough should be smooth, elastic, and pass the windowpane test.
Grab a small piece of dough and gently stretch it sideways between your hands. Forming a thin translucent “window” without tearing means gluten strands have properly aligned and cross-linked.
Insufficient kneading produces dough that feels dense or tears easily when stretched. Keep working it until achieving that soft, pillowy texture. But don’t over-knead or else risk too much strength.
Allowing Rest Time
Yeast needs time to generate lift after intensive kneading. Allow the dough to rise 30-60 minutes before shaping loaves. This lets gluten relax while maintaining gas bubbles.
You can also build more structure with a folding period midway through bulk fermentation. Perform a series of stretch-and-folds on 30-minute intervals. The repetition further aligns and develops the gluten.
Getting a good gluten network established during dough development is key for both retaining gases and achieving oven spring. Try varying your kneading techniques and rest periods until discovering what works best. Pay close attention to how the resulting bread rises.
Optimizing Temperature and Environment
Ambient conditions play a big role in sourdough’s rise. Yeast thrives best within an optimal temperature range. Providing the right proofing environment prevents over or under-fermentation.
Impact of Temperature
The ideal temperature for yeast activity falls between 78-82°F. Colder conditions slow fermentation, while excessive heat kills yeast.
Pay close attention to not just air temperature, but dough temperature as well. Using 90°F water helps kickstart yeast. Monitor dough with a probe thermometer, adjusting proof times accordingly.
Employ a proofing box, oven with light on, or other warm space to maintain climate control. Just don’t exceed 85°F during bulk fermentation or else risk collapsing cell structure.
If bulk proofing at room temperature, expect longer rise times. In colder conditions below 70°F, you may need to proof overnight before seeing size doubling or float test passing.
Creating the Right Conditions
Beyond temperature, other environmental factors affect rise. High humidity provides extra moisture to support yeast growth. Low humidity risks drying out dough surfaces prematurely.
Drafts and air currents also frequently derail home bakers. Constant air movement evaporates moisture off dough exteriors, forming early crusts that restrict rise.
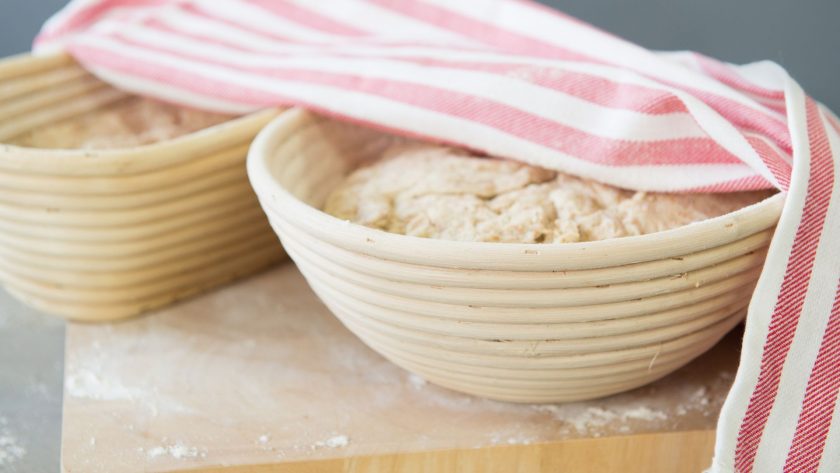
Find a relatively still, enclosed space like a warm garage or closed oven to proof loaves. Or cover with plastic wrap to help retain humidity and insulate dough if proofing out on countertops.
While ambient conditions play a role, focus first on developing your starter, kneading adequately, and proofing fully before baking. If loaves continue rising inconsistently, troubleshoot fermentation timing before adjusting proofing environment. Often extra bulk time is needed to build enough gases, despite less than ideal room conditions.
Accelerating the Rise
While proper fermentation timing is key, there are a few tricks to help accelerate the rising process when needed. Employ these techniques judiciously when wanting to speed up your schedule.
Initiating Faster Fermentation
Use warm 80-90°F water when mixing dough to instantly wake up yeast. The higher starting temperature initiates fermentation sooner.
Or make a yeast activation sponge by stirring your starter into the warm water before adding flour. Let bubble for 30 minutes before mixing final dough.
Adding a pinch of yeast energizer powder further accelerates the starter. Just avoid overusing enhancers which can impart off-flavors.
Proofing at Warmer Temperatures
As mentioned before, ideal proofing temperature falls between 78-82°F. You can push this to 85°F to ferment dough faster without collapsing structure.
Use a proofing box, oven with light, or even hot water bath to regulate warmer ambient heat when wanting to speed up rise time.
But don’t exceed 85°-90°F or else risk over-proofing. Judge dough readiness by indentation and structure rather than time duration alone when employing warmer proofing temperatures.
Kneading Longer Initially
Extending your initial dough kneading time develops more gluten strands earlier on, allowing gases to inflate quicker.
Aim for 8-10 minutes of kneading versus the standard 5 when wanting to accelerate structure building for faster rising.
Just be careful not to over-mix or else you tighten rather than strengthen the glutens. Employ proper kneading technique and monitor dough feel instead of blindly extending mix time.
Troubleshooting Common Issues
Despite your best efforts, sourdough loaves sometimes still refuse to rise properly. Don’t despair! Here are some common problems and potential solutions.
Under-Proofed Dough
If your shaped loaf rises minimally or collapses in the oven, chances are the dough wasn’t proofed sufficiently to fully inflate. Try extending bulk fermentation time to allow more gas production before the final proof. Or allow your shaped loaf to proof longer, watching for size doubling.
Under-proofing might also result from low yeast activity due to using cool proofing temperatures, older starter, or inadequate kneading. Address these root causes first.
Over-Proofed Dough
On the flip side, ragged air pockets or excessive bubbling on the crust indicates the dough proofed too long, causing weakened gluten unable to retain shape. For better rise, handle the dough gently to preserve structure after the float test passes. And limit proof times to 1 hour maximum once shaped.
Prevent over-proofing by monitoring temperature and humidity so exterior dries slowly. Discard hooch liquid from starter feeds to reduce acidity which breakdowns gluten over time.
Yeast Viability Issues
Despite sufficient proofing time, poor rise can stem from inactive yeast. Check your starter first. Does it double in 4-8 hours after a feed and pass the float test? Is the distinctive sourdough aroma present?
If not, try discarding down to a tablespoon and refreshing your starter 2-3 consecutive feeds peak activity. Use warm water and rye flour to jumpstart yeast.
In the final dough, switch out some white flour for whole grain varieties which provide enzymes and sugars to feed yeast. And consider replacing a quarter of old starter with a new batch.
Strategies for an Optimal Sourdough Rise
Getting beautiful rise out of sourdough requires attention across the entire breadmaking process. But stick with these tips and you’ll see those oven springs reach new heights.
- Choose bread flour or high-gluten flour with at least 11-12% protein content for better gluten development and rise
- Incorporate 20-30% whole grain flours like rye or wheat to provide enzymes to feed yeast and lift
- Use filtered or bottled water instead of tap water to avoid minerals that inhibit yeast
- Employ an actively fermenting starter, feeding it regularly at peak activity
- Allow for adequate bulk fermentation time, 4-6 hours typically
- Proof at 78-82°F using a proofing box or oven with light on
- Knead thoroughly to develop gluten strands, passing the windowpane test
- Give dough a rest period after kneading before shaping to allow gluten to relax
- Gently handle proofed dough with well-developed structure to preserve gases
- Cover and proof in a draft-free space with stable temperature and humidity
- Extend bulk rise time if loaves are underproofed and collapse when baking
- Limit proofing of shaped loaves to 1 hour max to prevent over-proofing
- Use 80-90°F water and a yeast sponge to accelerate fermentation when needed
- Refresh starter, use whole grains, or replace some old starter to fix yeast issues
Follow this baker’s dozen tips when baking sourdough to unlock your recipe for great rise every time. Pay attention and record observations diligently. Then enjoy the fruits of your leavened labors.
FAQs
How do you increase the rise of sourdough bread?
Choose an active, peak fermenting starter culture and feed it regularly. Allow for lengthy 4-6 hour bulk fermentation time. Use bread flour with at least 11-12% protein. Incorporate some whole grain flours for enzymes to feed yeast. Knead thoroughly, passing the windowpane test. Proof loaves initially around 78-82°F. Handle proofed dough gently to maintain structure and limit final proof time. If loaves still don’t rise well, troubleshoot by extending bulk time or adjusting starter hydration.
Why is my sourdough not rising much?
There are a few potential reasons your sourdough isn’t rising properly. The most common causes are underproofing the dough, issues with yeast viability, and inadequate gluten development. Try extending bulk fermentation time to allow more gas production. Check your starter’s health and activity level. And ensure you are kneading thoroughly to build gluten strength capable of trapping gases. Tweaking these areas often helps encourage better lift.
What to do with sourdough that won’t rise?
If your sourdough isn’t rising adequately no matter what you try, focus on troubleshooting potential root causes. Check yeast health by feeding and propagating your starter to peak activity multiple feeds in a row. Extend kneading time to better develop gluten structure. And allow for longer bulk fermentation to build gases if underproofing is the issue. Getting to the bottom of why your dough lacks lift is key before adjusting your ingredients and process to encourage better rise.


