Hydration is an important element in sourdough baking. If you’re wondering how to produce the perfect textured loaf with a crisp crust that lasts for days, then here’s what you need to know!

Table of Contents
- What is Hydration?
- How Hydration Levels Affect Bread
- High Hydration Sourdough Bread Recipe
- So High Hydration Sourdough?
- FAQs
High Hydration Sourdough Bread Recipe
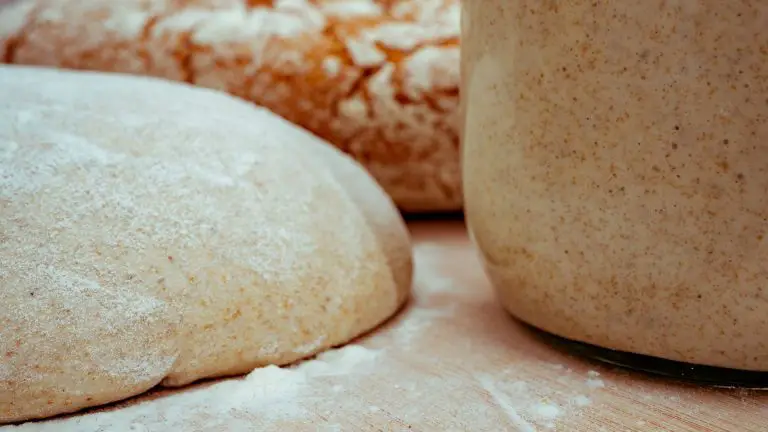
This high hydration sourdough bread recipe is perfect for any time of day. Simply bake, cool and slice to enjoy whenever you wish!
- Total Time: 50 minutes
- Yield: 1 loaf 1x
Ingredients
For sourdough starter
- 150g water
- 162/5g flour (rye flour, whole wheat flour, or all-purpose flour)
For the dough
- 600g bread flour
- 360g water
- 180g active sourdough starter
- 10g salt
- Rice flour for dusting
Instructions
Make the sourdough starter
- In the morning add 100g of water and 80g of flour to a jar, then seal loosely.
- Let the mixture sit at room temperature until it starts to bubble on the surface.
- After 7 hours, feed the starter with 50g of water; and 62.5g of flour. Then let it rest overnight.
Make the dough
- The next day, mix bread flour; and 360g of water in a bowl. Cover with plastic wrap and autolyze for 3 hours.
- Then incorporate 180g of high-hydration sourdough starter into the mix.
- Cover with plastic wrap, and let the dough rest for 1 hour.
- Sprinkle salt on top of the dough. Stretch and fold the dough to incorporate the salt.
- Cover the dough and let it sit for 3 hours in bulk fermentation.
- Every 30 minutes, stretch and fold the dough into the center, in the shape of a boule.
Pre-shape the dough
- Transfer the dough to a non-floured work surface, and move the dough around to form into a ball, and create tension.
- Cover the dough ball with an overturned bowl, and let it rest for 30 minutes.
Shape the dough
- Dust a banneton aka proofing basket with rice flour.
- Using a bench scraper, roll the dough so that the seam side faces you.
- Gently stretch and fold the bottom of the dough to the middle.
- Stretch and fold the right side of the dough to the middle, then repeat with the left and top sides of the dough.
- Pull the corners of the dough towards the center.
- Then, transfer the shaped dough to a floured proofing basket.
- Cover the dough and refrigerate overnight.
Bake the bread
- The next day, remove the dough from the refrigerator. Place a Dutch oven or deep cast iron pan with a lid into the oven.
- Preheat the oven to 450 degrees F for 1 hour.
- Place a piece of parchment paper on a work surface, and gently drop the dough on top of it.
- Score the bread with a sharp knife, and lower the bread into the preheated cooking vessel.
- Cover and bake for 20 minutes to achieve oven spring.
- Uncover and bake for another 30 minutes.
- Transfer to a wire rack to cool.
- Cook Time: 50 mins
- Category: bread
What is Hydration?
Hydration is the term used to describe the amount of water or liquid in sourdough. The higher the water content, the higher the hydration percentage.
A high hydration sourdough begins with a type of sourdough starter called levain, which is essentially a combination of sourdough starter, water, and flour. This type of dough produces softer loaves; with an open crumb; and a thin crust that remains crisp for longer.
Why Are Hydration Levels Important In Sourdough?
The hydration level of your sourdough, influences the type of loaf you end up with. It determines the appearance and texture of your bread, and indicates how the dough will react to mixing, fermenting and shaping.
The nature of sourdough fermentation often results in a tighter crumb, which is why sourdough breads are often made with high hydration dough.
Lower Hydration Dough
The lower the hydration the stiffer the dough meaning that you will have to work harder to incorporate the ingredients. As well as this, the gluten development will take longer, which means more kneading.
Though the dough will also be less sticky, and easier to handle, the fermentation process will be longer.
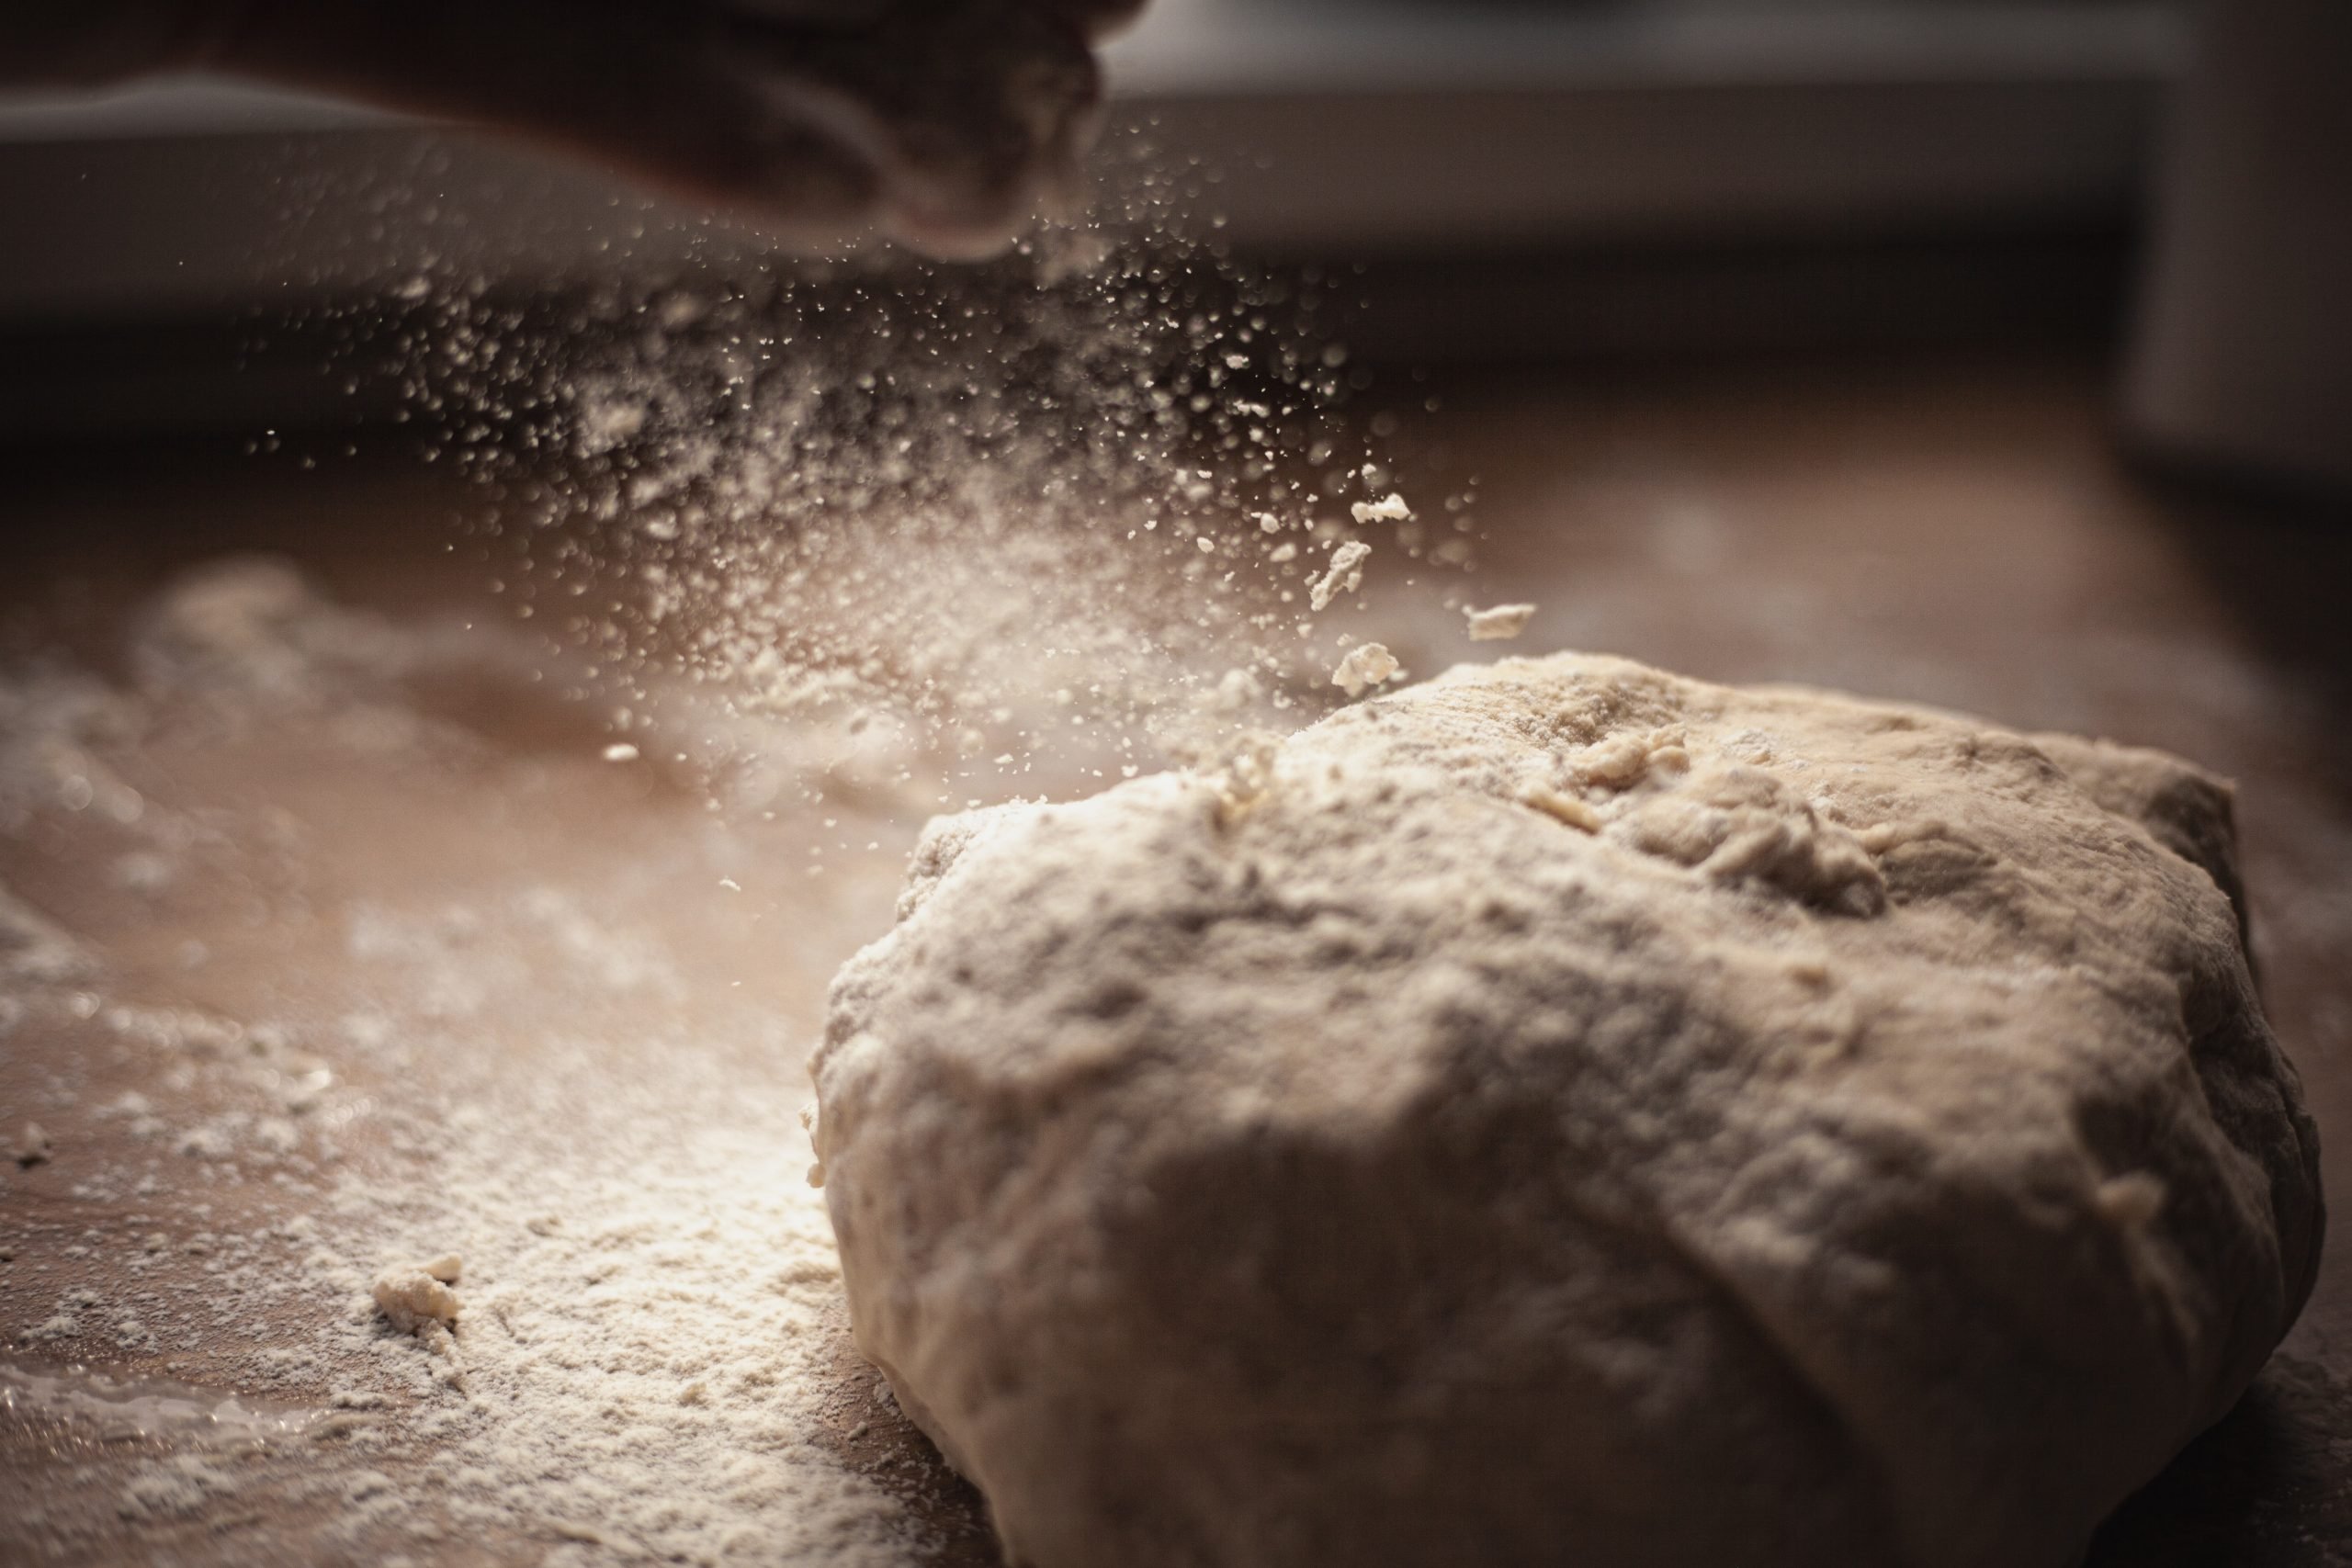
Higher Hydration Dough
The higher the hydration, the more limp and soft the dough will be. This means that the ingredients will combine easier, and the dough will be wetter, stickier and overall easier to handle.
There will be little to no kneading required, as the extra wetness will enable the yeasts and bacteria to roam free. A high hydration dough will ferment much faster, though the stickiness of the dough will require advanced level skills to handle.
If you’re a beginner in sourdough bread baking, it’s better to kick off with low hydration dough. Then gradually increase its hydration as your skills develop, to produce delicious bread.

How Hydration Levels Affect Bread
The hydration levels affect both your dough as well as the result of your bread. Some of the ways your loaf could be affected by increased hydration levels include:
- Texture – A high hydration dough will produce a soft textured loaf, with an open crumb, revealing bigger holes in the sourdough bread.
- Crust – The crust of a sourdough bread is normally thick and hard, though a higher hydration sourdough has a thinner crust that remains crunchy for longer.
- Flavor – High hydration loaves have a developed sourdough flavor, whereas lower hydration dough produces a vinegar-like sourness.
- Appearance – A high hydration loaf won’t produce a tall loaf, though you can bake it in a loaf tin if you’re looking for a well-risen loaf.
High Hydration Sourdough Bread Recipe
This high hydration sourdough bread recipe, is perfect for any time of day. Simply bake, cool and slice to enjoy whenever you wish!
Ingredients
For sourdough starter
- 150g water
- 162/5g flour (rye flour, whole wheat flour, or all-purpose flour)
For the dough
- 600g bread flour
- 360g water
- 180g active sourdough starter
- 10g salt
- Rice flour for dusting

Instructions
- Make the sourdough starter: In the morning add 100g of water and 80g of flour to a jar, then seal loosely.
- Let the mixture sit at room temperature until it starts to bubble on the surface.
- After 7 hours, feed the starter with 50g of water; and 62.5g of flour. Then let it rest overnight.
- Make the dough: The next day, mix bread flour; and 360g of water in a bowl. Cover with plastic wrap and autolyze for 3 hours.
- Then incorporate 180g of high-hydration sourdough starter into the mix.
- Cover with plastic wrap, and let the dough rest for 1 hour.
- Sprinkle salt on top of the dough. Stretch and fold the dough to incorporate the salt.
- Cover the dough and let it sit for 3 hours in bulk fermentation.
- Every 30 minutes, stretch and fold the dough into the center, in the shape of a boule.
- Pre-shape the dough: Transfer the dough to a non-floured work surface, and move the dough around to form into a ball, and create tension.
- Cover the dough ball with an overturned bowl, and let it rest for 30 minutes.
- Shape the dough: Dust a banneton aka proofing basket (or proofing basket alternatives) with rice flour.
- Using a bench scraper, roll the dough so that the seam side faces you.
- Wet your hands: Gently stretch and fold the bottom of the dough to the middle.
- Stretch and fold the right side of the dough to the middle, then repeat with the left and top sides of the dough.
- Pull the corners of the dough towards the center.
- Then, transfer the shaped dough to a floured proofing basket.
- Cover the dough and refrigerate overnight.
- Bake the bread: The next day, remove the dough from the refrigerator. Place a Dutch oven or deep cast iron pan with a lid into the oven.
- Preheat the oven to 450F for 1 hour.
- Place a piece of parchment paper on a work surface, and gently drop the dough on top of it.
- Score the bread with a sharp knife, and lower the bread into the preheated cooking vessel.
- Cover and bake for 20 minutes to achieve oven spring.
- Uncover and bake for another 30 minutes.
- Transfer to a wire rack to cool.
So High Hydration Sourdough?
For a moist, soft loaf, with a crunchy crust, opt for a high hydration dough in your sourdough recipe. However, if you prefer appearance over flavor, then reduce the amount of liquid in the recipe.
FAQs
What Does Higher Hydration in Sourdough Do?
The higher the hydration level of your sourdough, the softer the texture of the loaf will be, with a wider crumb.
Is High Hydration Sourdough Better?
High hydration in sourdough bread is much better as this will create an open crumb texture, with a thin and crisp crust.
Does Higher Hydration Sourdough Ferment Faster?
Yes, the higher the hydration the faster the fermentation. This means that if your dough is 85% hydrated, it will ferment much faster than a dough that’s 75% hydrated.
How do You Make 100% Hydration Sourdough?
To make 100% sourdough hydration, simply feed 1/2 cup of starter with 1 cup of flour and 1/2 cup of water.

