Craving a sandwich that’s a cut above? Tired of ho-hum grocery store loaves that leave your gut unhappy and tastebuds bored? Then it’s time to unlock the magic of potato sourdough bread! This wholesome, flavor-packed loaf puts an inventive spin on standard sourdough thanks to a secret ingredient – humble spuds. Packed with extra nutrition, gut-friendly fiber, and no added sugar, potato sourdough blesses your belly and wows your palette with tangy sweetness in every tasty bite. Read on to discover an easy step-by-step method for baking the ultimate loaf that’s better for your body and guarantee to impress.
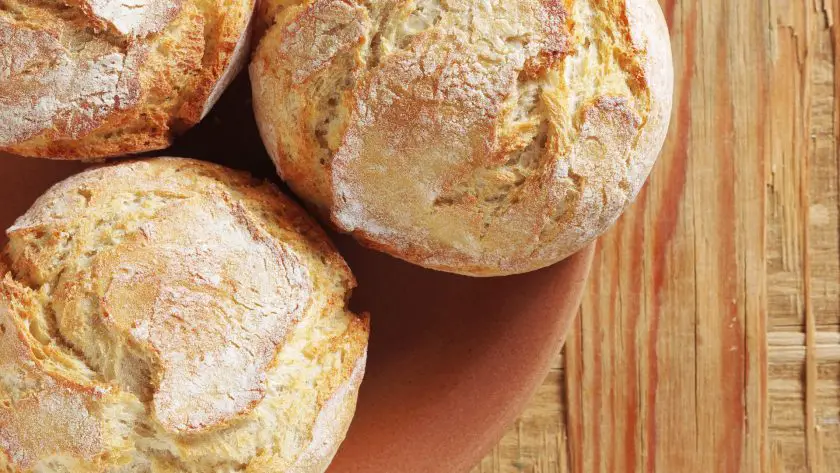
Table of Contents
- What is Potato Sourdough?
- Why Make Potato Sourdough Bread
- Potato Sourdough vs Regular Sourdough
- Ingredients Needed
- Preparation of Sourdough Starter
- Mixing the Dough
- Incorporating Potatoes
- First Rise and Shaping
- Second Rise and Preheat Oven
- Baking the Bread
- Tips for the Best Potato Sourdough
- Variations and Creative Twists
- Pairing and Serving Suggestions
- The Art of Potato Sourdough
- FAQs
What is Potato Sourdough?
Potato sourdough bread is a type of artisanal bread made using potatoes and a sourdough starter as the main ingredients. Cooked potatoes are mixed into the bread dough, contributing moisture, sweetness, and nutrients. Usually about 25-50% of the flour by weight is replaced with mashed potatoes.
The potatoes lend the bread a soft, moist texture and subtle natural sweetness that perfectly complements the sourdough tang.
It takes longer to make than regular bread since you need to prepare the starter in advance and allow for long fermentation times. But the patience pays off in superior flavor and health benefits.
Why Make Potato Sourdough Bread
Rather than another lackluster sandwich on lackluster bread, a slice of homemade potato sourdough transforms your lunch into a gut-healthy, gourmet delight.
Boasts Prebiotic Fiber for Digestive Health
Potato’s and sourdough’s fibers feed the good bacteria in your gut microbiome, improving digestive health. The potatoes’ resistant starch also escapes digestion, acting as a prebiotic.
With just one slice blessing your belly with 5 grams of belly-friendly fiber, potato sourdough provides a probiotic punch.
Packed with Nutrients and Antioxidants Galore
Potatoes deliver a trove of essential vitamins and minerals. Baking them into sourdough bread gives you a nutritious vehicle for enjoying these spud superpowers.
Adds Sweetness and Moistness Minus Added Sugar
With their subtle earthy sweetness, potatoes lend a lovely flavor and moisture to bread without needing heaps of added sugar or fat. The sourdough’s acidic tang perfectly balances out the spud’s mellow sweetness.
And rather than dried-out whole wheat, this bread stays tender and fluffy for days thanks to the potato’s moisture.
Fun, Fulfilling DIY Baking Project
Instead of just buying a loaf at the store, baking your own potato sourdough offers a rewarding, creative endeavor.
And wowing your loved ones with your masterpiece is a feeling like no other!
Potato Sourdough vs Regular Sourdough
While both utilize the power of a fermented starter for rise and tang, potato sourdough differs from standard bread sourdough.
Double Dose of Fiber From Spuds
With a good portion of white flour replaced by mashed potatoes, potato sourdough benefits from the spuds’ fiber. This doubles the fiber content compared to regular sourdough, blessing your bread with 4-5 grams per slice. That extended fermentation also unlocks more of the potato’s fiber to feed your microbiome.
Moist and Sweet Potato Effect
The potato’s moisture keeps this bread deliciously soft and fresh for days without prematurely drying out. And complementing the pleasant sourness, the potatoes lend a subtle sweetness sans any added sugar. This balanced sweet-tangy flavor profile gives potato sourdough a more mellow, smooth mouthfeel.
More Lenient Rising Demands
Unlike some temperamental starters, potato sourdough’s increased moisture and the spuds’ weight make it a bit more forgiving during rising. The dough doesn’t require quite as precise proofing times and conditions. Just allow it to rise sufficiently in a warm area away from drafts.
Longer Baking Time for Crust and Crumb
Be prepared for this loaf to require a longer oven stint – sometimes upwards of 45-60 minutes. But that extended bake allows the ideal crust to form around the gift of moist, fluffy crumb within. Resist any urge to shorten the bake time for a properly gloriously browned exterior and light, airy insides.
Ingredients Needed
Beyond just flour, water, and starter, let’s explore the essential elements that lend this bread its signature texture and tangy sweetness.
Sourdough Starter
The sourdough starter provides the wild yeast and good bacteria to leaven the bread. You can easily make your own starter by mixing flour and water and letting natural yeasts ferment it. Or use a starter from a friend!
Potatoes
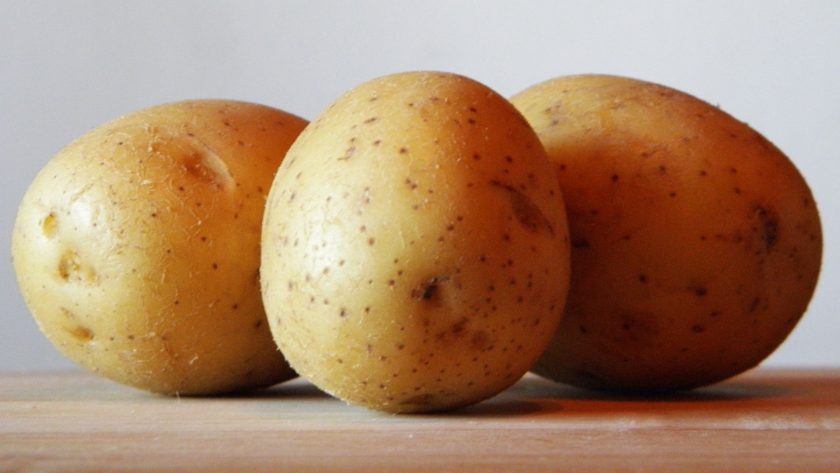
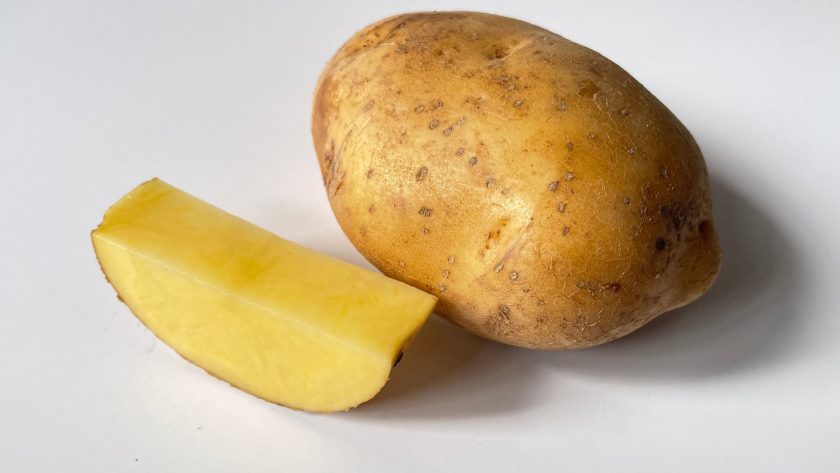
Choosing the right spuds is vital, as they impart subtle flavor and moisture. Starchy russets make the bread too heavy. Waxy red potatoes lack enough starch to bind the dough. Go for Yukon gold or new potatoes with the perfect starch/moisture balance.
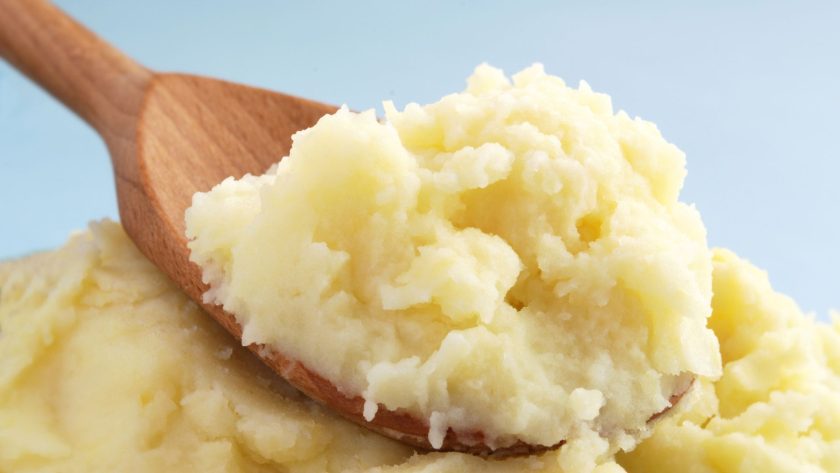
Boil the potatoes until fork tender then mash smooth with the cooking water. This adds needed hydration too.
Bread Flour
While all-purpose flour works, opt for high-protein bread flour to yield the most structured rise and chewy crumb. The extra gluten strength supports the heavier potato dough during proofing. And consider experimenting with alternative grains like rye or whole wheat to add nutrients. Just avoid overpowering the delicate potato and sourdough essence.
Water
Filtered warm water around 80°F dissolves the flour best for kneading. Too cold, and it won’t activate the starter’s yeast. Avoid chlorinated tap water, which inhibits yeast growth and lends off-flavors. Stick to bottled, filtered, or natural spring water close to neutral pH.
Salt
A dash of salt balances and enhances the natural flavors while strengthening the gluten network. Opt for fine sea salt, avoiding iodized table salt with a bitter metallic taste. Add the salt once the starter and water have mixed with the flour rather than risking killing the yeast by over-exposure. Aim for around 2% of the total flour weight.
Preparation of Sourdough Starter
Crafting a fragrant loaf of potato sourdough requires a healthy, active sourdough starter to leaven the bread and lend that tangy depth of flavor. Let’s explore a simple process for preparing your own starter at home.
Ingredients & Supplies
- All-purpose or bread flour
- Filtered or bottled water at room temperature
- Clean jar or container to house the starter
- Spoon for stirring
- Kitchen scale
Day 1: Mix Flour & Water
Combine equal weights of flour and water in your jar – around 100 grams each is a good start. Using a kitchen scale for precision is best. Stir vigorously for a few minutes to incorporate air and blend the mixture well.
Cover the jar loosely and store somewhere draft-free around 70°F to begin fermenting.
Day 2: Feed the Starter
After 24 hours, bubbles and a slightly sour aroma will develop signaling yeast activity. Feed the starter by discarding half then adding equal weights flour and water. For example, if you have 200 grams after day 1, pour out 100 grams and add back 100 grams water and 100 grams flour. Stir well.
Day 3: Repeat Feeding
After another 24 hours more bubbles and rise indicates good fermentation. Repeat the feeding process – discarding half, then refreshing with equal parts fresh flour and water. Stir thoroughly.
Day 4: Rise Indicates Readiness
The starter should now triple in size after feedings and have a pleasantly tangy scent. Now it’s strong enough to leaven bread!
To maintain, continue discarding half and refreshing with flour and water every 48 hours at room temperature in the jar loosely covered. If separating to use, always save at least 50 grams to start the next batch.
Mixing the Dough
Once you’ve prepared your ingredients and starter, it’s time to combine everything into a shaggy, rugged dough. Let’s explore the key techniques for properly mixing and kneading to develop that signature smooth, elastic crumb.
Combining the Dry and Wet
In a large bowl, whisk together the bread flour, salt, and any other dry grains. Make a well in the center.
Pour in the mashed potatoes, water, and mature active starter. Using a stiff spatula, mix everything together until the flour is hydrated and a very rough, shaggy ball forms.
Kneading Develops Gluten
Turn out the messy dough onto a clean counter. Now the fun begins – kneading!
Use the heels of your hands to push, stretch, and fold the dough for 8-10 minutes until smooth and elastic. This melds the proteins into strong gluten strands that will trap air bubbles and allow the bread to rise.
It may seem too sticky at first, but resist adding excess flour. The potato moisture will eventually distribute evenly. Just knead patiently.
Adding Texture With a Slap and Fold
After some energetic kneading, try a set of slap and folds. Lift the dough and throw it forcefully back down on the counter. Repeat, rotating the dough 90 degrees between each slap.
This helps realign gluten chains and makes the crumb even airier. Do about 20 forceful slap and folds waiting 30 seconds between each.
Final Smooth, Supple Dough
After another few minutes of kneading, the dough will become smooth, supple, and tacky without sticking excessively to your hands. This is the perfect stage before the first rise.
Pat yourself on the back – you’ve just prepared a gorgeous dough blank canvas ready to transform into a fragrant sourdough loaf!
Incorporating Potatoes
Potatoes are the special ingredient that take this bread from basic sourdough to a tasty, nutritious loaf with a delightful crumb. Let’s add spuds to transform your dough.
Cook Potatoes Thoroughly
Quality potato sourdough starts with properly prepared potatoes. Opt for waxy, moist varieties like Yukon Gold or new potatoes. Avoid starchy russets.
Scrub clean but don’t peel – fiber and nutrients concentrate in the skin! Cut evenly into 1-inch chunks. Boil with a pinch of salt until fork tender, about 15 minutes.
Some addition of cooking water provides needed moisture; drain then immediately mash smooth with reserved liquid.
Combine at Dough Mixing
Wait until combining all ingredients before adding cooled mashed potatoes to ensure the spuds don’t compromise yeast growth.
Make sure starter and water have sufficiently hydrated flour before gently stirring in potatoes to form a shaggy ball. Resist over-mixing at this stage.
Knead Gently Yet Thoroughly
Compared to stiff traditional dough, potato dough remains looser and stickier when kneaded. Be very patient, repeatedly stretching and folding rather than adding excess flour that would dry it out.
As the potatoes’ moisture evenly distributes into the gluten network, the dough will become smooth, elastic, and tacky. Target 5-8 minutes kneading time.
Consider Roasted Potatoes
For deeper flavor complexity, try roasting potato chunks at 400°F for 25 minutes prior to boiling and mashing.
Browning the natural sugars via Maillard reaction lends earthy sweet notes and toastiness that shine through in the final bread.
Swap in Mashed Potato Leftovers
No time to boil and mash from scratch? No prob! Swap in leftover mashed potatoes from your fridge or freezer.
Thaw frozen spuds first or refresh leftovers with a splash of hot potato water. Whip creamy smooth before gently folding into mixed dough.
First Rise and Shaping
After kneading your perfectly combined dough, it’s time for the first fermentation rise. This allows yeast to generate air bubbles and develop that signature holey crumb sourdough texture. Then some gentle shaping preps the smooth dough for its final proof and bake.
Allow Initial Rise In a Warm Spot
Place loaf-sized rounded portions of kneaded dough into lightly oiled bowls, smooth-side up. Cover loosely and let rise undisturbed until roughly doubled, 60-90 minutes depending on dough temperature.
Aim for a warm (75-80°F), draft-free spot like inside a turned-off oven for an even, consistent first rise. Closely monitor progress to prevent over-proofing.
Test Readiness With a Gentle Poke
When ready, the dough will jiggle slowly back when poked and hold an indentation. Large air pockets will develop under the surface.
If the indentation springs back quickly or lasts, let it rise longer. If dough deflates, you’ve gone too long. Use the poke test to perfect that rise sweet spot.
Handling Risen Dough Gently
Now comes delicate dough handling. Lightly dust the counter and empty each risen mound with care. The gassy structure deflates easily, so handle gingerly.
Using your hands, gently shape dough into a round by tucking edges underneath to form a smooth top surface. Add a bit more flour only if needed.
Rest Before Final Shaping
Let shaped rounds rest 15-20 minutes before final shaping to relax gluten. This prevents too much tension and rise resistance from over-handling later. Keep covered.
After the rest, shape again if needed, adding folded seam sides down. Target taut, smooth rounds ready for the final proofing rise extravaganza!
Second Rise and Preheat Oven
After shaping, it’s time for the dough’s final fermentation rise before baking to fully develop that airy sourdough texture. Preheating the oven prepares for the ideal crisp crust and tender interior crumb.
Final Rise Encourages Oven Spring
Gently place each smoothly rounded loaf into a parchment-lined bread pan, seam side down. Loosely cover and let rise until dough crests about 1-inch over the pan rim, 45-60 minutes typically.
This second rise generates gas bubbles that will rapidly expand for optimum “oven spring” rising action once heat hits the dough.
Proofing Conditions Impact Rise
As with the first rise, ideal second proof temperature is 75-80°F. Warmer conditions speed fermentation; cooler slows it way down. Drafts can form a dry “skin” blocking rise.
Closely monitor during this sensitive window to get perfectly proofed loaves before deflation. Target dough that gently springs back when pressed.
Preheat Oven for Ideal Crust and Crumb
While your loaves enjoy their final airy expansion, preheat your oven to 450°F with the rack in middle position.
High initial heat helps the bread strongly set its structure to rise further without spreading. Steam keeps the crust from drying prematurely so loaves can fully expand before that gorgeous exterior browning.
Consider placing a broiler pan on the bottom oven rack filled with hot stones to generate steam. Otherwise, spritz oven walls with water before loading bread.
Gently Transfer Risen Loaves to Oven
When doughs have crested the pan rim indicating ample rise, gently transfer them straight onto the preheated oven rack. They should maintain shape without spreading too much.
Quickly spritz the oven walls for an initial hit of steam then admire as your bread begins its magical final bakery rise!
Baking the Bread
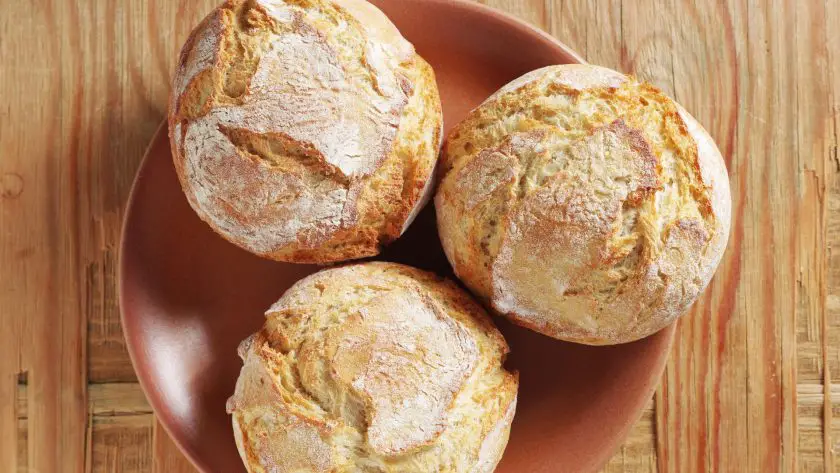
After ample rising, it’s finally time to bake your potato sourdough loaves to crusty, bakery-quality perfection. Careful monitoring ensures ideal oven spring, coloration, and mouthwateringly tender crumb.
First 5 Minutes Targets Oven Spring
Once loaded, resist peeking for the first 5 minutes to allow maximum uninterrupted oven spring. Dough rapidly puffs up thanks to steam and heat rapidly expanding gas cells.
Give loaves space for ample expansion. If baking multiple loaves, stagger on oven racks rather than squeezing onto one.
Turn Down Heat After Initial Spring
After five minutes, quickly rotate loaves 180 degrees for even baking. Lower oven to 425°F. The initial blast developed structure; now prolonged mid-range heat reduces risk of over-browning.
Monitor loaf feet color – once deep golden brown, tent loosely with foil to prevent scorching if needed. A shot of steam here can help crust formation too.
Test Doneness With Thermometer
Potato sourdough’s added moisture requires longer baking than traditional loaves to properly set the interior crumb while achieving a crispy crust.
Insert an instant-read thermometer into the loaf center; it’s done around 205°F-210°F. If under, return for 2-5 minutes more until the perfect doneness temperature.
Allow Proper Cooling
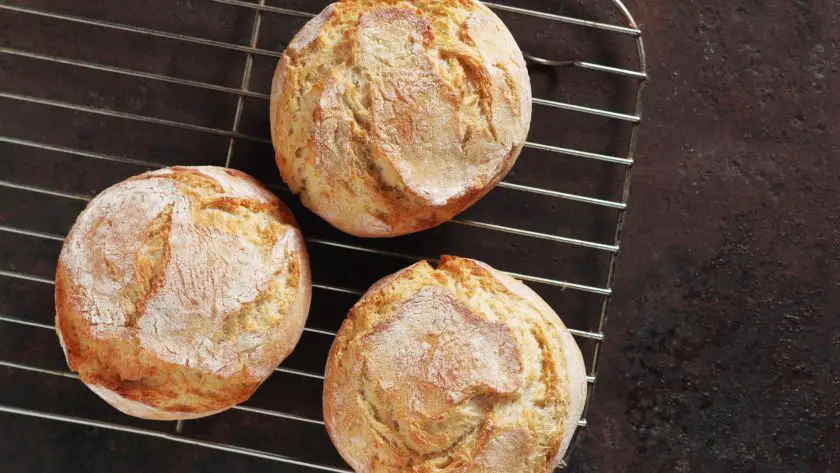
When loaves reach the target temp, immediately remove from oven and pans to cool completely on a wire rack. Resist cutting into the tantalizing bread for at least 1 hour as it sets; 2+ hours is even better.
During cooling the crumb finishes setting up moist and tender. Slicing too soon causes moisture loss. Enjoy your breathtaking loaves once fully cooled.
Tips for the Best Potato Sourdough
What transforms a basic spud-studded sourdough into a masterpiece loaf? Here are tips for crafting the ultimate potato sourdough boules at home!
Feed Starter Consistently
An active, peak starter is vital for raising bread rather than relying solely on commercial yeast. Feed equal parts flour & water by weight every 48 hours at room temperature to keep your starter lively. Let it triple in size after feedings before mixing dough for best rise. Discard then refresh again if not baking soon.
Knead the Dough Thoroughly
Potatoes make dough looser than typical bread. Knead very thoroughly over an extended time, repeatedly stretching and folding the mass to evenly distribute moisture without adding extra flour. Target a smooth, tacky dough that passes the “windowpane test” – you can stretch it thin enough to see light through before it tears.
Proof in an Ideal Warm Spot
Creating a properly proofed loaf relies on ample fermentation rise time. But temperature impacts this. Find a warm (75-80°F), draft-free spot like a turned-off oven to proof dough consistently for the most control over the process.
Shape Taut Rounds
Shaping taut rounds without surface wrinkles or creases ensures the dough can properly rise during final proofing. Use a bench scraper to tighten dough surface while rounding. Add seam sides down in loaf pans and smooth with slightly wet fingers for an airy rise.
Score Decoratively
Scoring allows interior expansion so bread rises rather than splits randomly. Beyond simple slashes, creatively score flour-dusted boules with leaf or wheat designs. Angle cuts to control the pattern of “ears” which form during oven spring.
Scoring sourdough takes practice but creates artisanal appeal.
Variations and Creative Twists
While classic potato sourdough sings with its harmonious tangy, sweet, wholesome goodness, it also lends itself to all sorts of flavor twists.
Fresh or Dried Herbs
Herbs take spud bread to the next level! Mix 1-2 tablespoons fresh chopped rosemary, thyme, oregano or sage leaves into dough before the first rise. Or add a teaspoon dried herbs to the flour.
Swap in Flavored Potatoes
Jazz up your spuds before adding to dough! Boil Yukon golds with garlic cloves, onion quarters, peppercorns or bay leaves.
Or roast potato chunks tossed in fresh rosemary, thyme or oregano before blending into the dough. This imbues a deep, caramelized herb essence.
Alternative Grains for Fiber & Nutrients
Substitute up to 1/3 of the bread flour with your favorite whole grains. Hearty rye and pumped-up protein from quinoa pair nicely with humble potatoes.
For a flavor twist, try nutty buckwheat or oats. Or add texture with hulled millet, barley or amaranth. Just avoid overpowering that signature potato tang.
Dried Fruit Adds Sweet Complexity
For a touch of sweetness beyond the spuds, mix in 1/2 cup chopped dried fruits with the first kneading. Fig, apricots and golden raisins all meld nicely with potatoes.
Or stud the shaped dough with whole dried fruits before the second rise. They’ll plump as the bread bakes, bursting with jammy richness in each slice.
Cheese and Garlic for Extra Indulgence
For next-level flavor decadence, add 1/2 cup shredded cheddar, Parmesan, Gruyère or Gouda in the last few minutes of kneading. Sharp cheddar and nutty Gruyère pair particularly well with potatoes.
You can also stud dough with cubes of semi-firm cheese like Gouda or Edam before the second rise. And a few minced garlic cloves never hurt!
Pairing and Serving Suggestions
Beyond simple sandwiches, incredible homemade potato sourdough deserves to shine as the star accompaniment for all sorts of delicious meals and snacks. Discover crave-worthy ways to serve this wholesome, gut-friendly bread.
Pair With Hearty Bean and Vegetable Soups
A slice of tangy, sweet potato sourdough makes the perfect hearty soup sopper. Let it soak up the delicious liquids and flavors from minestrone, lentil, split pea, or tomato-based vegetable soups and stews. The bread softens without turning soggy or falling apart.
Try this with my Creamy Cauliflower Soup!
Pile On Savory Breakfast Toasts
Wake up your mornings by toasting thick slices of potato sourdough bread to create the ultimate base for your favorite toppings. Stack with smoked salmon and lemony whipped cream cheese or avocado mash with crumbled feta and toasted nuts or seeds.
Sweet and Savory Panini Potential
The potato sourdough’s density stands up to weighty sandwich fillings without tearing apart or turning soggy. So feel free to load up deli meat, cheese, roasted veggies, or condiments galore to grill crispy, melty panini in minutes.
And for dessert, stuff with Nutella or fruit preserves that meld deliciously with the bread’s sweet potato notes and tang.
The Art of Potato Sourdough
Potato sourdough bread involves adding potato to your dough, which can only make potato lovers happier. A tasty twist to traditional sourdough with more nutrients, fiber, and moisture.
Serve with a side of fried potatoes and onions! Want more protein in the dish? Then you can try this chicken potato bake recipe!
So next time you crave an incredible sandwich on incredible bread, don’t settle for grocery store loaves. Channel your inner artisan and whip up a boule that’s better for your body and soul!
Print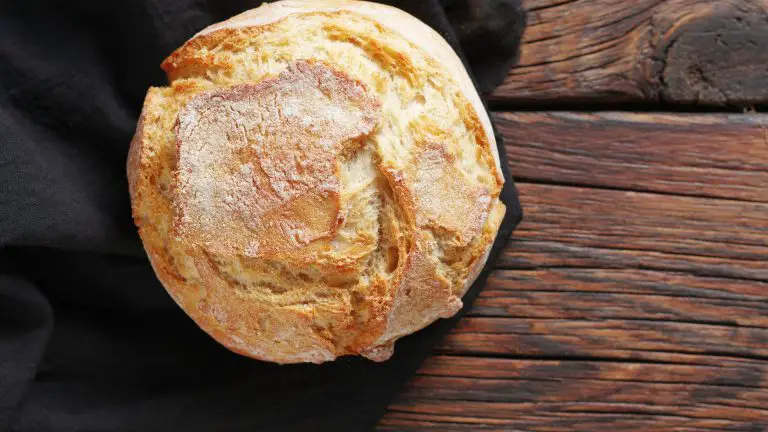
Potato Sourdough Bread Recipe
This delicious potato sourdough bread recipe is set to become the new favorite loaf in your household. Perfect for sandwiches, soups, and salads, you can comfortably enjoy this potato bread at any time of the day!
- Total Time: 5 hrs 5 mins
- Yield: 2 loaves 1x
Ingredients
- 430g potatoes
- 740g all-purpose flour
- 20g kosher salt
- 40g sugar
- 8g dry active yeast
- 530g water or potato water (room temperature)
- 340g active sourdough starter
- 1 tbsp each chopped fresh rosemary and sage
Instructions
- Place your cleaned and unpeeled potatoes in a baking dish. Stab them a few times with a fork. Cover the dish and roast it at 400 degrees Fahrenheit for 30-40 minutes, until they’re soft and cooked through. Allow them to cool till they’re easier to handle. Too hot, and they’ll kill your yeast. Break the potatoes apart in a bowl. Don’t worry if they’re different sizes, this is what we want. Alternatively, you could mash the potato as this may be easier to work with.
- Combine flour, salt, sugar, herbs, potatoes, and yeast in a large mixing bowl.
- Add water, and mix this into a rough and ragged dough. Allow this to sit for 20 minutes.
- Add the starter to the dough. Then pull the edges of the dough up and over the starter to cover it. With wet hands, pinch the dough 3-4 times to squish it into chunks. Fold the dough back together. Repeat the squish and fold for about 6-10 minutes. The dough should be sticky, and the salt should be dissolved.
- Cover and let the dough rest for 15 minutes. Uncover the dough, lift one side of the dough, stretch it up and over itself, then rotate the bowl, and fold the next section up and over. You’ll need to do 4-5 folds, each of which should take about 30 seconds. Cover and let the dough rest again for 15 minutes.
- Repeat the folding and resting twice more, then cover and let the dough rise for 2-3 hours.
- Scrape the dough out of the bowl, and onto a floured surface. Divide the dough into 2 equal pieces. Roll each piece into a tight ball, and place them seam side down into two floured bannetons. Cover them with plastic wrap and place them in the refrigerator for 12-15 hours.
- After 12-15 hours of fermentation, place a cast iron pot or Dutch oven into your oven, and heat it to 475 degrees Fahrenheit, for 45 minutes.
- Bake these loaves straight from the fridge.
- Flip the loaf out and onto a floured surface, being as gentle as possible so that it doesn’t deflate. Sprinkle the Dutch oven with cornmeal, then carefully place the dough into the Dutch oven. Bake for 15 minutes with the lid on, then 25 minutes with the lid off.
- Once the loaf is a deep golden brown, remove it from the oven and allow it to cool before cutting.
- Store these fresh sourdough bread loaves in the fridge for 2 weeks.
- Prep Time: 4 hrs 25 mins
- Cook Time: 40 mins
- Category: bread
- Cuisine: Canadian
Nutrition
- Serving Size: 1 loaf
- Calories: 2300 kcal
- Fat: 50g
- Saturated Fat: 30g
- Carbohydrates: 300g
- Protein: 80g
FAQs
What Does Sourdough Potato Bread Taste Like?
Potato bread has a light potato flavor but is not creamy like mashed potatoes. Contrary to what you might expect, the dominant flavor is not potato. Generally, this type of bread has a sweeter taste, with a yellow tinge, and a thicker or spongier texture.
Is Sourdough Made From Potatoes?
Generally, no. Sourdough is actually made from flour and water, though there are some recipes that require potatoes for sourdough starters.
What Is Special About Potato Bread?
Potato bread contains lots of iron, potassium, calcium, and magnesium compared to white bread. Not to mention, the taste of potato bread pairs really well with meats, or can be used to make grilled cheese sandwiches (like my sourdough grilled cheese recipe).



![Homemade Sourdough Baguette [Try It!] 123 Homemade sourdough baguette [try it! ]](https://www.mydailysourdoughbread.com/wp-content/uploads/2022/09/Homemade-sourdough-baguette-scaled-120x120.jpg)

