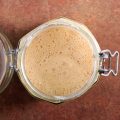
When it comes to sourdough baking, the trickiest part is learning how to maintain your sourdough starter enough. How does one feed and maintain their starter before each bake? Stick around for the answers!
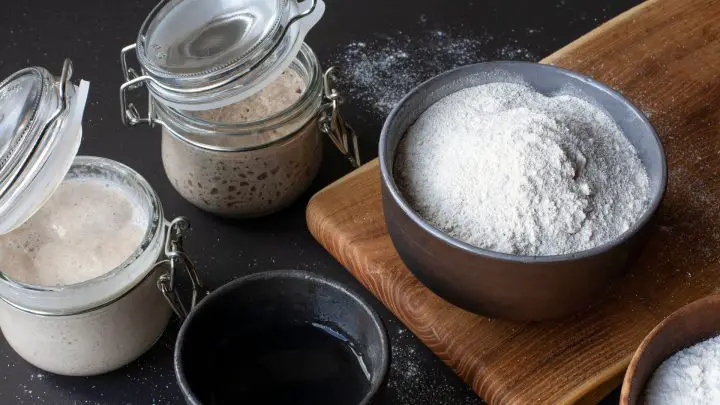
Table of Contents
- What is a Sourdough Starter?
- When Should My Sourdough Starter be Maintained?
- Sourdough Starter Feeding Ratio
- Where to Keep Your Mature Sourdough Starter?
- Sourdough Starter Feeding Schedule
- Tips for Maintaining a Sourdough Starter
- Measuring Your Ingredients
- Do You Have to Discard Sourdough Starter Before Each Feed?
- What Happens if You Forget to Feed Your Sourdough Starter?
- How Long Can a Sourdough Starter Sit at Room Temperature?
- Storing Sourdough Starter In The Fridge
- How to Tell If My Sourdough Starter is Healthy?
- Sourdough Maintenance
- FAQs
What is a Sourdough Starter?
A sourdough starter is a live culture consisting of yeast and bacteria. Unlike commercial yeast, the wild yeasts in the sourdough starter come from their surroundings.
Since the sourdough starter is technically alive, it requires consistent feedings, almost like raising a child. Once your starter has achieved maturity, it must continue to be fed regularly, but not quite as you would with a brand-new starter.
Why Feeding Sourdough Starter is Important
Contrary to what many bakers may assume, a sourdough starter isn’t created overnight. You’ll need to feed it every 6-12 hours depending on how often it gets hungry.
An active sourdough starter will also require regular feedings before you make the bread dough. Maintaining a sourdough starter is an essential component to keep your starter strong.
When Should My Sourdough Starter be Maintained?
Creating a sourdough starter from the beginning is very different from purchasing a well-established starter.
When making your own starter you’ll need to feed it twice a day for several weeks. Most starters will display signs of maturity on the 14th day of feeding, but some may take up to 6 weeks to be ready.
If your starter takes longer, however, you needn’t worry that you’re doing something wrong. In fact, each starter is unique. From the wild yeasts in your flour to the bacteria in your hands, all influence the sourdough starter in their own way. The temperature of your kitchen as well as the quality of the water are all factors that determine when your starter is ready.
If you’ve made your own starter from scratch, then it’s best to keep it on the counter and feed it twice a day, continuously for 3-4 months.
Sourdough Starter Feeding Ratio
Sourdough bakers prefer to feed their starters by ratio, mainly because each baker will have different quantities. The most common feeding ratio for sourdough starters is 1:1:1 i.e., sourdough starter: flour: water.
For instance, if you feed your starter with 40g of flour and 40g of water, then you are feeding your starter with equal parts flour and water. Before each feed, you must ensure that you are carefully measuring the flour and water. You should also understand that this feeding ratio works with any amount of starter. For instance, if you have 20g of starter in a jar, then simply feed it with 20g of flour and 20g of water.
Where to Keep Your Mature Sourdough Starter?
Maintaining a sourdough starter is pretty simple, although you must ensure that your starter has reached maturity, thus ready for maintenance. Your mature starter can be kept on the kitchen counter, though others may prefer to put it into the fridge at this stage, which can work if you don’t bake very often.
However, if you’re an avid baker, and bake at least 3-4 times per week, then your sourdough starter is best when kept on the counter. Although you can switch from twice-a-day feedings to once-a-day, and keep a close eye on your starter.
If you chose to feed your sourdough starter less and less, you may attract harmful bacteria. At the same time, if your starter remains healthy when fed once a day, then it may be fine to leave it unfed for a day or two.
Feeding Sourdough Starter on the Counter
If you like to bake sourdough bread every day or a few times a week, then maintaining a healthy starter on the kitchen counter makes more sense.
Here’s how to maintain your starter:
- Weigh out 50g of sourdough starter using a digital scale. Discard half of the starter, or keep this aside for some sourdough discard recipes (please make sure your starter is at least 7 days old before doing this).
- Mix in 50g of fresh flour and 50g of water, then stir the mixture thoroughly.
- Leave the sourdough starter to rise on the counter. Use the starter at its peak.
- Repeat every 12 to 24 hours.
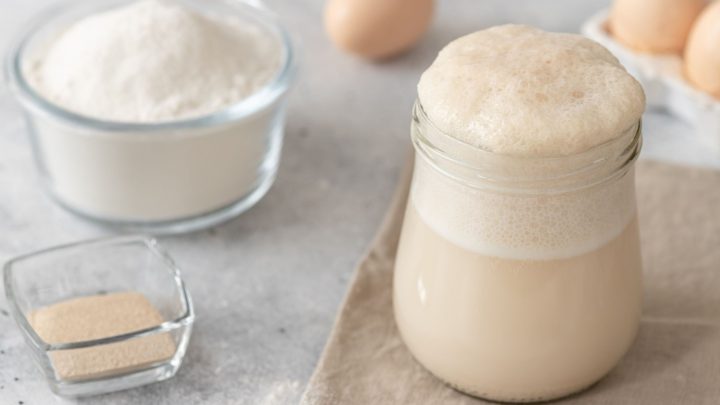
Use a rubber band to measure how much your starter has doubled.
Sourdough Starter Feeding Schedule
Feeding your sourdough starter is a lot like feeding a pet, in the sense that you must make sure that it is well-fed for a successful sourdough bake. The best way to go about your daily life as well as incorporate regular feedings into your day is through a sourdough starter feeding schedule.
Whether you’re planning to feed your starter on the counter or in the fridge, here’s what you’ll need to do on a weekly basis.
On the Counter
If you’re maintaining your sourdough starter on the kitchen counter, then your feeding schedule might look something like this.
| Day | Time | Sourdough Starter Maintenance |
| Monday | 8 AM | Feed your sourdough starter 1:1:1 |
| 12 PM | Use sourdough starter for sourdough baking | |
| 8 PM | Feed your starter 1:3:3 | |
| Tuesday | 3 PM | Use in sourdough starter recipe |
| 8 PM | Feed sourdough starter 1:3:3 | |
| Wednesday | 8 PM | Feed sourdough starter 1:3:3 |
| Thursday | 12 PM | Use sourdough starter for a bread recipe |
| 4 PM | Feed sourdough starter 1:3:3 | |
| Friday | 7 AM | Use sourdough starter to bake bread |
| 8 PM | Feed sourdough starter 1:3:3 | |
| Saturday | 7 AM | Use sourdough starter for bread baking. Feed sourdough starter 1:1:1 |
| 1 PM | Use sourdough starter for baking | |
| 8 PM | Feed sourdough starter 1:1:1 | |
| Sunday | 10 AM | Feed sourdough starter 1:1:1 |
| 2 PM | Use sourdough starter for a bake |
In The Fridge
If you’re planning to store a healthy starter in the refrigerator, then your feeding schedule should look something like this:
| Day | Time | Sourdough Starter Maintenance |
| Sunday | 8 PM | Feed your starter 1:2:2 and place it in the fridge |
| Following Saturday | 8 AM | Remove the starter from the fridge, discard and feed 1:1:1, then leave it on the kitchen counter |
| 5 PM | Discard and feed 1:1:1, leave it on the counter | |
| 9 PM | Use the starter at its peak for a bake | |
| Sunday | 8 AM | Feed the starter 1:2:2 and place it back in the fridge |
| (two weeks later) | Leave the starter in the fridge unfed for 2 weeks | |
| Friday | 8 PM | Take the starter out of the fridge, discard and feed 1:1:1, then leave it on the counter overnight. |
| Saturday | 7 AM | Discard and feed 1:1:1, leave it on the counter |
| 1 PM | Use the starter at its peak in a bake | |
| 8 PM | Feed the starter 1:3:3, then leave it on the counter | |
| Sunday | 7 AM | Use the starter in a bake, then feed the starter 1:2:2 and put it back in the fridge. |
Tips for Maintaining a Sourdough Starter
Here are some of the best tips for maintaining and feeding your own sourdough starter:
- Use a digital scale to measure your ingredients. This is very important when it comes to feeding your sourdough starter because you need to make sure that you are using precise amounts of flour and water for a specific quantity of starter.
- You don’t always have to use a clean jar. In fact, your sourdough starter will be just fine in its own jar. You can always weigh your jar beforehand so that you know how much it weighs, before weighing it with the 50g of starter in it. Then you can discard the starter from the jar and add to it.
- If you’re feeding your starter in a brand new jar, then always add your water first, then your sourdough starter, then the flour. This will make mixing much easier, and you won’t have a gloopy mess.
- Once you’ve discarded the starter, add water to your jar, screw back the lid, and shake it to mix the water and starter. Then add the flour.
Measuring Your Ingredients
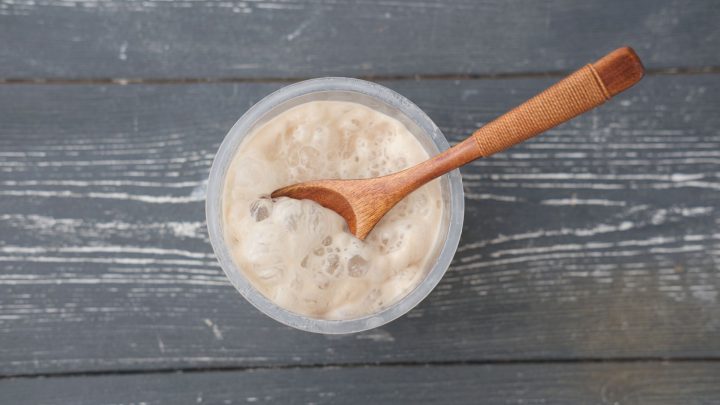
Much like the first steps you took to create your sourdough starter, maintaining a sourdough starter will also require accurate measurements.
Caring for your starter will require a digital scale, and this is because half a cup of flour and half a cup of water do not weigh the same. This is why you must measure your ingredients by volume, otherwise, you will risk starving your starter.
Do You Have to Discard Sourdough Starter Before Each Feed?
In short, yes. Your sourdough starter must be discarded or reduced before every feed. If you fail to discard a portion of your starter, then it will continue to grow rapidly, trust me there’s no stopping it! What’s more, the acidity levels in the starter will also be drastically affected.
Once your starter is mature, then the discarded portion can be used for different bakes. Sourdough discard is quite a beautiful thing because you get to preserve the sourdough goodness in a separate jar, that doesn’t require extra fermentation when used in a variety of sourdough recipes.
Take a look at 50+ sourdough discard recipes for inspiration!
What Happens if You Forget to Feed Your Sourdough Starter?
Say you went out on a road trip and forgot to feed your sourdough before leaving. Before panicking, check for mold. If there’s no sign of mold, then discard and feed your starter as normal. Depending on how long your starter was left unfed, it may take a few feeds for it to bounce back to its regular behavior.
The fate of an accidentally unfed sourdough starter will rely on its age and maturity. If you’ve forgotten to feed a one-month-old sourdough starter for 3 days, you’ll have a higher chance of losing your starter to mold or bad bacteria.
However, if you forget to feed a six-month-old starter for 3 days, then chances are that it may smell terrible, but won’t die!
How Long Can a Sourdough Starter Sit at Room Temperature?
This will depend on many factors i.e., what the room temperature is, and how old or mature the starter is. A sourdough starter will last longer when kept at a cooler temperature rather than a warmer temperature. At warmer temperatures (above 28 degrees Celcius) the starter will become hungry very quickly and develop a watery substance called hooch.
However, at cooler temperatures (below 20 degrees Celcius) the sourdough starter will take longer to rise and will remain at its peak for longer, effectively preserving it.
A young sourdough starter (less than a month old) will not last very long without regular feeding. Instead, it will develop harmful bacteria, causing it to die.
A mature sourdough starter will be able to remain alive and healthy for a few days when left unfed on the kitchen counter. If fed regularly, the starter will last indefinitely at room temperature.
Storing Sourdough Starter In The Fridge
Once your starter has passed 4 months you can store it in the refrigerator. It’s best to keep your starter on the kitchen counter before this point, as the wild yeasts are not established enough to be refrigerated.
When your starter is refrigerated it is put to sleep, meaning that it is no longer growing or building strength, so make sure your starter is well-established before this!
If you don’t bake often, then storing your starter in the refrigerator is perfect, and when you want to bake simply remove and feed.
Before storing your starter in the fridge, you must feed it at a ratio of 1:2:2.
How to Tell If My Sourdough Starter is Healthy?
If you’ve only begun your sourdough journey, then it might be difficult to understand the many smells that emanate from your starter. Depending on what state your starter is in, a freshly fed or neglected starter kept in the fridge can smell from stinky and acidic to fresh and sweet.
Don’t panic if your starter smells a little funky, especially if it was kept in the fridge. It may even smell like alcohol or dirty socks. Once you discard most of the starter and feed it with equal parts flour and water, the smell will change instantly.
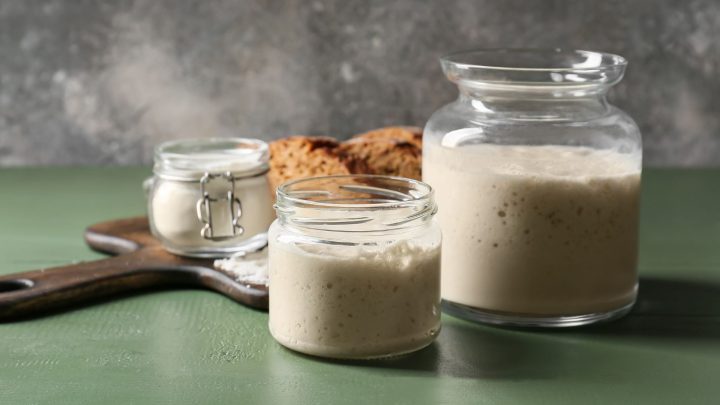
As your starter rises and doubles it should smell fresh and sweet. You’ll know if your starter is healthy when:
- It doubles in volume within 4-6 hours of feeding it
- Floats when you drop a spoonful of starter in water
The main indicators that reveal whether your starter is bad are when you see mold, or your starter doesn’t rise after feeding.
Unfortunately, if you find mold in your starter you should get rid of it immediately, and start over. Additionally, you could always throw out the moldy bits and keep a few tablespoons of starter that is unaffected. Transfer it to a clean jar and feed it with equal parts flour and water.
If your starter is not doubling in volume within 4 to 6 hours of feeding it, you should focus on trying to strengthen it. Here’s how you can go about this:
- Throw away most of your starter, and leave 2 tablespoons behind, then top this up with equal parts flour and water.
- Use bottled or filtered water for your sourdough starter.
- Feed your starter with organic bread flour, whole wheat flour, or rye flour.
- Once your starter is fed, cover the jar with a lid and leave it to sit at room temperature. After 6 hours have passed, repeat the process.
Sourdough Maintenance
As long as your starter is well established and fed regularly, your starter should be fine to bake sourdough bread. If you’re unable to maintain your starter regularly, you can simply place it in the refrigerator until you’re ready for the next bake!
For a detailed step by step beginner sourdough recipe for sourdough bread for beginners, check out my post!
FAQs
How Do You Maintain a Sourdough Starter?
The easiest way to maintain a sourdough starter is with frequent feedings. Add equal amounts of flour and water to the sourdough container, allow this to rise, then pop this into the refrigerator.
How Long Should a Properly Maintained Sourdough Starter be Kept?
Your starter should be at least 2 months old before it can be refrigerated without any attention.
Do You Have to Discard Sourdough Starter Every Time You Feed it?
Yes. You must discard a portion of the starter before each feed. This is a necessary step in achieving a healthy sourdough starter.
How Often Does Sourdough Starter Need to Be Fed?
Your starter needs feeding every 12 hours. Once it starts to double or triple in volume within 6 or 8 hours, it’s ready to bake with.

Sourdough Bread Recipe
Once you have an active starter then you can either continue to discard and feed it or bake delicious sourdough bread with it.
Here is a simple yet delicious sourdough recipe to follow
- Total Time: 14 hours
- Yield: 1 loaf, 5 servings 1x
Ingredients
- 150g bubbly sourdough starter
- 250g filtered water
- 25g olive oil
- 500g bread flour
- 10g fine sea salt
- Fine ground cornmeal (for dusting)
Instructions
- Combine the starter, water, and olive oil in a large bowl. Add flour and salt, then combine everything together using your hands, until the flour is well absorbed.
- The dough should be dry and shaggy. Cover the bowl with plastic wrap, reusable wrap, or a clean kitchen towel. Let the dough rest for 30 minutes.
- After the dough has rested, work the dough in the bowl into a rough ball for about 15 seconds.
- Cover the bowl with plastic wrap or a damp kitchen cloth. Let this rest in a warm spot to rise. The dough should be ready when it has doubled in size. This can take 3-12 hours depending on the temperature of your ingredients, and the maturity of your starter.
- During the bulk rise, perform 6 series of stretches and folds every 30 minutes, with 30 minutes resting period.
- Divide your work surface in half, and lightly flour one side, leaving the other half clean.
- Remove the dough from the bowl, and place it onto the floured section, so that it doesn’t stick. Don’t worry about punching the dough down, as it should slowly deflate as you fold and shape.
- Cut the dough in half for 2 loves, or leave it whole for a single loaf.
- Shape your dough, then flip it over the seam side down.
- Dust the bottom of your Dutch oven with cornmeal or add parchment paper to prevent the dough from sticking to the bottom.
- Place the dough in the Dutch oven for a 30-minute rise. The dough should be ready when it’s slightly puffy but not doubled in size. Preheat your oven to 450F or 232C.
- Before placing your bread in the oven, make a shallow slash around 2-3 inches long. Use a bread lame or sharp knife for this step.
- Place the bread in the oven on the center rack and reduce the temperature to 400F. Bake for 20 minutes. Remove the lid of the Dutch oven and continue to bake for 40 minutes until the bread is a deep golden brown.
- Remove the bread from the oven, and cool on a wire rack for 2 hours before slicing.
- Prep Time: 13 hours
- Cook Time: 1 hour
- Category: bread
- Cuisine: American
Nutrition
- Calories: 250 kcal
- Fat: 6 g
- Saturated Fat: 3 g
- Carbohydrates: 140 g
- Protein: 50 g

