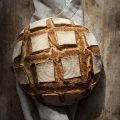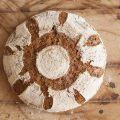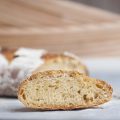
Spelt flour sourdough bread is the flavor-packed upgrade your baking routine has been waiting for. Think nutty, slightly sweet, and a soft, tender crumb that makes every slice feel special. Spelt does things differently than regular wheat. It likes a gentler touch, a bit less water, and a quicker rise, and once you get the hang of it, it’s pure magic.
You’ll find an easy recipe, simple hydration tips, how to tell when your dough’s ready, gentle shaping tricks, and smart ways to keep every loaf on track. Grab your starter and start baking something you’ll love sharing.
What Makes This Bread Different?
Spelt is one of the oldest wheats people have farmed. It’s a cousin of modern bread wheat, but it was never bred for high yields and muscle-bound gluten. That’s why ancient grain bread has such a loyal following. Many bakers love it for its rich flavor and old-world charm. Just remember that spelt still contains gluten, so it isn’t safe for anyone with celiac disease.
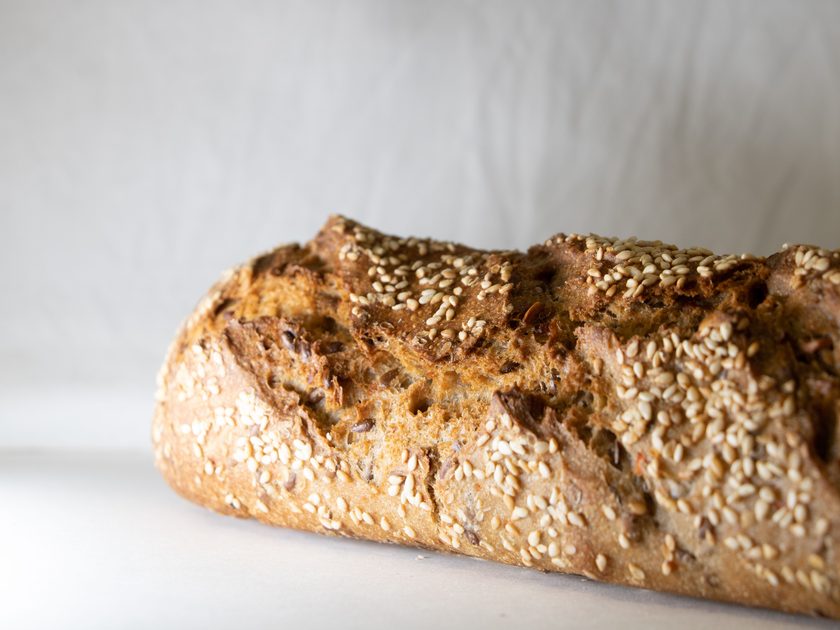
Bite into a spelt sourdough loaf, and you’ll taste the difference right away. It’s nutty and slightly sweet, like toasted hazelnuts with a whisper of honey, and the tang of a sourdough starter rounds it out beautifully.
The real twist is the gluten. Spelt is softer and more delicate than wheat’s, so the dough stretches easily but tears if you’re rough with it. As a wheat alternative, spelt flour sourdough bread trades a little height for a tender, creamy crumb and a lot more character.
Ingredients
- 400 g white spelt flour
- 100 g whole spelt flour
- 100 g active sourdough starter (100% hydration, at its peak)
- 330 g filtered water, around 80°F
- 10 g fine sea salt
White spelt keeps the crumb light, while whole spelt adds a deeper nutty flavor.
Related: Rye Flour Sourdough Starter: How to Make, Feed, and Maintain It
How to Make Spelt Flour Sourdough Bread
You’ll need a kitchen scale, a large mixing bowl, a dough scraper, a banneton, and a Dutch oven. Weigh everything, since cup measurements are too imprecise for spelt.
- Mix. Whisk the starter into 300 g of water until milky. Add both flours and mix until no dry bits remain.
- Rest. Cover and let the dough sit for 30–45 minutes so the flour hydrates and gluten starts forming on its own.
- Add salt. Sprinkle in the salt with the remaining 30 g of water. Pinch and squeeze for 2–3 minutes until it’s absorbed. Don’t knead hard, because spelt’s gluten breaks down quickly when overworked.
- Build structure. Transfer the dough to an oiled container. Do 3 sets of gentle stretch and folds, 30 minutes apart.
- Bulk ferment. Let the dough rise until it’s 50–75% bigger, usually 4–6 hours at 75–78°F.
- Shape. Pre-shape into a loose round, rest 15–20 minutes, then shape into a boule or batard and place seam-side up in a floured banneton.
- Cold proof. Cover and refrigerate for 8–14 hours. This deepens the flavor and firms the dough for scoring.
- Bake. Bake straight from the fridge in a preheated Dutch oven, first with the lid on, then off, until deep golden brown.
- Cool. Let the loaf cool for at least 1–2 hours before slicing so the crumb can set.
How Much Water Does Spelt Sourdough Need?
Spelt flour absorbs less liquid than wheat flour and develops gluten more quickly. Picture two sponges: wheat is a thick kitchen sponge, and spelt is a thinner one that fills up quickly and leaves the extra sitting on top as stickiness. Pour in wheat-level water, and you’ll end up with something closer to pancake batter.
Hydration percentage is simply water weight divided by flour weight. Mostly white spelt flour does well at 62–68%, and a white and whole spelt blend at 66–72%. Mostly whole spelt flour can take 70–75%, since the bran soaks up extra water. Oddly enough, the more spelt in a dough, the lower the hydration often needs to be, because spelt is already so stretchy.
Expect some tackiness even at the right water-to-flour ratio. Resist piling on flour, which dries the dough and tightens the crumb. Wet or lightly oiled hands work like a non-stick pan.
Flour varies by mill and even by bag, so hold back about 10% of the water and add it gradually, watching the dough consistency. You want it soft and supple and holding a loose shape, not pooling flat.
Bulk Fermentation and Proofing Spelt Dough
Room temperature is the gas pedal for bulk fermentation. At 75–78°F, spelt usually finishes in 4–6 hours. At 68–70°F, expect closer to 7–8 hours. In a chilly kitchen, try the oven with just the light on.
Spelt’s delicate gluten can’t hold gas as long as wheat’s, so don’t wait for the dough to double. Treat recipe times like a GPS arrival estimate: helpful, but your kitchen’s “traffic” changes things. A clear, straight-sided fermentation container with a strip of tape at the starting line makes tracking the rise easy.
Overproofed spelt goes slack, smells boozy, and deflates at a touch. The overnight cold proof is your safety net, slowing fermentation while the flavor keeps building.
Key points:
- Aim for a 50–75% rise, not double
- Look for visible bubbles, a domed top, and a jiggle when nudged
- Use your sourdough starter at its peak
- Check every 30 minutes after the 3-hour mark
- When in doubt, end bulk a little early
How to Shape Spelt Sourdough Without Losing Structure
Shaping spelt is like folding a silk scarf, not wringing out a beach towel. Its delicate structure means every stretch counts.
- Pre-shape. Turn the dough onto a lightly floured counter. Use your dough scraper to tuck the edges under and drag it into a loose round in about 15–20 seconds.
- Bench rest. Leave it uncovered for 15–20 minutes so the gluten relaxes before final shaping.
- Fold. Flip it smooth-side down, gently stretch it into a rectangle, and fold it like a letter, bottom third up and top third down.
- Roll. Roll it toward you into a log, or gather the corners to the center for a round.
- Build tension. Turn it seam-side down and drag it across the counter a couple of times. This creates surface tension, a taut skin that holds the loaf together.
- Transfer. Dust the banneton generously with rice flour, the best non-stick option for tacky spelt. Set the dough in seam-side up, cover, and refrigerate.
Don’t stretch the dough thin, press out the gas, or reshape it repeatedly. One confident shape beats three nervous ones.
How to Bake Spelt Flour Sourdough Bread
You’ll need a Dutch oven, a bread lame or razor blade, parchment paper, an instant-read thermometer, and a cooling rack.
- Preheat. Place the Dutch oven, lid on, in the oven and preheat to 475°F for 45–60 minutes. That stored heat powers oven spring.
- Score. Turn the cold dough out of the banneton onto parchment paper. With your bread lame, make one quick, decisive slash about ½ inch deep at a shallow angle. Spelt’s soft surface drags under a hesitant blade.
- Load. Use the parchment as a sling to lower the dough into the hot Dutch oven.
- Bake covered. Put the lid on, reduce the oven to 450°F, and bake for 20 minutes. The trapped steam keeps the crust flexible so the loaf can rise fully.
- Bake uncovered. Remove the lid and bake another 20–25 minutes until the crust is deep brown. Spelt’s natural sugars brown faster than wheat, so check at 15 minutes and lower the heat to 425°F if it’s darkening too quickly.
- Check doneness. The center should read 205–210°F on an instant-read thermometer. A hollow sound when you tap the bottom is another good sign.
- Cool. Move the loaf to a cooling rack and wait at least 1–2 hours. The crumb is still setting inside, and slicing early leaves it gummy.
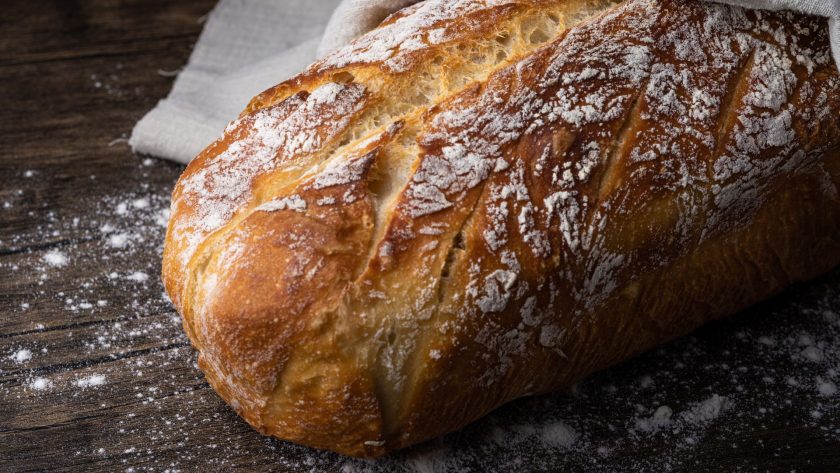
A properly baked loaf has a crispy sourdough crust that crackles as it cools.
Common Problems When Making Spelt Sourdough
Most spelt troubles come down to three things: hydration, fermentation, and handling.
- Sticky dough: Usually too much water. Cut hydration by about 5% next time, and work with wet hands instead of adding extra flour.
- Flat, spreading loaf: Caused by a weak gluten network, excess water, or overproofing. Add a fourth set of folds, trim the water, and build more surface tension during shaping. A loaf pan is a reliable fallback.
- Dense crumb: A sign of under-fermentation or overmixing. Use your starter at its peak, let bulk reach a 50–75% rise, and mix as little as possible.
- Weak oven spring: Often from overproofing, an under-heated Dutch oven, or a timid score. Preheat a full hour, slash boldly, and bake straight from the fridge.
- Overproofing: The dough collapses when poked and smells sharply sour. Judge fermentation by how the dough looks, not by the clock, and end bulk a little early if you’re unsure. The cold proof will make up the difference.
Once you see how hydration, fermentation, and dough strength work together, spelt feels far less fussy and much more fun.
Related: 6 Delicious Lemon Bread Recipes for Every Occasion
How to Store Spelt Sourdough Bread
Spelt sourdough stays great for 2–3 days on the counter, helped along by its natural acidity. Stand it cut-side down on a wooden board so the crust guards the crumb.
A bread box or linen bread bag lets the loaf breathe and keeps the crust from going soggy. Plastic keeps it soft but kills the crunch and invites mold. Skip the fridge, since cold air actually speeds up staling.
For longer storage, slice the cooled loaf, layer parchment between the slices, and seal them in a freezer bag with the air pressed out. In the freezer, they’ll keep for up to 3 months, and you can grab exactly what you need.
Pop frozen slices into the toaster straight from the freezer. For a larger piece, thaw it, run it briefly under the tap, and warm it at 350°F for 10–15 minutes. The steam re-crisps the crust and softens the crumb. Day-old slices also make killer croutons or French toast.
Go Ahead, Get Your Spelt On
Spelt flour sourdough bread might ask for a little extra patience, but the payoff is totally worth it. You get a loaf that’s packed with flavor, wonderfully tender, and way more interesting than your everyday bread. The trick is simple: treat spelt gently, trust your eyes over the clock, and don’t panic when the dough feels a bit different from what you’re used to. Every bake teaches you something, and before long you’ll know exactly what your dough needs. And when things don’t go to plan, you’ve now got the know-how to figure out why and fix it next time. So feed that starter, grab some spelt, and get baking. Your new favorite loaf is closer than you think.
FAQs
Can spelt flour be used for sourdough?
Absolutely! Spelt flour makes a fantastic sourdough with a nutty, slightly sweet flavor and a tender crumb. You can use it on its own, blend it with regular wheat flour, or even feed your starter with it. Just handle it more gently than wheat, since its gluten is more delicate, and use a little less water so the dough stays easy to work with.
Is spelt flour sourdough healthy?
It can be a great choice as part of a balanced diet. Spelt brings fiber, protein, and minerals like magnesium and zinc, especially when you use whole spelt flour. The long sourdough fermentation may also make it easier to digest for some people. Keep in mind that spelt still contains gluten, so it isn’t safe for anyone with celiac disease or a wheat allergy.
Can you make bread with only spelt flour?
Yes, you can! A 100% spelt loaf is totally doable and tastes amazing. Spelt’s gluten is softer than wheat’s, so keep the hydration on the lower side, mix gently, and watch the dough closely during fermentation so it doesn’t overproof. Blending white and whole spelt flour gives you a lighter crumb, and a loaf pan helps if your dough likes to spread.
Spelt Flour Sourdough
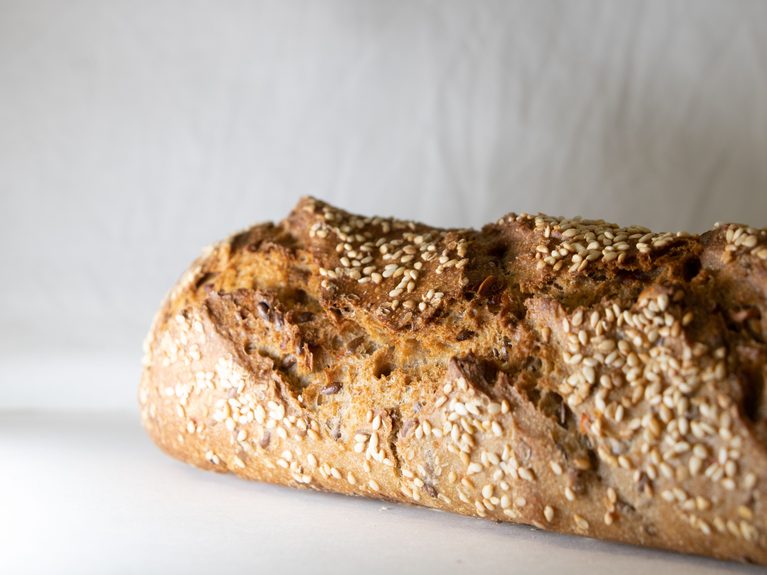
Spelt is softer and more delicate than wheat’s, so the dough stretches easily but tears if you’re rough with it.
Ingredients
- 400 g white spelt flour
- 100 g whole spelt flour
- 100 g active sourdough starter (100% hydration, at its peak)
- 330 g filtered water, around 80°F
- 10 g fine sea salt
Instructions
- Mix: Whisk peak starter into 300 g water. Add both flours; mix until no dry bits remain.
- Rest: Cover and rest 30–45 minutes.
- Add salt: Pinch in salt with the remaining 30 g water for 2–3 minutes. Don’t knead.
- Build structure: In an oiled container, do 3 gentle stretch-and-fold sets, 30 minutes apart.
- Bulk ferment: Let rise 50–75%, usually 4–6 hours at 75–78°F. Don’t wait for doubling.
- Shape: Pre-shape loosely and rest 15–20 minutes. Shape into a boule or batard; place seam-side up in a floured banneton.
- Cold proof: Cover and refrigerate 8–14 hours.
- Bake: Bake straight from the fridge in a preheated Dutch oven, lid on, then off, until deep golden brown.
- Cool: Wait at least 1–2 hours before slicing.
Notes
Dense crumb is a sign of under-fermentation or overmixing. Use your starter at its peak, let bulk reach a 50–75% rise, and mix as little as possible.