Crusty sourdough bread, with its crispy outside and chewy inside texture, is beloved by many. However, achieving the perfect crust can be a challenge to make. If you’ve struggled with lackluster or overly tough crusts, you’re not alone. How do we make a beautifully crispy, golden-brown crust on your sourdough loaves, ensuring that every slice is a delightful experience? Let’s find out together!
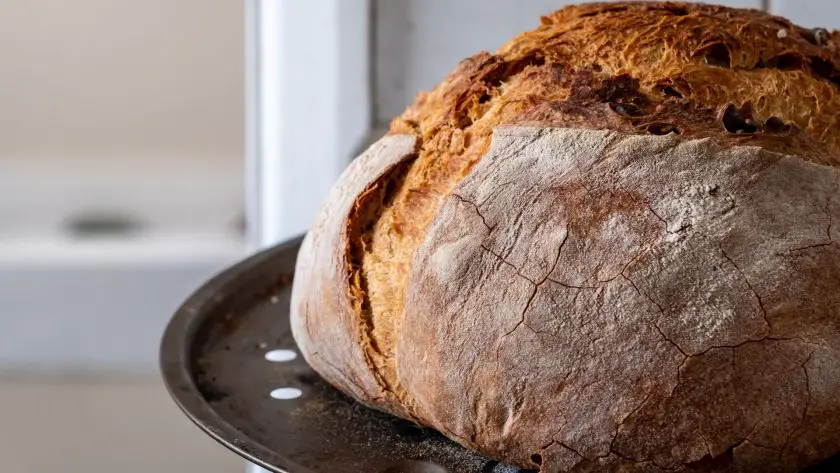
Table of Contents
- Ingredients
- Making Your Sourdough Starter
- Kneading and Shaping Your Bread
- Proofing and Fermentation
- Baking Techniques for Crusty Sourdough
- Common Crusty Conundrums – Troubleshooting Tips
- Yummy, Crunchy Sourdough Goodness!
- Crusty Sourdough Bread Recipe: FAQs
Ingredients
- Flour: 500g (4 cups)
- Experiment with different types:
- Whole wheat flour for a nutty depth
- Rye flour for a tangy complexity
- Artisan bread flour for a superior crumb structure
- Experiment with different types:
- Water: 375g (1 1/2 cups)
- Use filtered or bottled water to avoid hindering starter growth
- Adjust hydration ratio for desired texture:
- Higher hydration (more water) for an open crumb
- Lower hydration (less water) for a tighter structure
- Salt: 10g (2 teaspoons)
- Controls fermentation and strengthens gluten structure
- Prefer sea salt or kosher salt for pure taste and lack of additives
- Sourdough Starter: 100g (1/2 cup)
- The magic ingredient responsible for flavor and rise
- Maintain and feed regularly for optimal performance
Making Your Sourdough Starter
Creating a sourdough starter is a simple process that requires just a few ingredients and a bit of patience.
Gathering Your Ingredients and Tools
To make your starter, you’ll need equal parts flour and water, a clean glass jar, and a kitchen scale for precise measurements. Use unbleached, all-purpose flour or a mix of all-purpose and whole wheat for added depth of flavor.
Mixing and Feeding Your Starter
Combine 50g each of flour and water in your jar, stirring until no dry bits remain. Cover with a clean cloth or plastic wrap and let it sit at room temperature for 24 hours. The next day, discard half the mixture and add another 50g each of flour and water, mixing well. Repeat this process daily.
Watching for Signs of Life
After a few days, you should start to see bubbles forming in your starter—a sign that wild yeast and bacteria are beginning to thrive. Your starter may also develop a pleasant, fruity aroma. Keep feeding it daily, and you’ll soon have a lively, active starter ready for baking.
Maintaining Your Starter
Once your starter is established, you can slow down the feeding schedule based on how often you plan to bake. If you’re a frequent baker, keep it at room temperature and feed it daily. If you bake less often, store it in the fridge and feed it weekly. Always bring it back to room temperature and give it a few feedings before using it in a recipe.
Kneading and Shaping Your Bread
Mastering the Kneading Process
Kneading is crucial for developing the gluten network that gives sourdough its signature texture and structure. While you can knead by hand or with a stand mixer, many bakers prefer the tactile connection of working the dough with their hands. To knead, fold the dough over itself, push down and away with the heel of your hand, turn the dough, and repeat. Continue until the dough feels smooth and elastic, about 10-15 minutes.
The Importance of Bench Rest
After kneading, let your dough relax during a bench rest. This brief 15-30 minute rest allows the gluten to settle and makes shaping easier. Cover the dough with a damp towel or plastic wrap to prevent it from drying out during this time.
Shaping Your Loaves
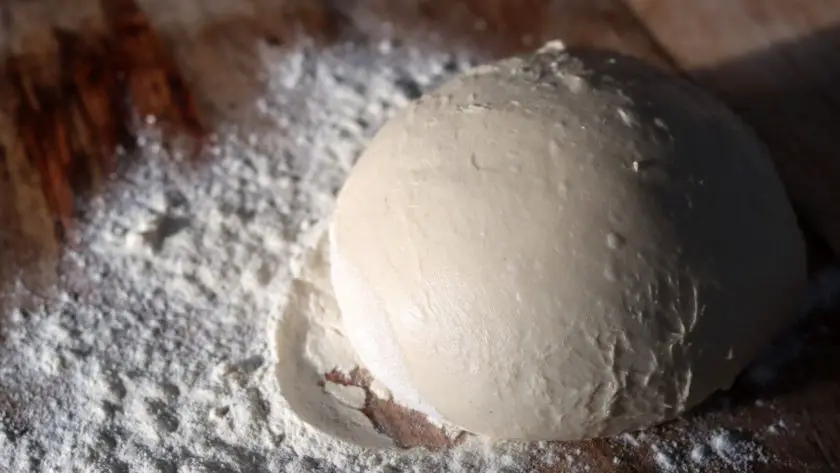
Shaping your sourdough loaves is an art that takes practice to perfect. Start by gently deflating the dough on a lightly floured surface. Divide it into the desired number of loaves using a dough scraper. For a round boule, gather the edges of the dough and fold them into the center, creating a tight ball. For an oval batard, fold the dough into a rectangular shape and roll it up from one end, sealing the seam with your fingers.
Using a Banneton for Proofing
A banneton, or a proofing basket, is a valuable tool for shaping and proofing your sourdough. Dust the banneton heavily with flour, then place your shaped loaf seam-side up inside. The banneton supports the shape of your loaf during its final rise and imparts a beautiful spiral pattern on the crust. If you don’t have a banneton, you can use a bowl lined with a well-floured tea towel instead.
Proofing and Fermentation
The Importance of Bulk Fermentation
Bulk fermentation, also known as the first rise, is a crucial step in developing your sourdough’s flavor and structure. During this time, the dough rests and ferments, allowing the yeast and bacteria to work their magic. The length of your bulk fermentation will depend on factors like room temperature and the strength of your starter, but it typically ranges from 4-12 hours. Use a clear container to monitor the dough’s growth, looking for it to double in size.
Mastering the Final Proof
Once you’ve shaped your loaves, it’s time for the final proof. This is when your dough rises for the last time before baking, developing its final structure and flavor. For the best results, proof your dough in a banneton or proofing basket dusted with flour. This will help your loaf maintain its shape and create a beautiful pattern on the crust. The final proof can take anywhere from 1-4 hours at room temperature, or you can do a longer cold proof in the fridge for 8-24 hours.
Experimenting with Cold Fermentation
Cold fermentation is a technique that involves proofing your dough in the refrigerator for an extended period. This slow fermentation process allows for deeper flavor development and a more complex sourdough taste. It also gives you flexibility in timing, as you can leave your dough in the fridge for up to 48 hours before baking. When you’re ready to bake, simply remove the dough from the fridge, score it, and place it in a preheated Dutch oven for a crispy, flavorful loaf.
Monitoring Proofing Progress
To ensure your sourdough is properly proofed, it’s important to keep an eye on its progress. Use a kitchen timer to track fermentation times, and check on your dough periodically. A well-proofed dough will have doubled in size, feel light and airy to the touch, and spring back slowly when poked. Overproofed dough, on the other hand, will feel slack and may not rise as well in the oven.
With practice, you’ll learn to recognize the signs of a perfectly proofed sourdough.
Baking Techniques for Crusty Sourdough
Harnessing High Heat
Crank that oven up to 450-500°F (230-260°C) for the ultimate crispy crust. The intense heat triggers the Maillard reaction, creating that drool-worthy golden brown exterior. And don’t forget the oven spring—the rapid rise that occurs when your dough hits the hot oven, resulting in a lofty loaf with an airy crumb.
Simulating a Steam Oven
Wondering how bakeries achieve those drool-worthy, crackly crusts? The secret is steam! While professional ovens inject steam, you can DIY it at home. Try placing a metal pan on the bottom rack while preheating, then toss in a cup of water right before loading your loaf. The steam delays crust formation, allowing your bread to fully rise before the crust sets.
Perfecting Your Scoring Technique
Scoring isn’t just for looks—it’s essential for controlling how your loaf expands in the oven. Use a sharp lame or razor blade to make clean cuts about 1/2 inch deep at a 45-degree angle. Experiment with different patterns, from classic slashes to intricate designs. Just remember, scoring is an art that takes practice to master.
Baking with a Dutch Oven
A Dutch oven is a game-changer for home bakers chasing that elusive crispy crust. Preheat your pot with the lid on, then carefully transfer your scored loaf to the hot surface. The enclosed environment traps steam, creating a mini steam oven right in your kitchen. After 20 minutes, remove the lid for a final blast of dry heat and watch your crust turn shatteringly crisp.
Common Crusty Conundrums – Troubleshooting Tips
Sourdough baking can be a tricky business, and even the most seasoned bakers run into issues from time to time. But don’t let a dense crumb or lackluster loaf get you down! With a little know-how and some trusty tools, you’ll be turning out picture-perfect sourdough in no time.
The Dreaded Dense Crumb
If your bread is coming out denser than a brick, chances are you’re dealing with underproofing. This happens when your dough hasn’t had enough time to rise and develop those coveted air pockets. The fix? Give your dough a bit more time to do its thing. Try extending your bulk fermentation or final proof by an hour or two, keeping an eye on the dough’s progress. A clear container for bulk fermentation and a proofing basket for the final rise can help you track your dough’s growth.
Overproofed and Out of Luck
On the flip side, an overproofed dough can also spell trouble. If your loaf is spreading out rather than rising, or if it deflates when you score it, you’ve likely let it proof for too long. To avoid this, keep a close eye on your dough during the final rise. Give it a gentle poke—if the dough springs back slowly, leaving a small indentation, it’s ready to bake. If it collapses or feels overly slack, it’s overproofed. Next time, try a shorter proofing period or pop it in the fridge for a slower, more controlled rise.
Mastering Dough Hydration
Dough hydration, or the ratio of water to flour in your recipe, can have a big impact on your final loaf. Too little water can lead to a tight, dense crumb, while too much can make your dough sticky and hard to handle. A digital scale is your best friend when it comes to nailing hydration—measuring by weight ensures accuracy and consistency. Start with a basic recipe and adjust the water content gradually until you find your sweet spot.
Temperature Troubles
Sourdough is a living thing, and like all living things, it thrives in the right environment. Aim for a consistent dough temperature around 75-80°F (24-27°C) for optimal fermentation. Too cold, and your dough will take forever to rise; too warm, and it may overproof quickly. Use a thermometer to check your dough temp and adjust as needed—a few degrees can make a big difference. If your kitchen is chilly, try proofing in a turned-off oven with the light on for a cozy spot.
Yummy, Crunchy Sourdough Goodness!
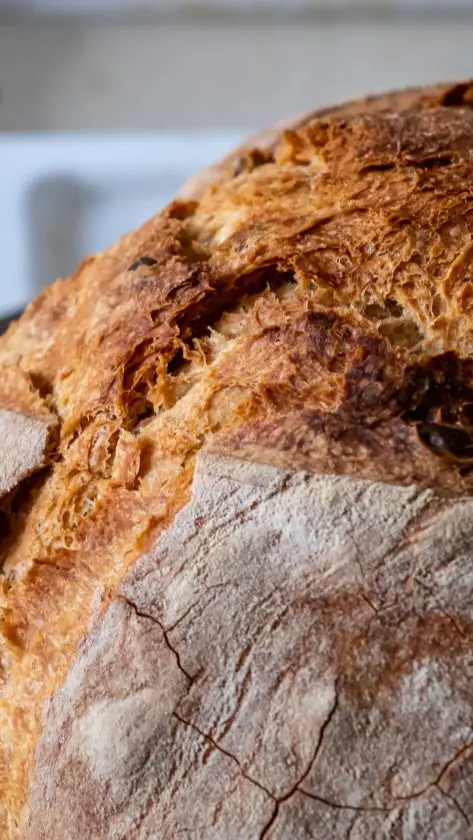
Anyone can create loaves with a tantalizing crust, complex flavor, and airy crumb. Don’t be discouraged if you’re not successful right away. With this recipe and guide, you’re ready to impress others with your newfound skills.
Happy baking!
Crusty Sourdough Bread Recipe: FAQs
How to make sourdough bread crust crispy?
To achieve a crispy crust on sourdough bread, ensure your oven is preheated to a high temperature (450-500°F) and consider using a baking stone or steel. Create steam in the oven by placing a pan of boiling water on a lower rack. Bake the bread until the crust is deep golden brown and sounds hollow when tapped.
Is sourdough bread supposed to be crusty?
Yes, traditional sourdough bread is known for its characteristic crispy, chewy crust. The combination of high oven temperature, steam, and long fermentation process contributes to the development of a thick, flavorful crust. However, the level of crustiness can vary depending on personal preference and baking techniques.
How do I get a crusty finish on bread?
A: To achieve a crusty finish on bread, preheat your oven to a high temperature (450-500°F) and use a baking stone or steel if available. Create steam by placing a pan of boiling water in the oven or spritzing the bread with water. Bake until the crust is deep golden brown and crispy.
Why is sourdough bread not fattening?
Sourdough bread is not inherently less fattening than other breads, as it still contains calories from carbohydrates. However, the fermentation process used in sourdough can make it more digestible and potentially slower to raise blood sugar levels compared to some other breads. Portion control and overall diet balance are key factors in managing weight gain.
Crusty Sourdough Bread Recipe
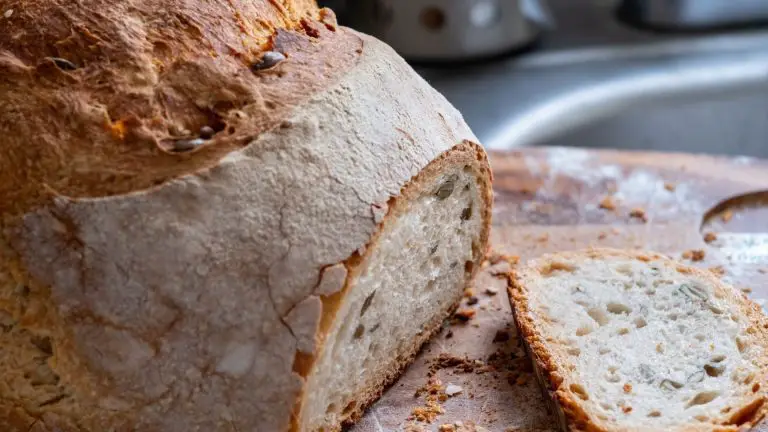
With this recipe, start creating a beautifully crispy, golden-brown crust on your sourdough loaves!
- Yield: 1 loaf 1x
Ingredients
- 500g (4 cups) Flour
- 1 1/2 cups Water
- 10g (2 teaspoons) Salt
- 100g (1/2 cup) Sourdough Starter
Instructions
Making Your Sourdough Starter
- Gather ingredients and tools: equal parts flour and water, clean glass jar, kitchen scale.
- Mix 50g each of flour and water in the jar, cover, and let sit for 24 hours.
- Discard half the mixture and add another 50g each of flour and water. Repeat daily.
- Watch for bubbles and fruity aroma, indicating an active starter.
- Maintain the starter by feeding it daily at room temperature or weekly in the fridge.
Kneading and Shaping
- Knead the dough by folding, pushing, and turning until smooth and elastic (10-15 minutes).
- Let the dough rest (bench rest) for 15-30 minutes, covered.
- Shape the loaves: round boule or oval batard.
- Use a floured banneton or bowl lined with a floured towel for proofing.
Proofing and Fermentation
- Bulk fermentation (first rise): let the dough rest and ferment for 4-12 hours until doubled in size.
- Final proof: proof shaped loaves in a banneton or proofing basket for 1-4 hours at room temperature or 8-24 hours in the fridge (cold fermentation).
- Monitor proofing progress: dough should double in size, feel light and airy, and spring back slowly when poked.
Baking
- Preheat oven to 450-500°F (230-260°C).
- Create steam by placing a metal pan with water on the bottom rack.
- Score the loaf with a sharp lame or razor blade at a 45-degree angle.
- Bake in a preheated Dutch oven, removing the lid after 20 minutes for a crispy crust.
- Category: bread

![Soft Sourdough Bread [Easy Recipe + Tips] 116 Soft sourdough bread [easy recipe]](https://www.mydailysourdoughbread.com/wp-content/uploads/2024/02/Soft-Sourdough-Bread-120x120.jpg)
![How To Make Bazlama [Turkish Flat Bread Recipe] 118 How to make bazlama [turkish flat bread recipe]](https://www.mydailysourdoughbread.com/wp-content/uploads/2024/03/Bazlama-4-120x120.jpg)
