
Last updated on October 22nd, 2025
Lemon blueberry sourdough is one of those recipes that surprised me—I made it on a whim one weekend when I had berries that needed using, and it’s become something I come back to again and again.
The combination makes sense when you think about it. Sourdough already has that slight tang, and lemon amplifies it without making things sour. The blueberries add pockets of sweetness and moisture throughout the loaf. You end up with something that sits comfortably between breakfast bread and dessert, good with butter in the morning or as an afternoon snack with tea.

About Today’s Recipe
This recipe combines tangy sourdough with fresh lemon zest and juicy blueberries to create a naturally leavened bread that works for breakfast or dessert.
The process takes about 24 hours from start to finish, including bulk fermentation and an overnight cold proof.
The result is a tender crumb studded with fruit and bright citrus flavor.
Time commitment: About 24 hours total, but mostly hands-off
- 30-60 min autolyse
- 4-5 hours bulk fermentation (with occasional stretch-and-folds in first 2 hours)
- 12-18 hours cold proof overnight
- 45-50 min baking
Main ingredients
- 500g flour total (400g bread flour + 100g whole wheat)
- 350g water (70% hydration)
- 100g active sourdough starter
- 150g fresh blueberries
- Lemon zest, salt, and a bit of sugar
How to Make: Standard sourdough method with a few twists—you do an autolyse, add the starter and flavorings, perform stretch-and-folds during bulk fermentation, gently fold in blueberries near the end, shape, cold proof overnight in the fridge, then bake in a preheated Dutch oven at 450°F.
Skill level: Intermediate—you need to be comfortable with basic sourdough techniques and handling a fairly hydrated dough.
Yield: One loaf (10-12 slices)
The fits into a normal schedule: start in the morning, tend to it during the day, shape before dinner, bake the next morning.
What Makes This Different from Regular Sourdough
Most sourdough recipes stick to the basics: flour, water, salt, and your starter. This one adds just a bit more.
The sugar helps balance the tartness and gives the crust a nice color. Fresh lemon zest goes into the dough itself, which means every bite has that bright citrus note rather than just hitting it on the surface.
The blueberries are the tricky part. Too many and they’ll weigh down the dough. Too few and you’re left wondering why you bothered. I’ve settled on about a cup and a quarter, which gives you fruit in most slices without turning the whole thing into a soggy mess.
Timing and Planning
Let me be straight with you: this isn’t a same-day bread. You’re looking at roughly 24 hours from mixing to baking. Most of that time is hands-off, but you do need to plan ahead.
Here’s how the timeline breaks down:
| Stage | Duration | What’s Happening |
|---|---|---|
| Autolyse | 30-60 minutes | Flour hydrates, gluten starts developing |
| Bulk Fermentation | 4-5 hours | Dough rises, develops flavor and structure |
| Shaping & Cold Proof | 12-18 hours | Final rise in the refrigerator |
| Baking | 45-50 minutes | Oven spring and crust development |
I usually start this in the morning, do the bulk fermentation during the day, shape it before dinner, and bake it the next morning. That schedule works well for me, but you can shift things around based on your routine.
The Recipe
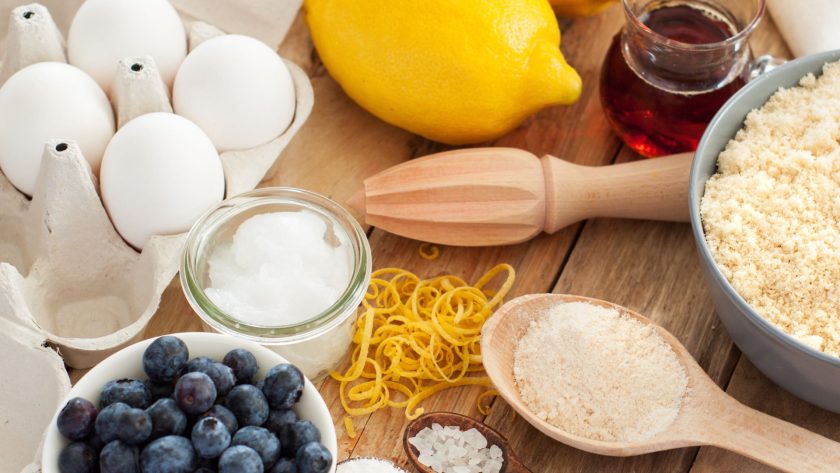
Ingredients
For the Dough
- 400g bread flour
- 100g whole wheat flour
- 350g water (room temperature)
- 100g active sourdough starter (100% hydration)
- 10g salt
- 25g sugar
- Zest of 1 large lemon (about 1 tablespoon)
- 150g fresh blueberries
For the Glaze
- 120g powdered sugar
- 2 tablespoons fresh lemon juice
- 1 tablespoon milk or cream
- 1/4 teaspoon vanilla extract
- Pinch of salt
You’ll Also Need
- Rice flour for dusting
- A Dutch oven or covered baking vessel
How to Make
1. Mix the Autolyse
Combine the bread flour, whole wheat flour, and water in a large bowl. Mix until no dry flour remains. Cover and let it sit for 30 to 60 minutes. This resting period lets the flour fully absorb the water and starts gluten development before you add anything else.
2. Add Starter and Salt
After the autolyse, add your sourdough starter, salt, sugar, and lemon zest. Mix everything together with your hands. It’ll feel messy at first—just keep squishing and folding until the ingredients are evenly distributed. The dough should feel sticky but cohesive.
3. Bulk Fermentation
Cover the bowl and let the dough ferment at room temperature (around 72-75°F works well). During the first 2 hours, perform a set of stretch-and-folds every 30 minutes. Here’s what that means: wet your hand, grab one side of the dough, stretch it up, and fold it over itself. Rotate the bowl 90 degrees and repeat. Do this four times per set.
After those first 2 hours, leave the dough alone for another 2 to 3 hours. You’re looking for it to increase in volume by about 50% and develop a slightly domed top.
4. Add the Blueberries
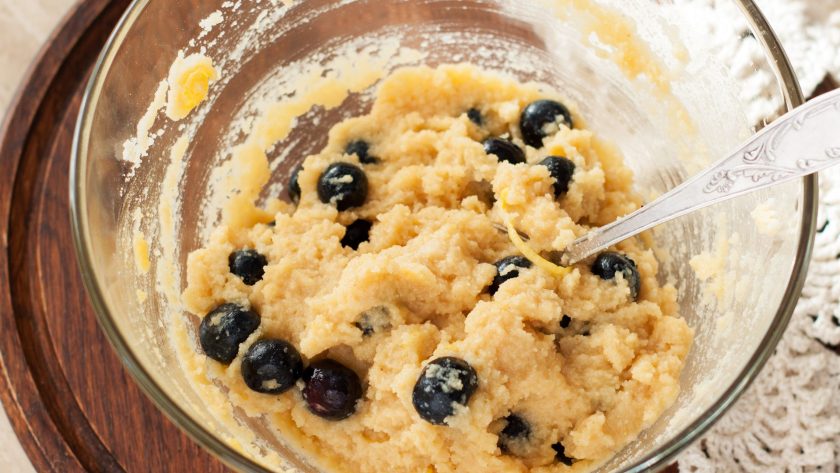
About 30 minutes before you plan to shape, gently fold in the blueberries. Don’t go wild here—a few gentle folds are enough. Some berries might burst, and that’s fine. You want them distributed but not totally smashed.
5. Shape
Turn the dough out onto a lightly floured surface. Shape it into a round by pulling the edges toward the center, then flip it over. Use your hands to drag it across the counter in small circles, creating tension on the surface. Place it seam-side up in a banneton or bowl lined with a towel dusted with rice flour.
6. Cold Proof
Cover the shaped dough and refrigerate overnight, anywhere from 12 to 18 hours. This slow fermentation develops more flavor and makes scoring easier.
7. Bake
The next morning, preheat your oven to 450°F with your Dutch oven inside for at least 45 minutes. When ready, flip the dough out onto parchment paper. Score the top with a sharp blade—I usually do one long slash across the center.
Carefully transfer the dough (parchment and all) into the hot Dutch oven. Cover with the lid and bake for 25 minutes. Remove the lid and continue baking for another 20 to 25 minutes, until the crust is deep golden brown.
Let the bread cool for at least an hour.
8. Make Glaze
Whisk together powdered sugar, lemon juice, milk, vanilla, and salt until smooth. Add more milk if too thick or more sugar if too thin. Drizzle glaze over cooled bread using a spoon or piping bag. Let set for 15 minutes before slicing.
Recipe Tip
Fresh berries work better than frozen here—frozen ones release too much moisture and can turn your dough into a soggy situation. If you only have frozen, toss them with a tablespoon of flour before adding to help absorb some of that liquid.
And yes, you can scale this recipe up or down. Just keep all the percentages the same relative to your flour weight.
Problems You Might Encounter
- Berries sinking to the bottom: This usually means you added them too early or your dough was too loose. Add them later in the bulk fermentation, and make sure your dough has good structure before folding them in.
- Dough too sticky to handle: Different flours absorb water differently. If your dough feels unmanageable, you can hold back 25g of water next time and add it gradually as needed.
- Not enough oven spring: Your starter might not have been active enough, or the dough could have overproofed. Make sure your starter passes the float test before using it, and watch your dough rather than the clock during bulk fermentation.
- Gummy crumb: You either underbaked it or cut into it too soon. Sourdough needs that full cooling time for the interior to set properly.

Storing and Serving
This bread keeps well for about three days at room temperature, wrapped in a clean kitchen towel or paper bag. Don’t store it in plastic—the moisture from the blueberries can make the crust soft and sad.
I like this bread toasted with salted butter. The heat brings out the lemon oils and makes the blueberries jammy. It also makes good French toast if you have leftovers.
Slice it thick, dip it in your usual egg mixture, and cook it in butter. The slight tang from the sourdough cuts through the richness.
Why Bother with All This
Look, I get it. You could buy a lemon blueberry loaf at the store and save yourself a day of waiting around.
But there’s something satisfying about mixing this up yourself, checking on it throughout the day, and pulling a proper loaf out of your oven the next morning. The flavor is different too—more complex than what you’d get from commercial yeast, with that depth that comes from slow fermentation.
Plus, once you’ve made this a couple times, the process becomes pretty automatic. You’ll figure out what the dough should look and feel like at each stage. You’ll learn how your specific kitchen temperature affects timing. It becomes less of a big production and more of a rhythm you fall into.
Give it a try on a weekend when you’re home anyway. You might find yourself with a new weekend ritual, or at least a really good loaf of bread.
Print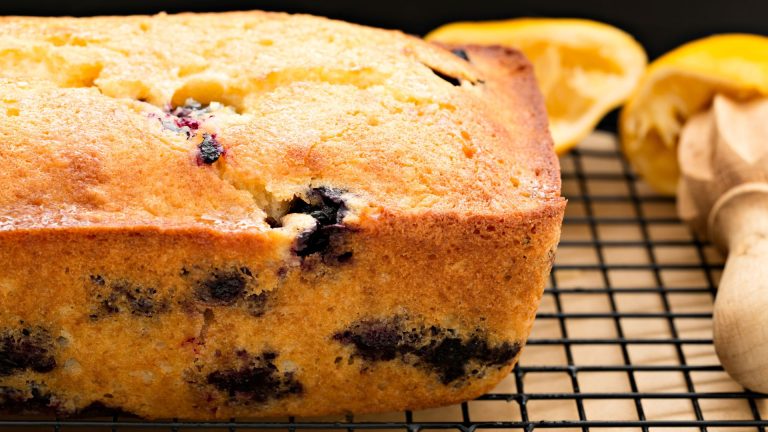
Lemon Blueberry Sourdough Bread
- Total Time: 24 hours
- Yield: 1 loaf (10-12 slices) 1x
Ingredients
For the Bread
- 400g bread flour
- 100g whole wheat flour
- 350g water (room temperature)
- 100g active sourdough starter (100% hydration)
- 10g salt
- 25g sugar
- 1 tablespoon fresh lemon zest (about 1 large lemon)
- 150g fresh blueberries
- Rice flour for dusting
For the Lemon Glaze
- 120g powdered sugar
- 2 tablespoons fresh lemon juice
- 1 tablespoon milk or cream
- 1/4 teaspoon vanilla extract
- Pinch of salt
Instructions
- Mix bread flour, whole wheat flour, and water. Cover and autolyse 30-60 minutes.
- Add starter, salt, sugar, and lemon zest. Mix with hands until combined.
- Bulk fermentation: Perform stretch-and-folds every 30 minutes for first 2 hours (4 sets). Rest 2-3 more hours until 50% increase in volume.
- Gently fold in blueberries 30 minutes before shaping.
- Shape into a round. Place seam-side up in banneton dusted with rice flour.
- Cold proof in refrigerator 12-18 hours.
- Preheat oven to 450°F with Dutch oven inside for 45 minutes. Score dough and transfer to hot Dutch oven.
- Bake covered 25 minutes. Uncover and bake 20-25 minutes more until deep golden.
- Cool 1 hour before slicing.
- Make glaze: Whisk together powdered sugar, lemon juice, milk, vanilla, and salt until smooth. Add more milk if too thick or more sugar if too thin.
- Drizzle glaze over cooled bread using a spoon or piping bag. Let set for 15 minutes before slicing.
Notes
- Use fresh blueberries (frozen release too much moisture).
- Store wrapped in kitchen towel up to 3 days.
- The glaze is optional but adds extra sweetness and lemon flavor. Once glazed, bread is best eaten within 2 days.
- Store unglazed bread wrapped in kitchen towel up to 3 days.
- Great toasted with butter.
- Prep Time: 30 minutes (active)
- Category: bread





