
Last updated on January 21st, 2026
January is hands-down the best time to start a sourdough culture. The cooler temperatures mean you’re working with forgiving conditions, and the slower fermentation gives you breathing room to learn without panicking that everything’s moving too fast. Plus, a lot of us start resolutions, don’t we? So why not attempt to make a starter, too?
Here’s what makes this doable: you mix flour and water, feed it once a day, and within a week you’ll have bubbling proof that you’re doing it right. No fancy equipment needed. No prior baking experience required. Just flour, water, a jar, and a little patience.
I’ll teach you to create a starter from scratch and keep it alive all year long. Which flours get the best results? What to expect each day? I’ll also teach you how to fix common problems, and how to turn this into a habit that sticks beyond February.
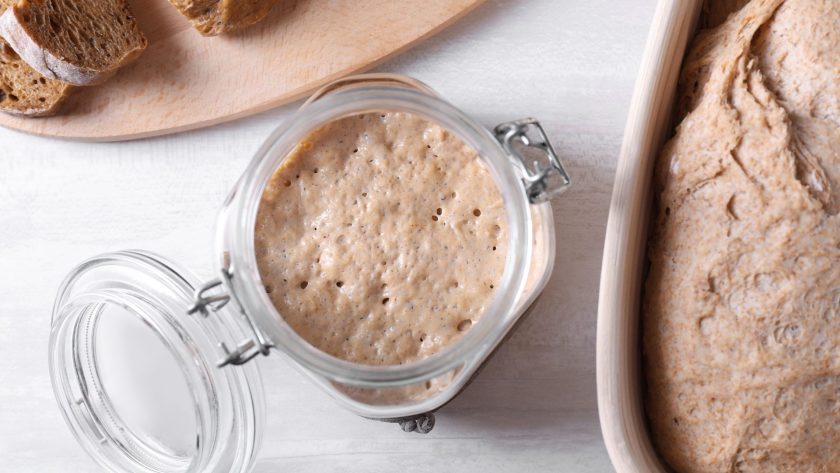
Why Start a Sourdough Starter for the New Year
January gives so many of us a clean slate. The holiday rush is over, routines are settling back in, and we actually have the mental space to start something new.
A sourdough starter fits beautifully into this window!
And despite what you might think, you can actually progress with your sourdough starter fast.
Your starter will bubble and rise when you feed it. The feedback is immediate and honestly pretty satisfying. Take care of it and you’ll be pulling warm, crusty loaves from your oven within weeks.
Winter timing works in your favor too. Cooler kitchens slow down fermentation, which means you have more wiggle room. Miss a feeding by a few hours in January? Not a big deal. But try that in July and your starter might stage a revolt.
What You’re Actually Creating
Let’s learn a little bit about what we’re dealing with here.
A sourdough starter is a living culture of wild yeast and beneficial bacteria. These little organisms exist naturally on wheat, in the air around you, even on your hands. When you mix flour and water and leave it sitting out, you’re basically setting up a buffet that invites these microbes to move in and multiply.
The yeast creates carbon dioxide bubbles that make bread rise. The bacteria (mainly lactobacillus) produce acids that give sourdough its signature tang and complex flavor. That taste you can’t get from store-bought bread.
Your starter is a tiny ecosystem in a jar. You’re the caretaker, providing fresh flour and the right conditions for this community to thrive.
Sounds complicated, but the daily reality is simple: stir, discard, feed, repeat.
Choosing Your Flour
You can make a sourdough starter with almost any flour, but some get you to the finish line faster than others.
| Flour Type | Best For | Time to See Bubbles | Notes |
|---|---|---|---|
| Whole Wheat | Starting a new culture | 1-2 days | Contains more of the wheat kernel where wild yeast lives; fastest option |
| Whole Rye | Starting a new culture | 1-2 days | Similar to whole wheat; great for jumpstarting fermentation |
| All-Purpose | Maintaining established starter | 3-5 days | Makes milder-tasting bread; works for sandwich loaves and pizza |
| Organic (any type) | Both starting and maintaining | Varies by type | Not treated with chemicals that kill microbes; often works better |
| Regular Supermarket | Both starting and maintaining | Varies by type | Works fine for most people; use what you have access to |
Whole grain flours are your speed-run option. Whole wheat or whole rye flour contain more of the wheat kernel, including the parts where wild yeast naturally hangs out. You’ll see bubbles within a day or two.
All-purpose flour takes longer. Expect three to five days before things get exciting. But many bakers switch to all-purpose once their starter is established because it makes milder-tasting bread that works for everything from sandwich loaves to pizza.
The smart move? Start with whole wheat or rye for the first few feedings to jumpstart fermentation, then transition to all-purpose once you see consistent activity.
Organic flour tends to work better because it hasn’t been treated with stuff that kills off microbes. That said, plenty of people successfully start cultures with regular supermarket flour, so use what you have access to.
Recommended Strategy: Start with whole wheat or rye flour for the first few feedings to get things bubbling quickly, then switch to all-purpose flour once you see consistent activity.
The Water Question
| Water Type | Temperature | When to Use | Notes |
|---|---|---|---|
| Tap Water | 70-80°F (room temp) | Most situations | Works fine for most people; easiest option |
| Tap Water (sit overnight) | 70-80°F (room temp) | If water is heavily chlorinated | Let sit in open container overnight to release chlorine |
| Filtered Water | 70-80°F (room temp) | If tap water is heavily treated | Good alternative when chlorine is a concern |
| Bottled Water | 70-80°F (room temp) | If tap water is heavily treated | Another reliable option for chlorinated water |
Tap water works fine for most people. If your water is heavily chlorinated (you can usually taste or smell it), let it sit out overnight in an open container, or use filtered or bottled water instead. Chlorine can slow things down or stop fermentation completely.
Room temperature water is fine. Don’t stress about hitting exact temperatures. Anything between 70-80°F works just fine.
Timeline Expectations
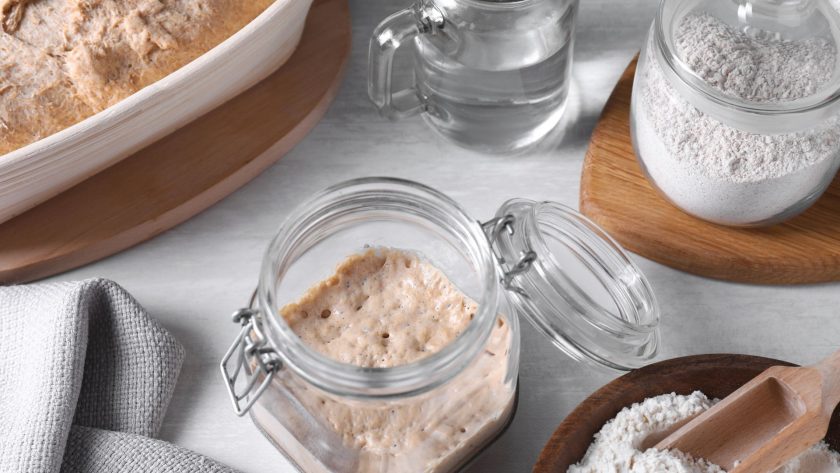
Here’s what you should see as your starter develops:
- Days 1-2: Basically nothing. Maybe a bubble or two if you’re lucky. Don’t worry, this is completely normal.
- Days 3-4: Small bubbles start appearing. The smell might be weird, like sweaty gym clothes or old cheese. Yeah, it’s unpleasant, but it’s temporary and means things are happening.
- Days 5-7: Now we’re talking. You should see real activity: rising, falling, lots of bubbles. The funky smell shifts to something more pleasant and tangy, like yogurt or sourdough bread (imagine that).
- Days 7-10: Your starter should reliably double in size within 4-8 hours of feeding. When it does this consistently, you’re ready to bake your first loaf.
Some starters take longer. Don’t compare your timeline to what someone else got. Temperature, flour type, and the specific microbes in your kitchen all play a role.
Recipe for Your New Starter for 2026
Ingredients
- 50g all-purpose flour or whole wheat flour
- 50g room temperature water
- A clean jar (at least 16 oz capacity)
- A loose cover (cloth, coffee filter, or jar lid resting on top)
For daily feedings, you’ll need:
- 50g all-purpose or whole wheat flour
- 50g water
How to Make Your New Year Sourdough Starter
- Day 1 Morning: Mix 50g flour and 50g water in your jar. Stir really well until you don’t see any dry flour. It should look like thick pancake batter. Cover loosely (you want air to get in) and leave it on your counter, ideally somewhere around 70-75°F. Put a rubber band or piece of tape on the jar to mark the level. You’ll want to see if it rises.
- Day 2 Morning: Probably looks the same as yesterday. That’s fine. Now here comes the weird part: throw away half of what’s in the jar (about 50g). Add 50g fresh flour and 50g water. Stir well, cover, and walk away. This discarding feels wasteful but it keeps your starter healthy by maintaining the right balance of hungry microbes to available food.
- Day 3 Morning: You might spot a few tiny bubbles. The smell might be off-putting. Discard half again and feed with 50g flour and 50g water. If you started with all-purpose flour and nothing’s happening, switch to whole wheat for faster action.
- Day 4 Morning: More bubbles should show up. You might see a slight rise. Keep going with the same routine: discard half, add 50g flour and 50g water. That weird smell should be improving.
- Day 5 Morning: Things should be looking lively now. Noticeable rise, bubbles throughout. The smell should be pleasant and fermented, like yogurt or beer. Keep up the daily feedings.
- Day 6-7 Morning: Your starter should be doubling in size within 8-12 hours after feeding. When it does this reliably and smells good, you’re in business.
- Testing readiness: Want to know for sure if it’s ready? Drop a spoonful into a glass of water. If it floats, your starter is active enough to bake with. If it sinks, give it more time or feed it more often.
- Maintaining your starter: Once it’s established, feed it daily if you’re keeping it on the counter, or weekly if you stick it in the fridge. To refrigerate: feed it, wait about an hour, then pop it in the fridge. When you want to bake, take it out 1-2 days ahead and feed it twice at room temperature.
Recipe Tips
- Don’t skip the discard step. I know it feels wrong to toss half your starter every day, but if you don’t, the ratio of microbes to food gets out of whack. Your starter will get sluggish and too sour.
- Consistency helps a lot. Try to feed around the same time each day. Your starter will get into a rhythm, which makes everything more predictable and easier to manage.
- Use the rubber band trick. Mark where your starter sits right after feeding. You’ll instantly see how much it’s grown, which helps you understand what’s normal for your particular culture.
- Temperature changes everything. Cold kitchen (below 68°F)? Your starter will move slowly. That’s fine, just be patient. Really warm (above 78°F)? You might need to feed twice a day to keep up.
- That weird liquid on top. Sometimes a dark liquid forms on your starter. It’s called hooch, and it means your starter is hungry. Just stir it back in and feed as usual. Not dangerous, just a heads-up to feed more often.
- Save your discard for later. Once your starter is going strong, that stuff you discard each day can become pancakes, waffles, crackers, or quick breads. Keep a jar of discard in your fridge and use it when you’ve collected enough for a recipe.
- Give it a name. Sounds silly, but people who name their starters are way more likely to remember to feed them. Pick something fun. Get weird with it.
Starting the Year With Better Baking Habits
Sourdough teaches you to slow down in the best way.
You can’t rush it. You can’t take shortcuts. You learn to work with natural timing instead of fighting against it.
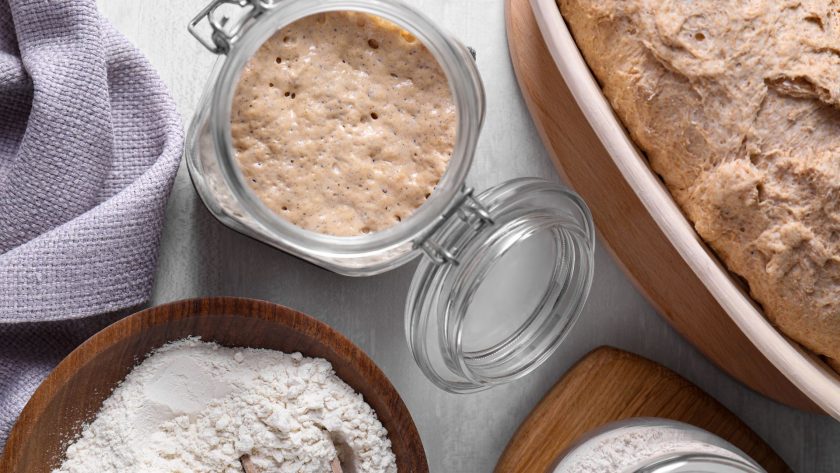
Set up a feeding station somewhere convenient. Keep your flour, scale, jar, and spoon all in one spot. The less friction in your daily routine, the more likely you’ll stick with it. A small tray on the counter works great.
Build feeding into something you already do every morning. Coffee brewing? Toast making? Feeding your starter takes two minutes. Attach it to an existing habit and you won’t forget.
Start a simple baking journal in January. Jot down when you feed, what flour you use, how warm your kitchen is, and what you see happening. After a month you’ll know your starter better than any blog post can teach you.
Plan your first actual loaf for mid-January. Give yourself time to get comfortable with the feeding routine before you tackle bread-making. When you do bake, keep it simple. Your first loaf doesn’t need to be magazine-worthy.
Once you’ve got a few loaves under your belt, try baking multiple loaves at once. Sourdough freezes beautifully. Having homemade bread in your freezer transforms regular weeknight dinners into something special.
Keeping Your Starter Alive All Year
Here’s what most people get wrong: they think a sourdough starter needs constant babysitting.
Once your starter is established and you move it to the fridge, you only need to feed it once a week. Sometimes you can push it longer.
Going on vacation? Feed your starter, wait an hour, and stick it in the fridge. It’ll be fine for a month. When you get back, it might look a little sad and have some hooch on top, but a couple of feedings at room temperature will perk it right back up.
Gone longer than a month? You can freeze your starter. Spread a thin layer on parchment paper, let it dry completely, then break it into flakes and store them in a jar. To bring it back to life, mix the flakes with water and flour and start feeding again.
Summer changes the game. Your starter will ferment way faster in the heat. If you’re keeping it on the counter, you might need to feed twice a day. This is when refrigeration becomes your best friend.
Keep backup dried starter even when everything’s going well. Every few months, take a tablespoon of active starter, spread it on parchment, let it dry, and store the flakes. Think of it as insurance.
Seasons affect how much water your flour absorbs. Your starter might seem thicker in winter and thinner in summer even though you’re measuring the same amounts. If the consistency seems off, adjust the water slightly to keep that thick pancake batter texture.
When Things Go Wrong
Starter smells like nail polish remover? It’s too acidic. Feed it twice a day for a few days until the smell improves.
See fuzzy spots in pink, orange, green, or black? That’s mold. Sorry, but you need to toss it and start over. Sterilize your jar and begin fresh. The good news is mold is rare if you’re feeding regularly.
Nothing’s happening after five days? Your water might be too chlorinated, your flour might be heavily treated, or your kitchen is too cold. Try filtered water, switch to organic whole grain flour, or move the jar somewhere warmer.
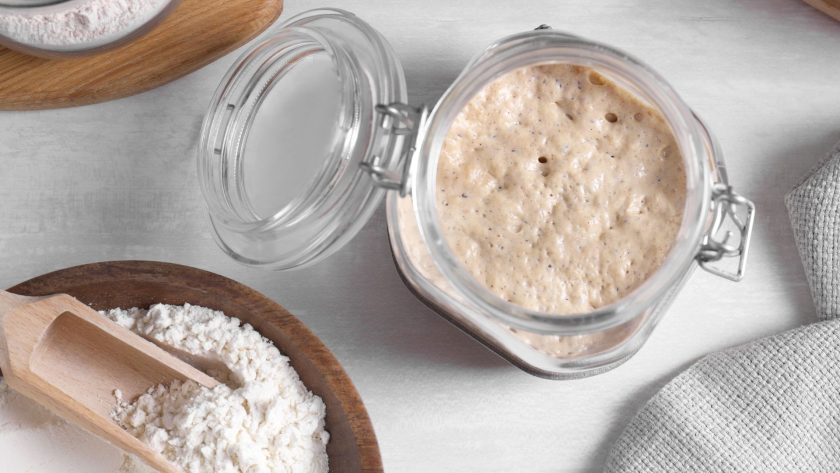
Got a sluggish, sad-looking starter? It’s not dead, just underfed. Feed it twice a day for three days. This usually brings even the most neglected starters back to life.
The Reward
By February, you’ll have a reliable starter and a few loaves under your belt.
By spring, you’ll know your starter’s quirks and patterns like an old friend. By next December, you’ll be giving starter to friends as gifts and wondering why you ever bought sandwich bread from the store.
A New Year’s resolution that produces actual food you can share with people you care about? That’s worth committing to. Your January 2026 sourdough starter could still be making bread in 2036 if you keep it going.
Grab a jar, buy some flour, and start today. Future you will be grateful.
Related Articles:
 How to Make Gluten Free Sourdough Starter: Easy Recipe + Pro Tips
 How to Feed Sourdough Starter (A Beginner’s Guide to Perfect Bread)
 Delicious Sourdough Rolls From Starter
![Easy recipes using sourdough starter [with step by step guide]](https://www.mydailysourdoughbread.com/wp-content/uploads/2025/05/10-Recipes-Using-Sourdough-Starter-Beyond-Basic-Bread-120x120.jpg "10 Recipes Using Sourdough Starter (Beyond Basic Bread!) 8") 10 Recipes Using Sourdough Starter (Beyond Basic Bread!)
10 Recipes Using Sourdough Starter (Beyond Basic Bread!)
 Sourdough Cinnamon Coffee Cake Recipe: 9 Steps to Irresistible Bakery-Style Results
