
Last updated on February 16th, 2026
Learning how to feed sourdough starter from fridge is simpler than you might think. That bubbly mixture of wild yeast and lactic acid bacteria in your jar is basically hibernating in cold storage. The fridge slows everything down, perfect for those of us not baking daily. When it’s time to bake, your starter needs flour and water plus some patience to wake up properly.
Once I figured out the proper feeding schedule and timing, my loaves transformed. My crumb got airier, the rise improved dramatically, and the whole process became genuinely enjoyable instead of stressful.
Let me share what I’ve learned with you!
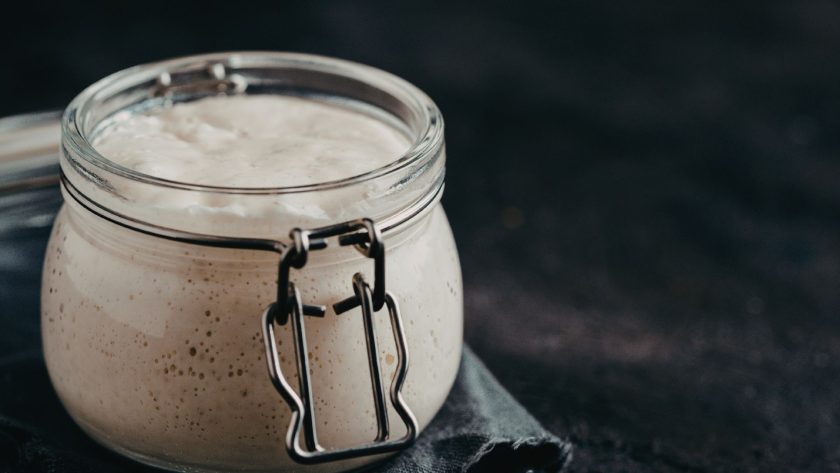
What We’re Learning Today
Let me teach you how to properly feed and revive your refrigerated sourdough starter for baking.
You’ll learn when your starter needs feeding, the exact process to wake it up, and how to troubleshoot common problems you might encounter.
Has your starter has been in the fridge for a week? Maybe a month? Either way, you’re getting the simple techniques that revive a dormant starter, turning it into its active, bubbly version that’s ready to make incredible bread.
Refrigerated starters only need weekly feeding instead of twice daily, making sourdough sustainable if you’re a casual baker. With the revival techniques here, your cold starter can produce the same beautiful loaves as a room-temperature one.
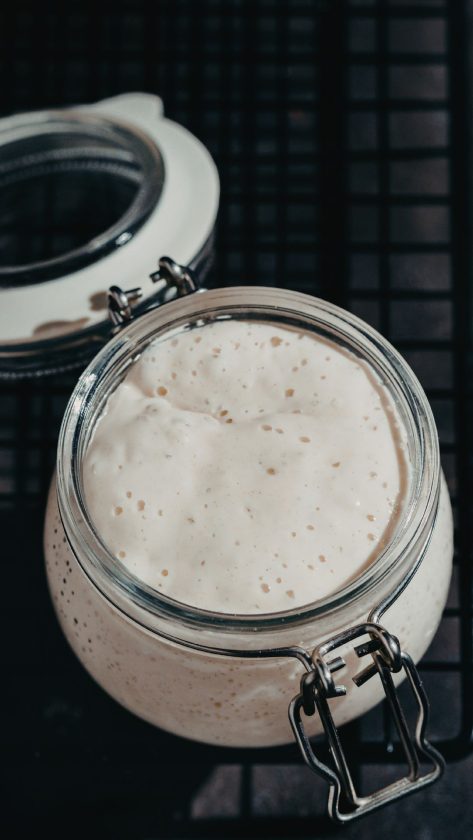
Why Refrigerate Your Sourdough Starter
Slowing Down the Fermentation Process
When you place your starter in the refrigerator at around 38°F (3°C), the cold temperature dramatically slows fermentation activity. The yeast essentially hibernates, and while bacteria continue working, they move at a much slower pace.
Temperature comparison
| Storage Method | Feeding Frequency | Fermentation Speed |
|---|---|---|
| Room Temperature (68-75°F) | Twice daily | Doubles every 4-8 hours |
| Refrigerated (38°F) | Once weekly | Minimal activity |
This is essential for home bakers who don’t bake daily. The fridge gives you freedom from constant feeding schedules while keeping your starter healthy and ready when you need it.
Reducing Feeding Frequency
Refrigeration transforms your starter from high-maintenance to low-key:
- Room temperature: Feed twice daily
- Refrigerated: Feed once weekly
- Maximum storage: Up to 2 months without feeding (though weekly is better)
- Practical sweet spot: Feed every 7-10 days
This method is perfect for casual bakers. Simply pull it out when ready to bake, feed it, use what you need, then return it to the fridge until next time.
Related: How Much to Feed Sourdough Starter (Beginner’s Guide)
When to Feed Your Refrigerated Starter
Reading the Signs Your Starter Needs Attention
| Sign | What It Means | Action Needed |
|---|---|---|
| Dark liquid layer (hooch) | Starter is hungry | Pour off or stir in, then feed |
| Separation (liquid/sediment) | Normal for cold storage | Feed if it’s been 7+ days |
| Strong vinegar smell | Built-up acetic acid | Discard most, feed fresh |
| Pink/orange streaks | Bad bacteria | Discard entirely, start fresh |
| Fuzzy mold | Contamination | Discard entirely, start fresh |
Hooch colors and what they indicate
- Clear to grayish: Recently hungry
- Brown: Hungry for several days
- Nearly black: Neglected for weeks
Dark hooch is fine, it’s just your starter’s way of saying it needs food.
Timing for Baking Preparation
You cannot use starter straight from the fridge. Plan ahead based on storage time:
Revival timeline:
| Time in Fridge | Feedings Needed | Total Revival Time |
|---|---|---|
| Less than 1 week | 1 feeding | 4-12 hours |
| 1-2 weeks | 2 feedings | 24 hours |
| 2-4 weeks | 2-3 feedings | 24-48 hours |
| 4+ weeks | 3-4 feedings | 48-72 hours |
General rule: The longer it’s been in cold storage, the more wake-up time it needs.
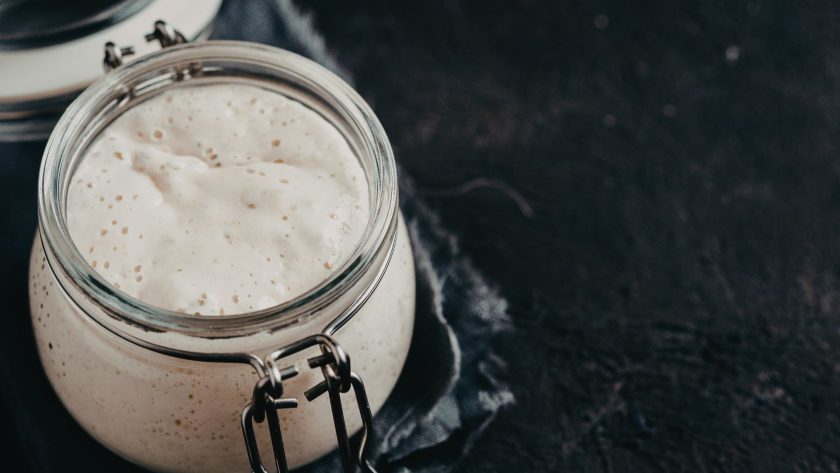
Tools & Ingredients You Need
Non-Negotiable Equipment
- Digital kitchen scale (for consistent results)
- Clean glass jar (large enough for starter to double)
- Rubber spatula or spoon
- Rubber band (for marking growth)
- Loose cover (breathable cloth or loose lid)
Ingredients
Flour options
- All-purpose flour (most common)
- Bread flour (higher protein)
- Whole wheat flour (nutrient boost)
- Rye flour (emergency revival)
Water requirements
- Filtered water (best option)
- Spring water (also excellent)
- Tap water left out 24 hours (chlorine evaporates)
- Avoid: Distilled water (lacks minerals)
Remember: Pick your flour and water source, then stay consistent. Your starter thrives on routine.
Step-by-Step Feeding Process to Revive Your Starter
Remove and Assess
- Take starter out of fridge and let sit on counter for 30-60 minutes
- Observe the condition:
- Check for hooch on top
- Look for separation
- Note the smell
- Handle hooch:
- Pour off for milder flavor
- Stir in for more sour tang
You don’t need to wait for complete room temperature because warming for an hour is sufficient.
Discard Portion
Standard discard method
- Keep 1/2 cup (113g) of your starter
- Remove and discard the rest
- Alternatively, save discard in a separate jar for recipes
Why discard is necessary
- Prevents massive starter buildup
- Reduces acid accumulation
- Maintains optimal yeast-to-bacteria balance
- Keeps starter manageable and healthy
Sourdough Starter Recipe
Ingredients
- 50g active starter (or 1/2 cup)
- 50g all-purpose or bread flour (or 1 scant cup)
- 50g filtered water (or 1/4 cup)
How to Make
- Combine ingredients: Add flour and water to your starter
- Mix thoroughly: Stir until no dry flour remains and mixture is smooth
- Check consistency: Should resemble thick pancake batter
- Ensure even mixing: No lumps should remain
Ratios
Feeding ratio explained (1:1:1)
- 1 part starter
- 1 part flour
- 1 part water
- All measured by weight
Alternative ratios for specific needs
- 1:2:2 (slower fermentation, less maintenance)
- 1:3:3 (sluggish starter revival)
- 1:5:5 (build large quantity quickly)
Recipe Tips
- Always use weight measurements for consistency since volume measurements vary significantly
- Room temperature matters: 74-76°F is ideal for fermentation
- Mix completely: Unincorporated flour creates weak spots in your starter
- Mark your jar with a rubber band to track doubling
- Create warmth: Use oven with light on, or place near (not on) warm appliances
- Be patient: First feeding after long storage may be slow
Let It Rise
What to expect when you make a starter:
| Time | Activity Level | Description |
|---|---|---|
| 0-2 hours | Minimal | Starter absorbing water and flour |
| 2-4 hours | Early activity | Small bubbles forming |
| 4-8 hours | Active | Visible rise, many bubbles |
| 8-12 hours | Peak | Doubled, bubbly, spongy texture |
| 12+ hours | Declining | Starting to collapse |
Signs your starter is ready to use
- Doubled in size from feeding
- Bubbles throughout and on surface
- Spongy, light, fluffy texture
- Pleasant yeasty smell with characteristic tang
- Passes the float test (dollop floats in water)
Peak window: You have 1-2 hours at maximum strength before it starts declining. This is when to mix your dough.
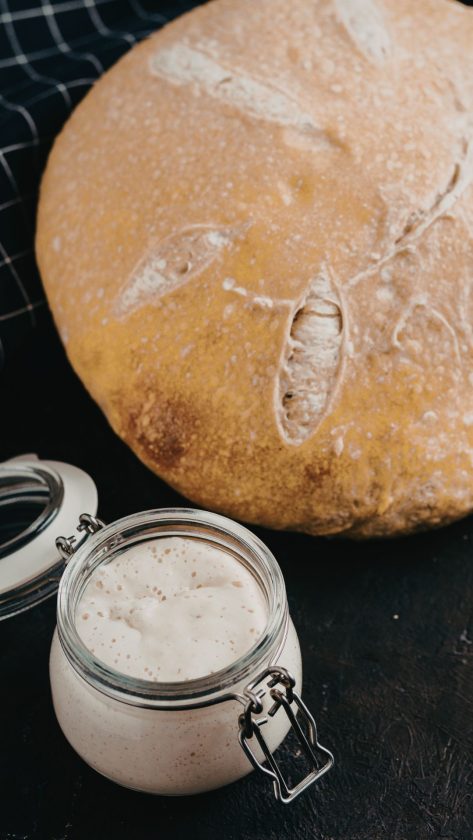
How Long to Wait After Feeding
Timing factors:
| Factor | Impact on Rise Time |
|---|---|
| Room temperature 75°F+ | 4-6 hours |
| Room temperature 68-74°F | 6-8 hours |
| Room temperature below 68°F | 8-12+ hours |
| Starter stored 1 week | Normal timing |
| Starter stored 2-4 weeks | Add 2-4 hours |
| First feeding after long storage | May take 12-16 hours |
Creating ideal conditions:
- Place in oven with light on (creates 76-80°F environment)
- Near (not on) warm appliances
- Wrapped in towel on heating pad (low setting)
- Inside microwave with cup of hot water
The float test:
- Fill a bowl with room temperature water
- Drop a small dollop of starter into water
- If it floats, your starter is ready to use
- If it sinks, it needs more time
Related: How to Feed Sourdough Starter
Troubleshooting Common Issues You Might Encounter
Sometimes feeding your starter doesn’t go exactly as planned, but most issues have straightforward fixes:
Sluggish or Won’t Rise
Possible causes and solutions
| Problem | Cause | Solution |
|---|---|---|
| Too cold | Below 70°F environment | Move to warmer spot (74-76°F ideal) |
| Weak starter | Long refrigeration | Give 2-3 consecutive feedings |
| Low nutrients | White flour only | Add whole grain rye or wheat flour |
| Too little food | Not enough flour/water | Increase feeding ratio to 1:2:2 |
Smells Like Nail Polish Remover or Vinegar
This pungent smell indicates hungry starter with acetic acid buildup.
Fix:
- Pour off all hooch
- Discard most of starter (keep only 25-50g)
- Feed with fresh flour and water
- Repeat feeding every 12 hours until smell improves
Pink or Orange Streaks
Warning: This indicates bad bacteria contamination.
Actions required:
- Discard entire starter
- Wash jar thoroughly with hot soapy water
- Start fresh with new starter
Same applies to:
- Fuzzy mold spots (any color)
- Strong foul odor (not sour, but rotten)
Note: Dark hooch is perfectly safe, you just pour it off.
Won’t Double After Feeding
Troubleshooting steps:
- Increase feeding ratio to 1:2:2 or 1:3:3
- Gives more food
- Reduces acidity faster
- Check discard amount
- Keep less starter (25g instead of 50g)
- Ensures fresh food ratio
- Test your water
- Heavy chlorination kills yeast
- Let tap water sit 24 hours
- Switch to filtered or spring water
- Verify temperature
- Use thermometer to check environment
- Aim for 74-76°F
- Try rye flour boost
- Mix 50% rye, 50% all-purpose
- Extra nutrients jumpstart activity
Maintaining a Healthy Refrigerated Starter
Weekly Maintenance Schedule
Option 1: Regular weekly feeding
- Remove from fridge on same day each week
- Feed using 1:1:1 ratio
- Let rise at room temperature 4-8 hours
- Return to fridge once active and bubbly
Option 2: Feed only before baking
- Remove 1-2 days before planned baking
- Give 1-3 feedings depending on storage time
- Use at peak for baking
- Feed remaining starter and return to fridge
Best Practices for Long-Term Storage
Do:
- Feed before refrigerating (gives starter food for the week)
- Use clean utensils every time
- Keep jar lid loose (allow minimal gas escape)
- Mark jar with date of last feeding
- Check weekly for concerning colors or smells
Don’t:
- Leave starter in 90°F+ environment before refrigerating
- Use tightly sealed containers (gas buildup can cause explosions)
- Let hooch accumulate for more than 2 weeks
- Forget about it for more than 1 month
- Use metal containers (can react with acid)
Maximum Storage Guidelines
| Storage Duration | Condition | Revival Difficulty |
|---|---|---|
| 1-2 weeks | Optimal | Easy (1 feeding) |
| 2-4 weeks | Good | Moderate (2 feedings) |
| 1-2 months | Acceptable | Challenging (3-4 feedings) |
| 2+ months | Risk zone | May not recover |
Making the Most of Sourdough Discard
If you’re wondering what you can do with discard from your starter, here are several ideas to try (immediately!):
Sweet Recipes
- Cinnamon rolls
- Brownies
- Cake (such as Sourdough Bundt Cake or plain Sourdough Cake)
- Pancakes or waffles
- Muffins (like English muffins) or quick breads
Savory Recipes
- Crackers
- Pizza dough
- Flatbreads (we’re talking naan, Bazlama, Injera)
- Biscuits
- Fried chicken coating/breading
Storage tip: Keep discard in a separate jar in the fridge for up to 1 week. Label it clearly so you don’t confuse it with active starter.
Keep Your Starter Happy and Thriving
Feeding your refrigerated starter becomes second nature with practice. The secret is consistency: feed weekly, watch for signs of hunger, and give proper revival time before baking. Sourdough starters are remarkably resilient and can handle occasional neglect.
Here’s a summary to remember:
- Cold storage = weekly feeding instead of twice daily
- Plan 1-2 days ahead for baking preparation
- Save discard for delicious recipes
- Trust your starter (it wants to thrive)
Stay consistent with your routine, and those beautiful loaves with airy crumbs and perfect rise will keep coming.
FAQs – How to Feed Sourdough Starter from Fridge
How do you feed sourdough starter that has been in the fridge?
Remove your starter from the fridge and let it sit for about an hour. Pour off any hooch (dark liquid) on top. Discard all but 1/2 cup (113g) of starter, then add equal parts flour and water by weight, typically 113g each. Mix thoroughly until smooth, cover loosely, and let it sit at room temperature for 4-12 hours until bubbly and doubled before using or returning to the fridge.
How to feed sourdough starter from the fridge without a scale?
Without a scale, use volume measurements: keep 1/2 cup of starter, then add 1 scant cup of flour and 1/2 cup of water. Mix well until smooth with no dry lumps. The consistency should resemble thick pancake batter. While volume measurements work, they’re less precise than weighing. For example, flour can vary from 120-160 grams per cup depending on how it’s packed, which affects your starter’s hydration and performance.
Can I use sourdough starter straight from the fridge?
No, you shouldn’t use a cold starter directly from the fridge. A refrigerated starter is dormant and lacks the energy needed to properly leaven bread. It needs feeding and time to wake up first. Feed it, let it double at room temperature (usually 4-12 hours), and use it at peak activity for best results.
How long to wake sourdough starter from the fridge?
Plan for 1-2 days to fully revive the refrigerated starter. If it’s been stored less than a week, one feeding followed by 4-12 hours at room temperature might suffice. For longer storage (2+ weeks), give it 2-3 feedings over 24-48 hours, waiting 12 hours between each feeding. Your starter’s ready when it reliably doubles in size and shows lots of bubbles. Temperature affects timing. Warmer spots speed things up considerably.
Related Articles:
 10 Simple Sourdough Dinner Ideas: Beyond the Basic Loaf
 Delicious Sourdough Rolls From Starter
![Easy recipes using sourdough starter [with step by step guide]](https://www.mydailysourdoughbread.com/wp-content/uploads/2025/05/10-Recipes-Using-Sourdough-Starter-Beyond-Basic-Bread-120x120.jpg "10 Recipes Using Sourdough Starter (Beyond Basic Bread!) 7") 10 Recipes Using Sourdough Starter (Beyond Basic Bread!)
10 Recipes Using Sourdough Starter (Beyond Basic Bread!)
 Sourdough Cinnamon Coffee Cake Recipe: 9 Steps to Irresistible Bakery-Style Results
 Strawberry Cinnamon Rolls Recipe: A Sweet Twist on a Classic Favorite

Hi. This is an excellent site for beginners of sourdough bread making. Is it possible for me to download a PDF of this article: “How to Feed Sourdough Starter from Fridge (Your Complete Guide to Better Bread)”? I’m old school and find it much easier to look at hard copies.
If you right-click and print, there should be an option to “print” it into a PDF!