
Last updated on July 15th, 2026
Why doesn’t my sourdough get airy like the pictures? Your quest for open crumb is not as fruitless as you might think. Before you banish your starter to the back of the fridge, try these tips. What makes dough rise AND fall? We’ll learn together. We’ll take your sourdough to new heights, with no professional bread oven required.
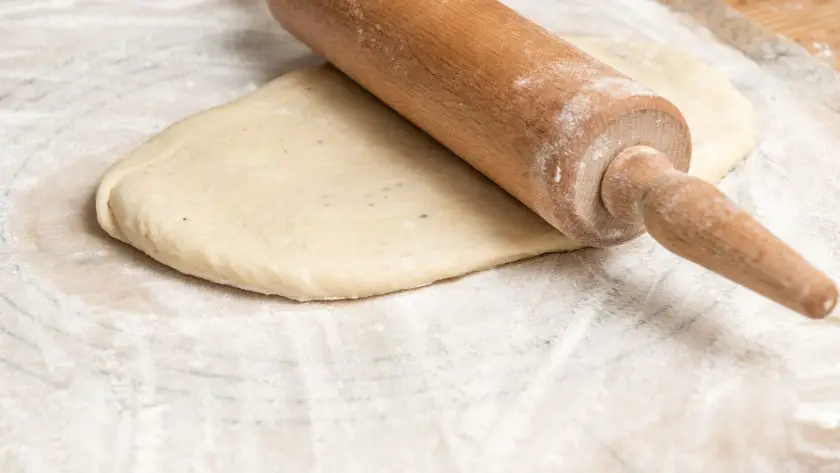
About Flat Sourdough
Flat sourdough almost always comes down to three things: a sluggish starter, weak gluten development, or fermentation that is too short (or too long).
Let me walk you through every factor that affects rise (the flour you pick, the temperature of your proofing space, etc), so you can diagnose your loaf and fix it fast.
What Makes Sourdough Rise (and Fall)?
Every sourdough loaf depends on two things working in sync:
- yeast (which produces the gas)
- gluten (which traps it). If either is off, your rise suffers.
The Role of Yeast
Yeast is what makes any bread rise. In sourdough, wild and commercial strains of yeast ferment sugars and release carbon dioxide. The longer you ferment and the warmer the environment, the more gas gets produced. You know your yeast is working hard when your starter doubles in size and your dough noticeably puffs up. That tangy sourdough flavor? That comes from the lactic and acetic acids produced during this same fermentation.
The Role of Gluten
Gluten is the protein network that holds the gas bubbles in place. Mixing and kneading create stretchy gluten strands that interlink and trap air. Without a well-developed gluten network, gas escapes and your loaf stays flat. On the other hand, over-proofing weakens gluten over time, so timing matters too.
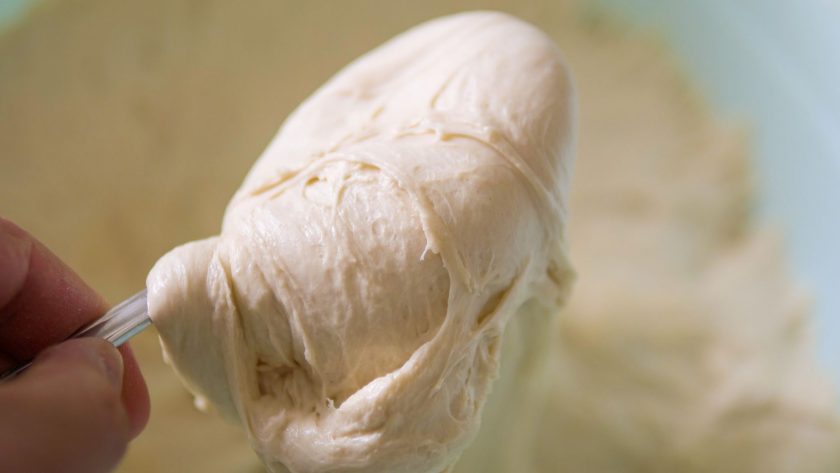
A quick way to check gluten development is the windowpane test: stretch a small piece of dough between your fingers. If it stretches thin enough to see light through without tearing, your gluten is well developed.
Ingredients for the Best Rise
Flour
Protein content is the single biggest flour variable for rise. More protein means more gluten potential.
| Flour Type | Protein Content | Best For |
|---|---|---|
| Bread flour | 12-13% | Main base flour; best gluten strength |
| All-purpose flour | 9-11% | Acceptable but produces less lift |
| Rye, whole wheat, spelt | Varies | Add 20-30% for yeast-feeding enzymes and flavor |
Watch out: Adding more than 30% whole grain flours can make dough too heavy and restrict rise. Keep it at 20-30% for the best balance.
Water
Water makes up roughly 60% of sourdough by weight, so quality matters.
Filtered or bottled water is ideal because minerals and chlorine in hard tap water can slow or suppress yeast activity. Using water around 90°F helps kick off faster fermentation, but never go above 110°F or you risk killing the yeast.
Starter
Use only a fresh, recently fed starter at or near its peak activity. Signs of a healthy, ready-to-use starter:
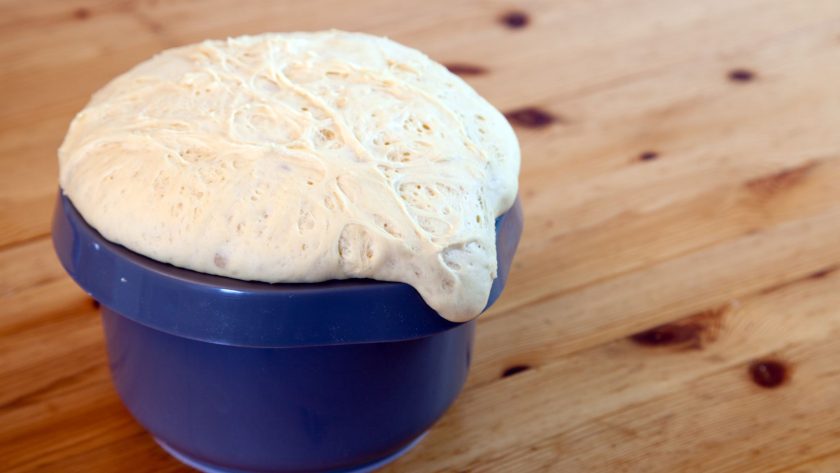
- Has roughly doubled in size 4-8 hours after feeding
- Smells pleasantly sour and yeasty
- Passes the float test (a spoonful floats in water)
- Has visible bubbles throughout
Starter Health and Maintenance
How to Feed and Maintain Your Starter
A neglected starter is the most common reason for poor rise. Here is a simple maintenance routine:
| Scenario | Feeding Schedule |
|---|---|
| Baking occasionally | Discard half, refresh with equal parts flour and water every 5-7 days |
| Baking frequently | Feed every 2-3 days, always at peak activity |
| Reinvigorating a sluggish starter | Discard down to 1 tablespoon, feed with warm 90 degree filtered water and rye flour 2-3 feedings in a row |
Pro tip: Alternating between rye and wheat flour every other feeding adds complexity to your starter’s flavor profile. If you want consistent results though, stick to one base flour.
How Much Starter to Use in Your Dough
Use starter that has freshly doubled from its last feed. As a general rule, substitute 15-25% of the dough’s total flour weight with active starter. Too much can over-acidify the dough; too little will slow fermentation down significantly.
Bulk Fermentation and Proofing
Nailing fermentation timing is probably the highest-impact thing you can do for rise. There are two distinct stages to manage.
Stage 1: Bulk Fermentation
This is the long initial rise after mixing and kneading. Most of the gas production happens here.
| Factor | Recommendation |
|---|---|
| Duration | 4-6 hours at room temperature |
| Target increase in size | 50-100% |
| Ideal temperature | 78-82 degrees F |
| Maximum safe temperature | 85 degrees F |
| How to monitor | Aliquot jar method: take a small sample and track growth hour by hour |
Stage 2: The Final Proof
After shaping, the dough gets one more rest before going in the oven. Because the bulk ferment already did the heavy lifting, this stage should be short.
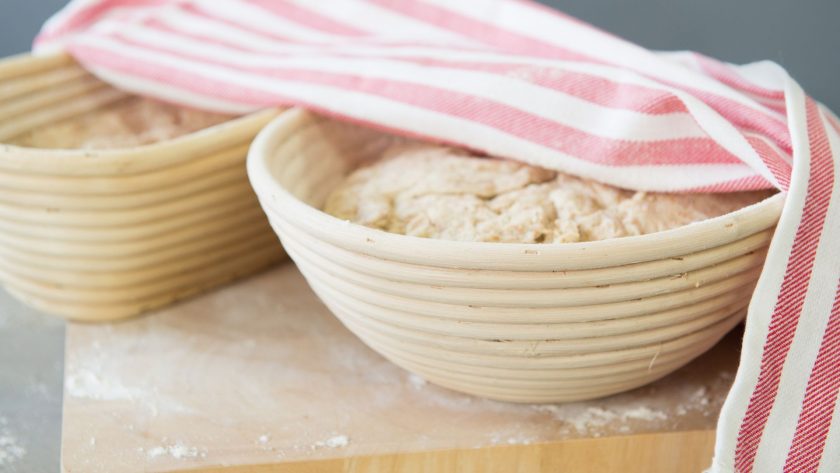
- Proof for 1-2 hours only after shaping
- Dough is ready when an indentation from your finger stays rather than springs back
- Bake in a Dutch oven with the lid on for the first 20-30 minutes to trap steam, which gives you better oven spring
Kneading Techniques
Adequate kneading develops the gluten network your dough needs to trap gas. Under-kneaded dough will not rise well. Over-kneaded dough tightens up and loses elasticity. The goal is smooth, pillowy dough that passes the windowpane test.
Kneading Methods by Dough Type
| Dough Type | Best Method | Duration |
|---|---|---|
| Standard hydration (65-70%) | Push-fold method: push dough away, fold back, repeat rhythmically | 5-10 minutes |
| High hydration (75%+) | Stretch-and-fold: lift, stretch up, fold back, rotate, repeat | 4-6 sets on 30-minute intervals |
| When using a stand mixer | Dough hook on medium speed | 6-8 minutes |
After kneading, let the dough rest 30-60 minutes before shaping. This gives the gluten time to relax while holding onto those precious gas bubbles.
Temperature and Environment
Your kitchen conditions affect rise more than most bakers realize. Yeast has a sweet spot, and small deviations add up.
| Condition | Effect on Rise | What to Do |
|---|---|---|
| 78-82 degrees F | Ideal yeast activity | Use a proofing box or oven with the light on |
| Above 85 degrees F | Risk of collapsing cell structure | Avoid; shorten proof time if necessary |
| Below 70 degrees F | Significantly slowed fermentation | Extend bulk ferment; consider overnight proofing |
| Drafty or open area | Surface dries out, restricts rise | Proof in a covered container or a still, enclosed space |
| Low humidity | Early crust forms on dough exterior | Cover with plastic wrap or a damp towel |
Troubleshooting Tips
Loaf Barely Rises or Collapses in the Oven (Under-Proofed)
If your shaped loaf does not gain much size before baking, or deflates when it hits the oven heat, under-proofing is usually to blame. Try these fixes:
- Extend bulk fermentation by 1-2 hours
- Check that your proofing space is warm enough (78-82 degrees F)
- Make sure your starter has recently doubled and is genuinely active before adding to dough
- Knead longer to develop more gluten structure
Ragged Crust, Excess Bubbles, Flat Spread (Over-Proofed)
Dough that proofed too long loses gluten integrity and cannot hold its shape. The fixes here:
- Limit final proof to 1 hour maximum after shaping
- Handle proofed dough gently to preserve any remaining structure
- Reduce acidity by discarding hooch (the liquid that separates on top of your starter) before feeding, as excess acid breaks down gluten over time
Rise Is Consistently Poor No Matter What You Try (Starter Issues)
If you have tried adjusting times and temperatures and still get poor results, your starter may simply not be healthy enough to leaven dough effectively.
- Discard all but a tablespoon and feed 2-3 consecutive times at peak activity using warm 90-degree filtered water and rye flour
- Replace 25% of your old starter with a fresh batch
- Swap some white flour in your dough for whole grain varieties, which provide enzymes and natural sugars that feed yeast
Quick-Reference Checklist for Better Sourdough Rise
- Use bread flour with 12-13% protein as your main flour
- Add 20-30% whole grain flour (rye, wheat, or spelt) for yeast-feeding enzymes
- Use filtered or bottled water at around 90 degrees F
- Start with an active starter that has freshly doubled after feeding
- Bulk ferment for 4-6 hours at 78-82 degrees F until dough increases 50-100%
- Knead thoroughly until dough passes the windowpane test
- Let dough rest 30-60 minutes after kneading before shaping
- Limit final proof to 1-2 hours max after shaping
- Bake in a covered Dutch oven to trap steam and maximize oven spring
- Keep dough in a draft-free, covered space during proofing
- Record your times, temperatures, and observations each bake until you dial in your formula
FAQs
How do you increase the rise of sourdough bread?
Start with an active, recently fed starter. Use bread flour with at least 11-12% protein and incorporate 20-30% whole grain flour. Knead until the dough passes the windowpane test, allow a full 4-6 hour bulk ferment at 78-82 degrees F, and handle the shaped loaf gently before a short final proof. If rise is still lacking, troubleshoot by extending bulk fermentation time or refreshing your starter with a few consecutive feedings.
Why is my sourdough not rising much?
The most common causes are under-proofing, inactive yeast in the starter, and insufficient gluten development. Check your starter first: does it double within 4-8 hours of feeding and pass the float test? Then review your kneading (are you achieving the windowpane stretch?) and your bulk fermentation time. Fixing one of these three areas usually solves the problem.
What to do with sourdough that won’t rise?
Focus on the root cause before adjusting your recipe. Propagate your starter back to peak health with 2-3 consecutive feedings. Extend kneading time for better gluten structure. Allow a longer bulk ferment if under-proofing is the issue. Switching to whole grain flour and using warm filtered water can also give sluggish yeast a boost. Keep notes each bake so you can spot patterns and fix them faster next time.
What temperature should I proof sourdough at?
The sweet spot is 78-82 degrees F. You can push to 85 degrees F to speed things up, but avoid going higher or you risk over-proofing. Below 70 degrees F, expect noticeably longer rise times and potentially an overnight bulk ferment.
How do I know if my sourdough starter is ready to use?
Look for three things: the starter should have roughly doubled in size 4-8 hours after its last feeding, smell pleasantly sour, and float when a spoonful is dropped in water. If it fails any of these tests, give it another feed before using it to leaven dough.




![[video] from the seed to the peasant bakery with nicolas supiot](https://www.mydailysourdoughbread.com/wp-content/uploads/2022/11/image-16-120x120.jpeg "[Video – Part 2] Entering Into Peasant Bakery 9")
