
Last updated on May 28th, 2026
Did you know, you don’t need a separate starter culture to bake amazing homemade sourdough? Let me share with you my secrets to harnessing wild yeast naturally present in all flour for easy, foolproof sourdough. Baking sourdough bread without a starter opens the doors to a world of versatile, wholesome loaves using just a few simple pantry ingredients. My starter-free guide ensures you’ll enjoy warm, crusty homemade sourdough bread straight from your oven!
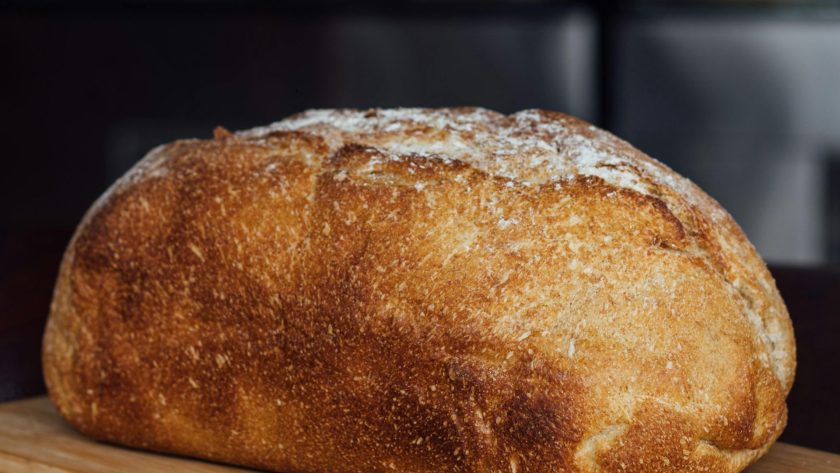
What We Have Today
You do not need a sourdough starter to bake delicious, tangy homemade sourdough.
Let me show you a simple, beginner-friendly method that uses the wild yeast already present in flour to leaven your bread. All you need is flour, water, and salt, plus 8 to 12 hours of fermentation time.
No feeding schedules, no special equipment, no stress.
Why No Starter?
Traditional sourdough starters need to be mixed, fed regularly, and monitored for activity. That is a real commitment. If you want freshly baked sourdough without the ongoing maintenance, this no-starter method is for you.
Benefits of going starter-free:
- No daily feedings or upkeep
- Mix the dough whenever you are ready to bake
- Great for beginners who want to skip the learning curve
- Relies on wild yeast naturally present in flour
- Still produces that signature sourdough tang, just more subtle
The wild yeast in unbleached bread flour is the star of the show. Given warm water, some time, and the right environment, those yeast spores wake up, multiply, and leaven your dough all on their own.
(Speaking of beginner recipes, you can start from the top with my beginner sourdough bread recipe!)
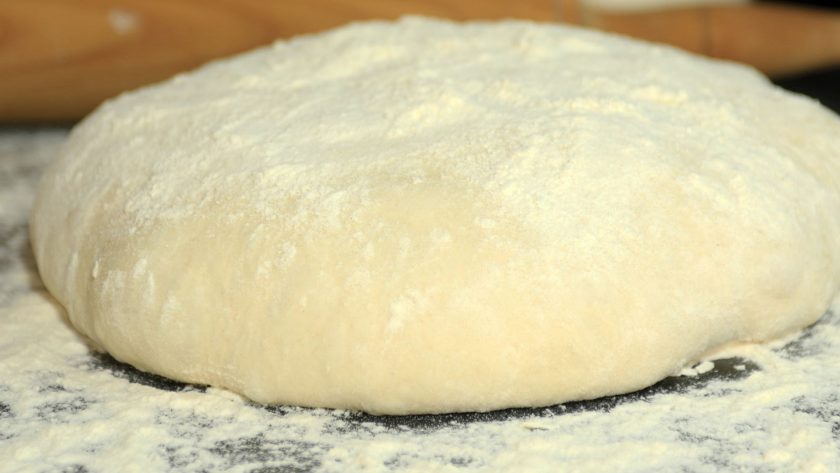
No-Starter Sourdough vs Traditional Sourdough Bread
| Feature | No-Starter Sourdough | Traditional Sourdough |
|---|---|---|
| Fermentation time | 8 to 12 hours | 4 to 6 hours |
| Starter required | No | Yes |
| Maintenance needed | None | Daily or every few days |
| Sourness level | Mild to moderate | Bold and tangy |
| Crumb structure | Tighter, more uniform | Open, irregular with holes |
| Beginner-friendly | Very | Moderate |
| Flavor complexity | Good | Excellent |
Bottom line: No-starter sourdough takes a little longer to ferment, but it is simpler and still produces a tasty, flavorful loaf. The trade-off is a milder tang and a slightly tighter crumb compared to a mature-starter loaf.
Ingredients
You only need three core ingredients to get started.
Flour
| Flour Type | Notes |
|---|---|
| Unbleached bread flour | Best choice; high protein content develops strong gluten |
| All-purpose flour | Works, but may produce a denser loaf |
| Whole wheat flour | Add up to 30% for nutty flavor and extra fiber |
| Rye flour | Add up to 20% for earthy flavor; weakens structure slightly |
| Cake or pastry flour | Avoid completely; too low in protein |
Always use flour stored at room temperature. Cold flour slows yeast activity.
Water
Use lukewarm water around 80°F (27°C). This temperature encourages yeast to wake up faster. Filtered, bottled, or spring water is best. Chlorinated tap water can inhibit yeast, so if that is all you have, let it sit uncovered for 30 minutes before using.
Salt
Use fine sea salt or kosher salt at about 1.5 to 2% of your flour weight. Avoid iodized table salt, which can negatively affect flavor and yeast activity.
A Note on Yeast
No commercial yeast needed. The wild yeast spores already living in your flour do all the work over the long fermentation period.
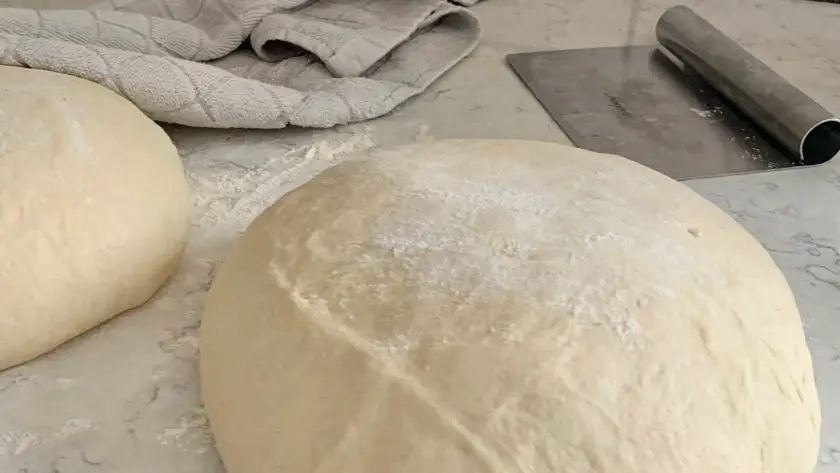
Step-by-Step Baking Process
Step 1: Mix the Dough
Combine flour, lukewarm water, and salt in a large bowl. Stir with a wooden spoon or mix by hand until no dry flour remains. The dough will look shaggy and feel sticky.
That is normal and expected.
Cover the bowl with a damp towel or plastic wrap and let it rest for 30 minutes.
This resting period (called autolyse) lets the flour fully absorb the water and starts gluten development.
Step 2: Stretch and Fold
Wet your hands to prevent sticking. Grab one side of the dough, stretch it upward, and fold it over to the opposite side. Rotate the bowl a quarter turn and repeat. Continue for about 5 minutes.
This technique, called stretch and fold, builds gluten strength without overworking the dough. You will notice it gradually smoothing out and becoming more elastic.
Step 3: Bulk Fermentation (8 to 12 Hours)
Cover the bowl and leave the dough at room temperature. The dough should roughly double in size during this time. Wild yeast produces carbon dioxide and small amounts of lactic acid, which give the bread its lift and mild tang. Check on it periodically.
If your kitchen is warm, it may be ready sooner. If cool, give it more time.
Step 4: Shape the Dough
Lightly flour a clean surface and gently turn the dough out. Shape it into a round (boule) or oval (batard) by folding the edges toward the center and turning it over. Handle it gently so you do not deflate the air bubbles that built up during fermentation.
Place the shaped dough into a floured proofing basket or a bowl lined with a floured kitchen towel, seam side up. Cover and let it proof for another 30 to 60 minutes until slightly puffed.
Step 5: Bake
Preheat your oven to 450°F (230°C) with a Dutch oven or baking stone inside. The preheated vessel is key for a good oven spring and crispy crust.
When ready to bake, carefully transfer the dough onto the hot surface, seam side down. Score the top with a sharp knife or razor blade at a 45-degree angle, about 1/4 inch deep. This controls how the bread expands.
Baking schedule
| Phase | Temperature | Time |
|---|---|---|
| Covered bake | 450°F (230°C) | 20 minutes |
| Uncovered bake | 450°F (230°C) | 20 to 30 minutes |
| Internal temp when done | 200 to 210°F (93 to 99°C) | Use a thermometer to check |
Remove the bread and cool on a wire rack for at least one hour before slicing.
Adjusting for Kitchen Temperature
Temperature has a big impact on how your fermentation goes. Here is how to adapt:
Warm Kitchen (Above 75°F / 24°C)
- Reduce hydration slightly to keep dough manageable
- Mix dough to a lower initial temperature
- Use a cooler spot in your home or a cooler with an ice pack to slow things down
- Watch the dough carefully as it may double faster than expected
Cool Kitchen (Below 65°F / 18°C)
- Mix dough using slightly warmer water
- Place the bowl in a warm spot, such as near a warm oven or on top of the refrigerator
- Increase hydration slightly if the dough feels stiff
- Extend fermentation time as needed until the dough has doubled
Tips for the Best Crust and Crumb
For a crispy crust:
- Preheat your Dutch oven fully before adding the dough
- Toss a few ice cubes into a separate hot tray at the bottom of the oven to create steam
- Remove the Dutch oven lid after the first 20 minutes to allow browning
For an open crumb:
- Use water at least 80°F (27°C) to encourage yeast activity
- Do not skip the stretch and fold; it builds the gluten network that traps gas bubbles
- Allow the full proof time before baking
For bakery-style “ears”:
- Score confidently with a sharp knife or lame at a 45-degree angle
- Make swift, decisive cuts rather than dragging the blade
- Score right before the dough goes into the oven
Mistakes and How to Fix Them
| Problem | Likely Cause | Fix |
|---|---|---|
| Dense, heavy bread | Under-fermentation or cool oven | Use bread flour; ferment longer; check oven temperature |
| No open crumb | Cool water or insufficient gluten development | Use 80°F water; stretch and fold more thoroughly |
| Poor oven spring | Shallow scoring or oven not hot enough | Score 1/4 to 1/2 inch deep; fully preheat oven and Dutch oven |
| Dense bottom crust | Dutch oven not preheated | Preheat the pot; line with parchment paper |
| Dry crumb | Not enough water or over-kneading | Use full water amount at correct temperature; avoid over-kneading |
| Dough deflates after shaping | Gluten not relaxed enough | After bulk ferment, rest dough 20 to 30 minutes before shaping |
Flavor Variations
Once you have mastered the basic loaf, there is a lot of room to experiment.
Flour Combinations
- Heartier loaf: Replace up to 30% of bread flour with whole wheat
- Earthy flavor: Add up to 20% light rye flour
- Tender sandwich bread: Mix in some soft wheat flour
- Ancient grains: Try einkorn, spelt, or amaranth for added nutrition and depth
Gluten-Free Option
Use buckwheat, millet, or sorghum flour with xanthan gum to replicate gluten structure. Ferment for a full 24 hours to allow the flours to fully hydrate.
Savory Add-Ins
- Rosemary, oregano, thyme
- Roasted garlic or caramelized onions
- Fennel seeds, caraway, or cumin
- Red chili flakes
Sweet Add-Ins
- Raisins or dried cranberries
- Cinnamon and honey
- Grated orange or lemon zest
- Drizzle of maple syrup on the crust before baking
Storing and Serving Your Sourdough
Cooling and Slicing
Let the loaf cool on a wire rack for at least one hour before cutting. Slicing too early compresses the crumb and ruins the texture.
Use a serrated bread knife and long, smooth strokes.
Storage Options
| Method | Best For | How Long |
|---|---|---|
| Ceramic bread box or paper bag | Short-term; keeps crust crispy | 2 to 3 days |
| Cloth bread bag | Short to medium-term | 3 to 4 days |
| Airtight plastic bag in freezer | Long-term storage | Up to 3 months |
| Refrigerator | Not recommended | Speeds up staling |
Reheating Leftover Bread
- Spritz slices with water, wrap in foil, and bake at 350°F (175°C) for 10 to 15 minutes
- Toast slices and brush with butter or olive oil for a quick option
Serving Ideas
- Thick slices toasted and topped with avocado, a poached egg, and chili flakes
- Open-faced with smoked salmon, cream cheese, and capers
- As a side for soups and salads
- Sliced thin for crostini with ricotta, roasted garlic, or mushrooms
- Cubed for croutons or breadcrumbs
- French toast using day-old slices soaked in vanilla and cinnamon custard
Alternative Leavening Methods
If you want to speed up the process or add more complexity, here are some other options.
Commercial Yeast Boost
Add just 1/4 to 1/2 teaspoon of active dry or instant yeast to your dough. This shortens fermentation to 4 to 6 hours while still allowing sourdough flavor to develop. The flavor will be less complex than with wild yeast alone, but it is a good shortcut on a time crunch.
Natural Leavening Agents
Certain ingredients introduce wild yeast and enzymes naturally. Use about 1 to 1.5 cups per loaf:
- Pineapple juice
- Fresh or dried grapes or raisins
- Grated apple
- Coconut water
- Kombucha (also contains beneficial bacteria for added tang)
Sourdough Sponge
Combine flour, water, and a leavening agent in a jar. Ferment for 8 to 12 hours, then use as a base for your final dough.
This gives your bread a head start and builds more acidity for better flavor.
Stored Dough Method
Save a portion of your dough in the refrigerator after mixing. Use it to start your next batch, much like you would a starter. Feed it with flour and water 1 to 2 days before your next bake.
Do not go more than two weeks between refreshments.
No Starter, No Problem
Sourdough bread brings immense satisfaction when home baked from scratch.
While no-starter sourdough takes more time, it rewards with delicious loaves. Starter-free sourdough offers unlimited potential!
Happy baking!
Sourdough Bread Without Starter FAQs
What Can I Use if I Don’t Have a Sourdough Starter?
Kombucha is a great substitute. It contains both wild yeast and bacteria, which means it can help ferment your dough and even be used to build a starter from scratch over time. You can also use yogurt, vinegar, pineapple juice, or a small amount of commercial yeast.
Does All Sourdough Need a Starter?
No. You can make sourdough-style bread using commercial yeast, natural leavening agents, or by relying on the wild yeast naturally in flour. The flavor will be slightly different, but the results are still delicious.
Can I Skip Feeding My Sourdough Starter?
If you have a starter and skip feedings, it will develop an alcohol-like smell (called hooch) and lose activity. The good news is it can almost always be revived with a few regular feedings before your next bake.
Do You Have to Use a Starter for Sourdough Bread?
No, you don’t necessarily have to use a starter for sourdough bread. Methods often involve using commercial yeast, yogurt, vinegar, or other ingredients to mimic the sour flavor and leavening effect of a starter.
Can I Use Yeast Instead of Sourdough Starter?
Yes. Using commercial yeast is a common alternative for achieving the leavening effect in bread without the need for maintaining a sourdough starter.
Is No-Starter Sourdough as Sour as Regular Sourdough?
Not quite. Traditional sourdough gets its bold tang from the bacteria in an active starter. No-starter sourdough has a milder, more subtle sourness from the natural yeast fermentation. If you want more tang, extending the fermentation time and using a portion of rye flour can help.
Can I Use All-Purpose Flour Instead of Bread Flour?
Yes, but bread flour is strongly preferred. Its higher protein content builds a stronger gluten network, giving you better rise and chew. All-purpose flour will work in a pinch but tends to produce a denser loaf.
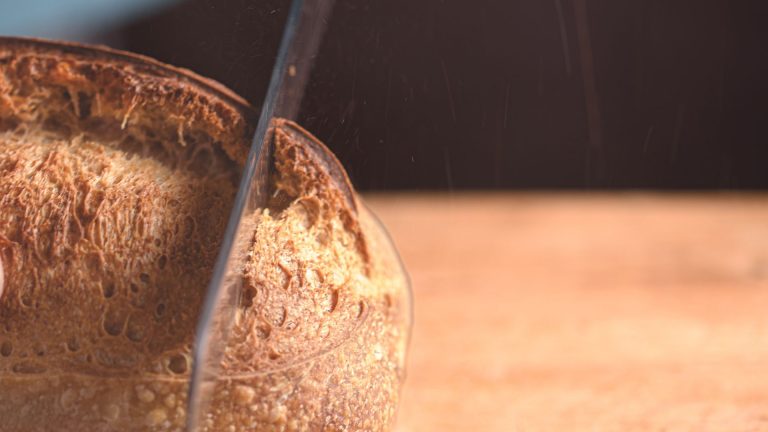
Sourdough Bread Without Starter Recipe
A beginner-friendly sourdough loaf that relies on wild yeast naturally found in flour. No starter, no feeding schedule, just flour, water, salt, and time.
- Total Time: approximately 10 to 14 hours (inactive/fermentation time: 8 to 12 hrs, final proof: 30 to 60 mins)
- Yield: 1 loaf 1x
Ingredients
- 3 cups (375g) unbleached bread flour
- 1¼ cups (300ml) lukewarm water, around 80°F / 27°C
- 1½ teaspoons (9g) fine sea salt or kosher salt
Instructions
- Mix flour, water, and salt into a shaggy dough. Rest 30 minutes (autolyse).
- Stretch and fold for 5 minutes with wet hands.
- Cover and bulk ferment at room temperature for 8 to 12 hours until doubled.
- Shape into a round or oval loaf. Place in a floured proofing basket, seam side up.
- Final proof 30 to 60 minutes.
- Preheat oven to 450°F (230°C) with Dutch oven inside.
- Transfer dough into Dutch oven seam side down, score the top.
- Bake covered 20 minutes, then uncovered 20 to 30 minutes until deep golden brown.
- Cool on a wire rack at least 1 hour before slicing.
Notes
- Internal temp when done: 200 to 210°F (93 to 99°C)
- Dough should feel tacky, not wet or stiff
- Warmer kitchens will ferment faster; cooler kitchens will need more time
- For more tang, extend fermentation or add up to 20% rye flour
- Store in a paper bag or bread box up to 3 days; freeze slices for up to 3 months
- Prep Time: 15 mins
- Cook Time: 40-50 mins
- Category: bread
Nutrition
- Serving Size: 1 slice
- Calories: 178 kcal
- Fat: 1 g
- Carbohydrates: 37 g
- Fiber: 3 g
- Protein: 5 g





