
Last updated on January 21st, 2026
Sourdough has this intimidating reputation, but it’s actually more forgiving than most people realize. The basics are simple: flour, water, salt, and a living starter that you’ll feed like a low-maintenance pet. Once you understand what’s happening—wild yeast eating sugars, bacteria creating flavor, gluten forming structure—the mystery disappears. You’re not following cryptic instructions anymore; you’re working with biology. The secrets to good sourdough bread come down to understanding these fundamentals and giving your dough the time it needs. Master the basics below, and you’ll be pulling crackling-hot loaves from your oven before you know it.
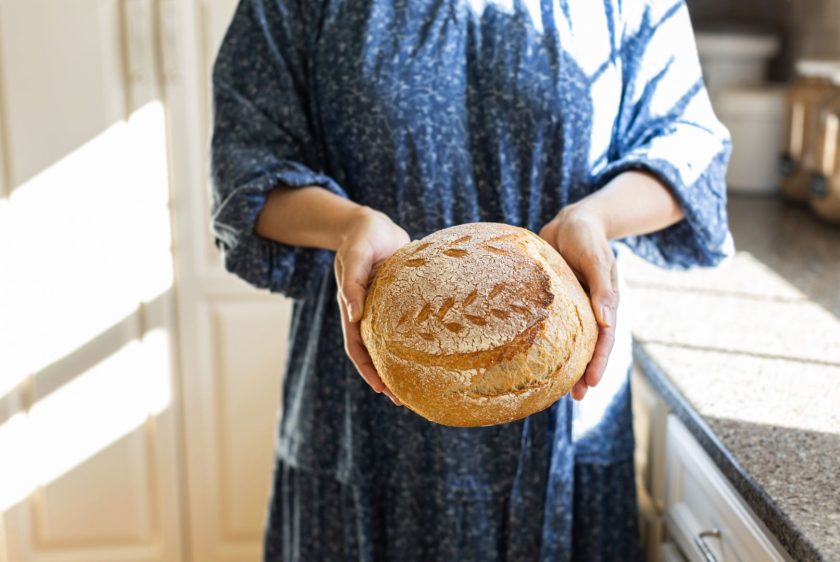
Understanding the Starter
Your sourdough starter is a living culture of wild yeast and lactic acid bacteria. It naturally develops when you mix flour and water, creating the foundation for all your baking.
Starting from scratch takes about a week. Mix equal parts flour and water (about 1/2 cup each) in a clean jar at room temperature. Each day after the first, remove about two-thirds of the mixture and feed what’s left with fresh flour and water. This strengthens your starter by giving beneficial bacteria room to thrive. Whole wheat or rye flour works best initially because it has more fiber and minerals that help yeast and bacteria develop faster.
Key Maintenance Points:
- Room temperature storage: Feed once or twice daily if you bake often. Mix equal parts starter, flour, and water by weight (typically 113g each)
- Refrigerator storage: Feed once weekly for occasional baking. The cold puts the yeast into hibernation, requiring less frequent feeding
- Readiness test: A healthy starter doubles or triples in size within 6-8 hours after feeding. Drop a spoonful into water—if it floats, it’s ready to bake
- Forgiveness factor: Miss a feeding or two, and your starter will recover. Feed it a couple of times and watch it perk back up
- Hooch handling: Dark liquid on top means your starter’s hungry. Pour it off or stir it in—both work fine
The float test, bubbly appearance, and pleasant tangy smell tell you when your starter’s at peak strength for baking.
Related: Sourdough Scoring Designs: How to Score Sourdough Bread + Best Tips
Choosing the Right Flour
Bread Flour
Bread flour contains 12-14% protein, making it the workhorse for sourdough. Higher protein develops more gluten, giving you a chewy texture, strong crust, and better rise. More gluten strands trap fermentation gases, creating that iconic open crumb with big, irregular holes.
Pros: Superior structure, excellent oven spring, handles high hydration, produces classic artisan texture
Cons: Less flavor complexity than whole grains, can feel too “perfect” for rustic loaves
Whole Wheat Flour
Whole wheat brings nutty, earthy flavors and extra nutrition to your loaves. The bran can cut through gluten strands, so expect a denser texture when using high percentages.
Pros: Rich flavor, added nutrition, excellent for flavor complexity
Cons: Absorbs more water than white flour, produces denser crumb, can weaken gluten structure at high percentages—keep it under 30% of total flour until you gain experience
Rye Flour
Even small amounts (10-15% of total flour) add serious depth. Rye contains pentosans that wild yeast and bacteria love, speeding fermentation.
Pros: Accelerates fermentation, adds complex flavor, enhances tanginess
Cons: Makes dough stickier and harder to handle, weakens gluten structure—start with small percentages
Protein content directly affects water absorption—higher protein flour holds more water, creating those gorgeous open crumbs and glossy interiors. Quality matters too. Organic, freshly milled flour provides better flavor and fermentation because it retains natural oils and enzymes.
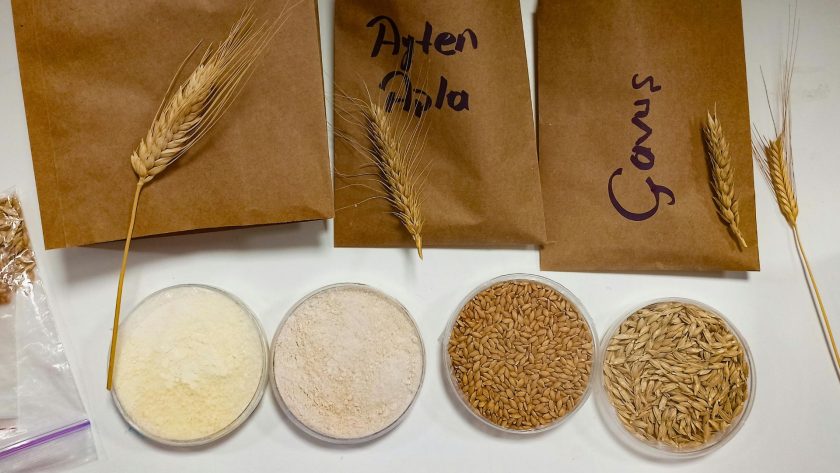
Hydration Secrets
Hydration percentage is the ratio of water to flour by weight. A 70% hydration dough contains 70 grams of water for every 100 grams of flour.
Lower hydration (60-65%) produces tighter, more consistent crumbs with smaller holes. The dough handles easily, holds shape better, and bakes with fine, even texture—perfect for sandwich bread or when starting.
Higher hydration (75-80%+) creates bakery-style loaves with big, irregular holes and custardy crumb. More water means more steam during baking, producing dramatic oven spring and a thin, crispy crust. The tradeoff is sticky dough that’s harder to shape and more prone to spreading.
Your flour matters—some varieties absorb more water than others. Climate affects dough, too; humid kitchens may need drier dough. Even your starter’s hydration influences the final mix. Start with a recipe’s suggested percentage, then adjust based on what you feel.
The dough should feel tacky but manageable—it wants to stick to your hands without clinging desperately. If the dough tears easily and won’t hold together, add slightly more water. If it’s so wet you can’t shape it, reduce the water next time. This balance creates both great structure and open crumb.
Kneading vs Folding
Traditional kneading builds gluten fast through mechanical force—pushing and turning dough on the counter for 5-10 minutes. Stretch and fold works better for sourdough’s longer fermentation. Wet your hands, grab one side of the dough, stretch it up, and fold it over. Rotate the bowl 90 degrees and repeat four times, then rest.
During bulk fermentation, perform several sets of stretches and folds during the first 2-3 hours. Each fold realigns gluten strands and redistributes gases throughout the dough. Between folds, fermentation continues building strength naturally.
An autolyse period helps—letting mixed flour and water rest before adding starter and salt allows enzymes to break down starches while gluten begins forming on its own. After 30-60 minutes, the dough’s already partway developed.
Stretch and Fold Features:
- Perform 3-4 sets every 30-45 minutes during the first half of bulk fermentation
- Less mess—keeps counter clean and hands relatively dough-free
- Works with time and biology instead of force
- Ideal for high-hydration doughs (75%+)
- Watch dough transform from shaggy to smooth and elastic
Traditional Kneading Features:
- Works well for lower hydration doughs (below 70%)
- Develops gluten in 5-10 minutes of work
- Produces uniform, consistent texture
- Familiar technique for experienced bread bakers
- Requires a clean work surface and extra flour for dusting
Both methods build the gluten network that traps gases and gives bread structure—choose based on your dough’s hydration and your schedule.
Fermentation Timing
After mixing everything, the dough sits during bulk fermentation until it increases in volume by 50-75%. Temperature is the main factor affecting fermentation strength: warmer dough ferments faster than cooler dough.
At 75-78°F, bulk fermentation typically takes 4-6 hours. Cooler kitchens (68-70°F) need 8-10 hours. Above 80°F speeds things considerably. Warmer dough (78°F or above) develops more sour, tangy flavors, while cooler fermentation produces milder, sweeter bread, because different bacteria thrive at different temperatures.
Dough that triples in volume and becomes a sticky mess has over-fermented. Watch for that 50-75% increase where dough’s puffy but holds its shape. The gluten structure breaks down with too much fermentation, resulting in bread that doesn’t rise in the oven.
After shaping, the dough needs one final rise. Room temperature proofing takes 2-4 hours and gives a milder, wheaty flavor. The dough’s ready when it springs back slowly when poked—not immediately (underproofed) and not leaving a permanent dent (overproofed).
Cold proofing overnight (12-48 hours) is convenient. Extended cold fermentation develops deeper, more complex flavors while making the dough easier to score. The cold firms up dough for clean, dramatic cuts that open beautifully. Shape before bed, bake the next morning.
Longer fermentation develops a more sour flavor. Short fermentation keeps things mild and sweet. Your schedule and taste preferences should drive these choices.
Shaping the Loaf
Shaping creates surface tension that helps bread rise instead of spreading out. Handle dough gently after bulk fermentation to preserve those hard-earned bubbles.
Steps for a Classic Boule (Round Loaf):
- Turn the dough onto a lightly floured surface after bulk fermentation
- Gently coax the dough into a rough round, creating a smooth top by pulling edges underneath
- Let it rest 20-30 minutes (bench rest), so the gluten relaxes
- Flip the dough smooth-side down for final shaping
- Fold the edges toward the center like folding a letter
- Roll it up, creating tension on the surface
- Place seam-side down into your banneton (proofing basket)
- The smooth top should feel taut, almost drum-tight, without tearing
For a batard (oval loaf), follow the same principles while creating an oblong shape instead of a round one. Gentle handling and surface tension remain key.
Scoring controls where and how bread expands in the oven. Without slashing, the bread rips randomly as steam escapes. Use a sharp blade (lame, razor blade, or very sharp knife) held at a 30-45 degree angle. One confident slash about 1/2 inch deep creates that classic raised ridge or “ear” where the cut opens up. Hesitant, sawing motions produce jagged, uneven cuts.
Dust your banneton well with rice flour—it doesn’t absorb moisture like wheat flour and creates gorgeous spiral or linear patterns on the finished loaf. Cold-proofed dough from the fridge scores cleaner than room-temperature dough because it’s firmer, giving you those bakery-quality cuts that open dramatically during baking.
Related: How to Store Sourdough Starter: Tips for Longevity
Baking Techniques
Preheat a Dutch oven at 450-500°F for at least 30 minutes. That heavy pot holds heat and traps steam, mimicking a professional steam-injected oven.
Transfer your scored dough (on parchment paper) into the hot Dutch oven. Bake covered for 20-25 minutes to trap steam, then remove the lid for the final 20-30 minutes to develop a deep brown crust.
Without a Dutch oven, use a baking stone or steel with steam created by throwing ice cubes into a hot pan at the bottom of the oven. Steam in the first 20 minutes keeps the crust soft enough to expand dramatically.
High initial heat (475-500°F) gives maximum oven spring. As the dough heats, yeast produces carbon dioxide, and the water turns to steam, both pushing the bread upward. After removing the lid, the temperature can drop slightly (450°F) for the remainder of baking. Sugars on the crust brown and create nutty, complex flavors and a deep mahogany color.
The bread’s done when the internal temperature hits 205-210°F, and it sounds hollow when tapped on the bottom. That last 10 minutes develops flavor and ensures the interior’s fully set, not gummy.
Cool your loaf completely on a wire rack before slicing. The interior’s still cooking from residual heat for the first hour. Cut too soon, and you’ll have gummy, underbaked bread.
Troubleshooting & Tips
- Dense loaf with no holes: most often, your starter wasn’t active enough, you used too much whole wheat flour, or bulk fermentation didn’t go far enough. Make sure the starter passes the float test before mixing the dough. Keep whole grains under 30% of total flour until you gain experience.
- Under-proofed bread: doesn’t rise much in the oven, has a tight, dense crumb, and springs back immediately when poked. Give it more time—build longer fermentation into your schedule by cold-proofing overnight.
- Over-proofed dough: collapses when scored and bakes flat. The gluten structure has broken down from too much fermentation. The indent stays when poked instead of springing back.
- Too sour: reduce fermentation time, keep dough cooler, or feed starter more frequently so it’s younger and less acidic when used.
- Not sour enough: Add more whole grains, keep dough warmer, or extend cold proofing to 24-48 hours.
- Gummy interior: bread wasn’t baked long enough. Internal temperature should hit at least 205°F, sometimes up to 210°F, for whole grain loaves.
Reveal All Secrets to Good Sourdough Bread
Every master baker started exactly where you are—staring at bubbling flour and water, wondering what the hell they’re doing. Here’s the truth: sourdough isn’t a recipe you follow, it’s a relationship you build. Your first loaf might be a dense brick or accidentally perfect. Your tenth will be better. Your hundredth will be unmistakably yours. There’s nothing quite like cracking through that crust you built from scratch to reveal an airy crumb that proves fermentation magic happened in your kitchen. These techniques aren’t carved-in-stone rules—they’re guideposts for your own path. So feed that starter, make your mistakes, and learn as you go. Your best loaf is still ahead of you.

![[video] from the seed to the peasant bakery with nicolas supiot](https://www.mydailysourdoughbread.com/wp-content/uploads/2022/11/image-16-120x120.jpeg "[Video – Part 2] Entering Into Peasant Bakery 7")
